This section explains how perform an overwrite installation.
1. Stop all applications
Confirm that all applications are stopped.
2. Insert product CD-ROM into the drive
Insert product CD-ROM into the CD-ROM drive of your computer.
The installer is automatically activated, and it opens the following window.
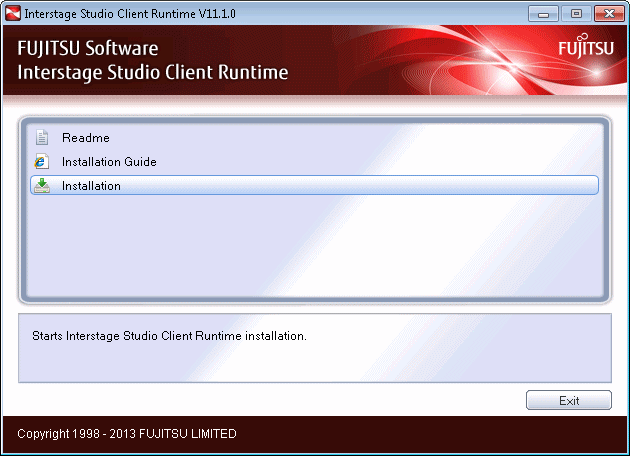
Click the [Installation] button to start installation.
The "User Account Control" dialog box may be displayed, depending on the operating system that is being used. When the dialog box is displayed, click [Continue] and continue with the installation.
Point
If autorun on the CD-ROM drive is not enabled, execute the following command:
<CD-ROM drive name>:\autorun.exe
Information
Explanation of buttons
|
Button |
Outline |
|---|---|
|
Readme |
Displays the Interstage Studio Client Runtime software release guide. |
|
Installation Guide |
Displays this manual. |
|
Installation |
Starts Interstage Studio Client Runtime installation. |
|
Exit |
Ends Interstage Studio Client Runtime installation. |
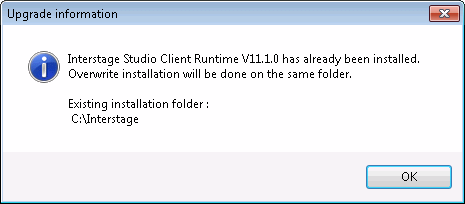
3. The [Upgrade information] window is displayed
Click the [OK] button.
4. The [Select components to install] window is displayed
Of the functions (components) listed in the [Select components to install] window, the installed functions have check marks.
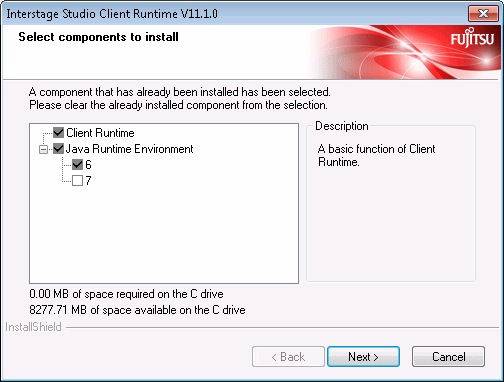
In the [Select components to install] window, change the current installation configuration.
Unchecked function: The function will be uninstalled.
The shaded functions are required for using Interstage Studio Client Runtime, so they cannot be uninstalled.
Checked function: The function will be installed as an additional function.
Modify the installation content, then click the [Next] button.
The subsequent window operations will differ depending on whether installation or uninstall is performed. For details on operation procedures, refer to "2.3.2 Custom Installation".
5. Verify the new installation configuration
In the [Verify installation settings] window, verify the new installation configuration.
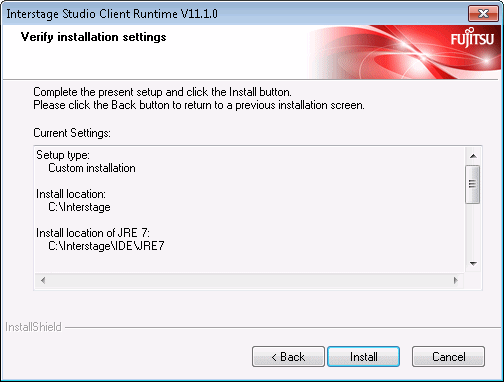
When no problem is found
Click the [Install] button to start installation. Take care to verify the new installation configuration because you cannot click the [Cancel] button to cancel installation once installation begins.
To change the installation configuration
Click the [Back] button, and change the configuration.
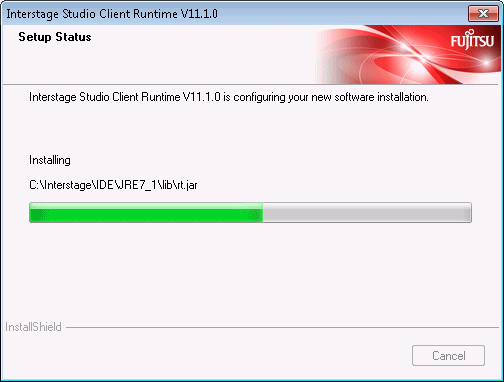
6. Start the overwrite installation
The [Setup Status] window displays the progress of installation.
7. Installation is completed
When the overwrite installation is completed, a dialog box shows that restart the computer is necessary.
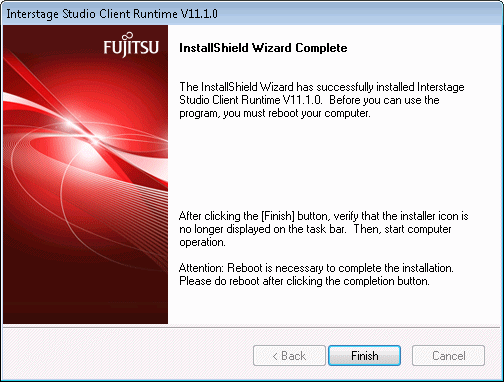
Click the [Finish] button.
Restart the computer.
Information
When fast startup is enabled due to the use of Windows 8
To make the overwrite installation enabled, please shut down the system completely before restarting it.
Please make sure the system is restarted by selecting [Restart] from the [Power] menu of [Settings] charm.