This section explains how to install Interstage Studio when the selected installation type is "Typical installation".
1. Stop all applications
Confirm that all applications are stopped.
2. Insert product DVD-ROM into the drive
Insert product DVD-ROM into the DVD-ROM drive of your computer.
The installer is automatically activated, and it opens the following window.
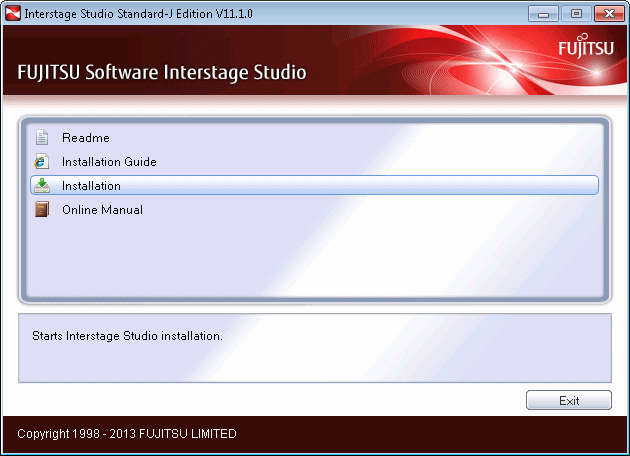
Click the [Installation] button to start installation.
The "User Account Control" dialog box may be displayed, depending on the operating system that is being used. When the dialog box is displayed, click [Continue] and continue with the installation.
Point
If autorun on the DVD drive is not enabled, execute the following command:
<DVD drive name>:\autorun.exe
Information
Explanation of buttons
|
Button |
Outline |
|---|---|
|
Readme |
Displays the Interstage Studio software release guide. |
|
Installation Guide |
Displays this manual. |
|
Installation |
Starts Interstage Studio installation. |
|
Online Manual |
Displays the online manual. |
|
Exit |
Ends Interstage Studio installation. |
3. Select [Typical]
In the [Installation Type Selection] window, select [Typical] as the installation type. For details on components that are installed, refer to "Component lists".
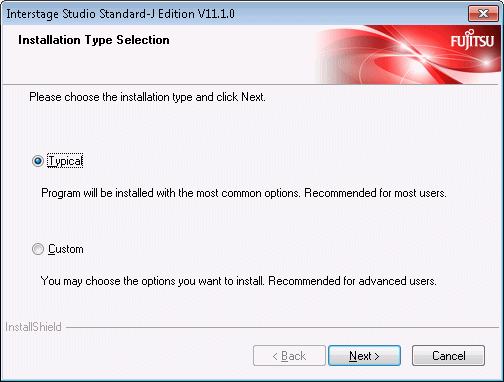
Click the [Next] button. To cancel installation, click the [Cancel] button.
4. Verify the installation configuration
In the [Check Installation Settings] window, verify the installation configuration.
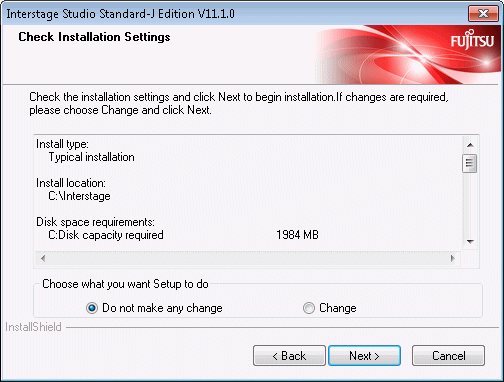
If necessary, you can change the Interstage Studio installation destination folder or port number setting.
To not change the installation destination folder and port number setting
Select [Do not make any change], and click the [Next] button. Installation begins, using the displayed setting values.
To change the installation destination folder or port number setting
Select [Change], and click the [Next] button. The [Choose Destination Location] window is displayed. Refer to "2.3.2 Custom Installation" for details of the subsequent screen operations.
5. Installation begins
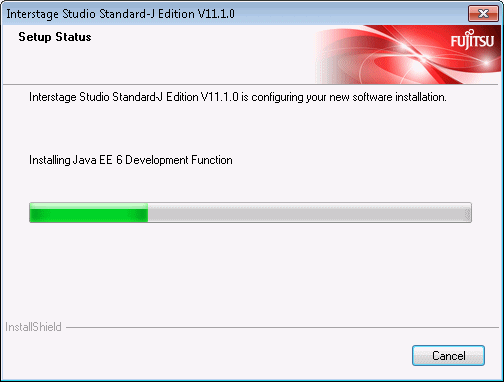
The setup program begins to install the components required for application development and the operation test environment.
The [Setup Status] window displays the progress of installation.
Note
Cancellation
While the [Setup Status] window is displayed, do not click [Cancel] or press the Alt and C keys at the same time. Otherwise, such cancellation causes the installation process to hang. In this event, refer to "Action to be taken in the event that the installation process hangs" and take the necessary action.
6. Installation is completed
When Interstage Studio installation is completed, the following window is displayed.
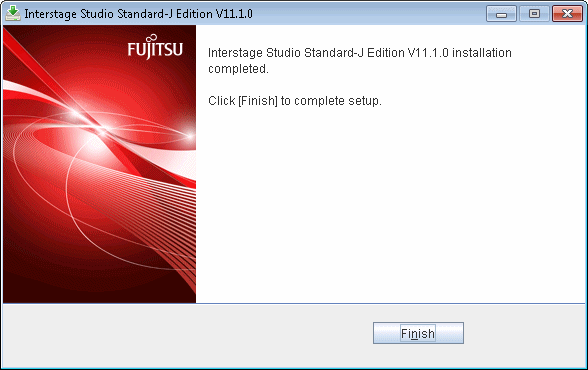
Click the [Finish] button. This ends Interstage Studio installation.
After clicking the [Finish] button, confirm that the installer icon disappears from the taskbar before beginning to use your computer.
Note
A dialog box shows you to restart the computer
If a file copy error occurs during installation, a dialog box will open to show about restarting the computer. In such cases, click the [Finish] button, and restart the computer.
If a file copy error occurs during installation, installation processing is completed when the computer is restarted.
Besides, when fast startup is enabled due to the use of Windows 8, please make sure the system is restarted by selecting [Restart] from the [Power] menu of [Settings] charm.