Java Actions can be defined and assigned on three different levels:
Process definition level: Init Actions, Owner Actions, Commit Actions, Timer Actions, OnSuspend, OnResume, and OnAbort Actions, Error Actions.
Node level: Role Actions, Prologue and Epilogue Actions, OnSuspend, OnResume, and OnAbort Actions, Error Actions, and Timer Actions. The node type determines which type of Java Action you can assign and at which point in time a Java Action is to be executed.
Java Action level: Compensation and Error Actions.
When you define Java Actions both on Node level and on process definition level, first the Node level actions, second the process definition level actions will be executed.
You can create a Java Action once and then use it in different contexts. For example, you can use the same Java Action as Prologue Action, Error Action, and Compensation Action.
Note
To handle specific error situations, Systemwalker Runbook Automation Studio provides Error Actions and Compensation Actions. You can assign these actions to any other Java Action. For more information on Error and Compensation Actions, refer to section 11.1.7 Dealing With Errors in Java Actions.
This section gives you an overview of the general steps required for assigning Java Actions.
To assign a Java Action to a process definition or a node:
Click the empty space in the Process Definition editor or select the node to which you want to assign the Java Action, to display the Properties view for the process definition or the node respectively.
Select the Action Set tab.
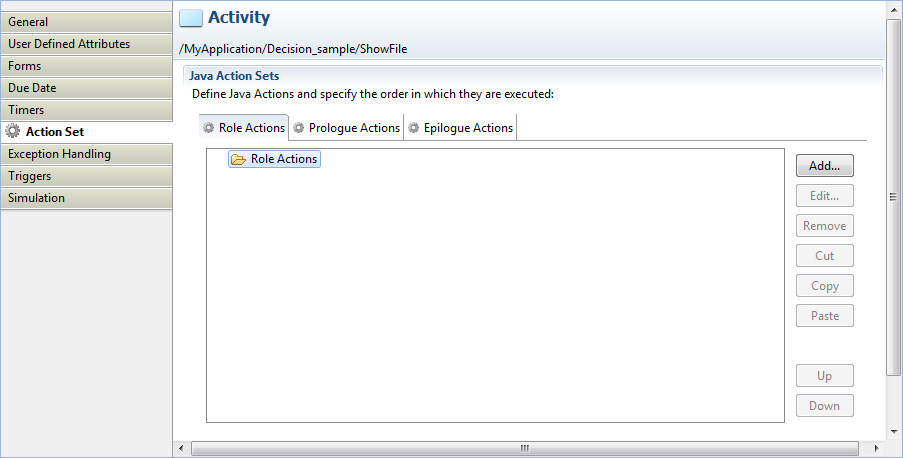
The content of the Action Set tab depends on the item for which you open it. The following figure shows the Action Set tab for an Activity Node.
Figure 11.1 Action Set Tab for Activity Nodes
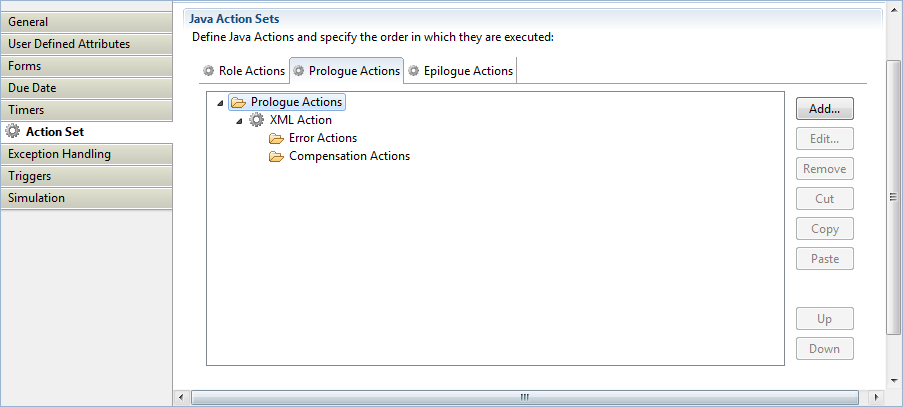
The following figure shows the Action Set tab for a process definition.
Figure 11.2 Action Set Tab for Process Definitions
Note
You can also assign Java Actions to timers and due dates, using the Timers and Due Dates tabs. For more information, refer to sections 6.22.1 Defining Due Dates and 6.22.2 Defining Timers.
Specify which type of Java Action you want to add by selecting the corresponding tab, and click Add.
The Action Type List dialog is displayed.
Figure 11.3 Action Type List
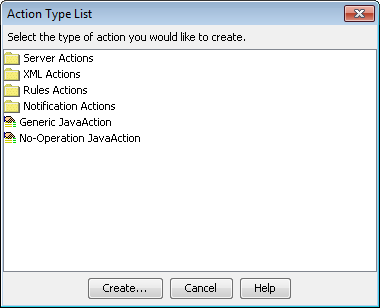
In the Action Type List dialog, expand the folder where the Java Action to be added is located. Select the Java Action, and click Create.
Perform operations required depending on the action you selected.
Click OK.
You can rearrange the order in which Java Actions are executed by highlighting the Java Action and clicking the Up or Down button.
Note
You cannot use the Up and Down buttons to move a Java Action to a different Action Set. To do this, use cut, copy, and paste (for more information, refer to section 11.1.4 Cutting, Copying and Pasting Java Actions).