Note
When starting the Analytics Studio under Windows Vista®, Microsoft® Windows Server® 2008, and Windows® 7, execute it as the administrator. To do so, from the Start menu, select All Programs, Accessories, then right-click Command Prompt and select Run as administrator.
Make connection settings to the Dashboard Server.
Start "eclipse.exe "in the Eclipse installation folder.
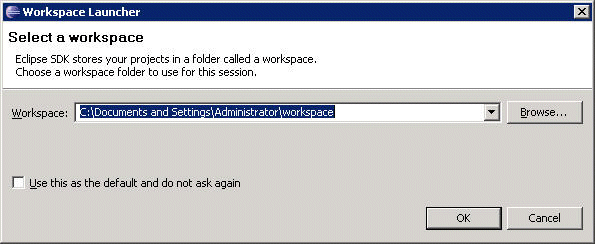
A screen asking for confirmation of the workspace name opens. With the default name selected, click the OK.
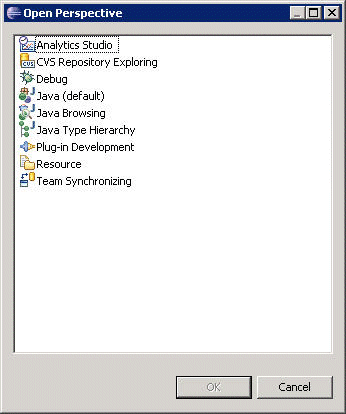
Select Open Perspective in Window and then click Other to open the following screen. Select "Analytics Studio" from the list, and click the OK.
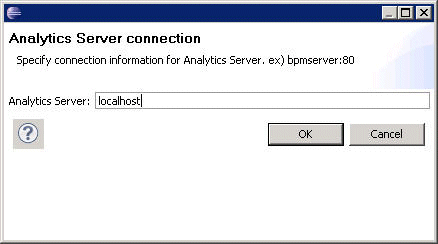
Input the IP address of the Dashboard Server in the Analytics Server column and click the OK. (You can also specify "localhost" if it is the same environment as the Dashboard Server.)
End Analytics Studio.
Correct the configuration file.
Change the activeFunction.properties file in <Eclipse installation location>\plugins\com.fujitsu.bpm.designer_11.1.0\conf as follows:
Immediately after installation:
#
# Sensor type
#
active.sensortype=RDB,ISI,Text,BPMFlow,MaintenanceBPMFlow
After correction:
#
# Sensor type
#
active.sensortype=RDB,ISI,Text,BPMFlow,MaintenanceBPMFlow,PDB
Apply the Analytics Studio you have defined to the Interstage Business Process Manager Analytics server.
Start Eclipse, and change Edit Mode to the single user mode.
Open "Analytics Studio Perspective", and click the Edit Mode. (The following steps will be based in this screen.)
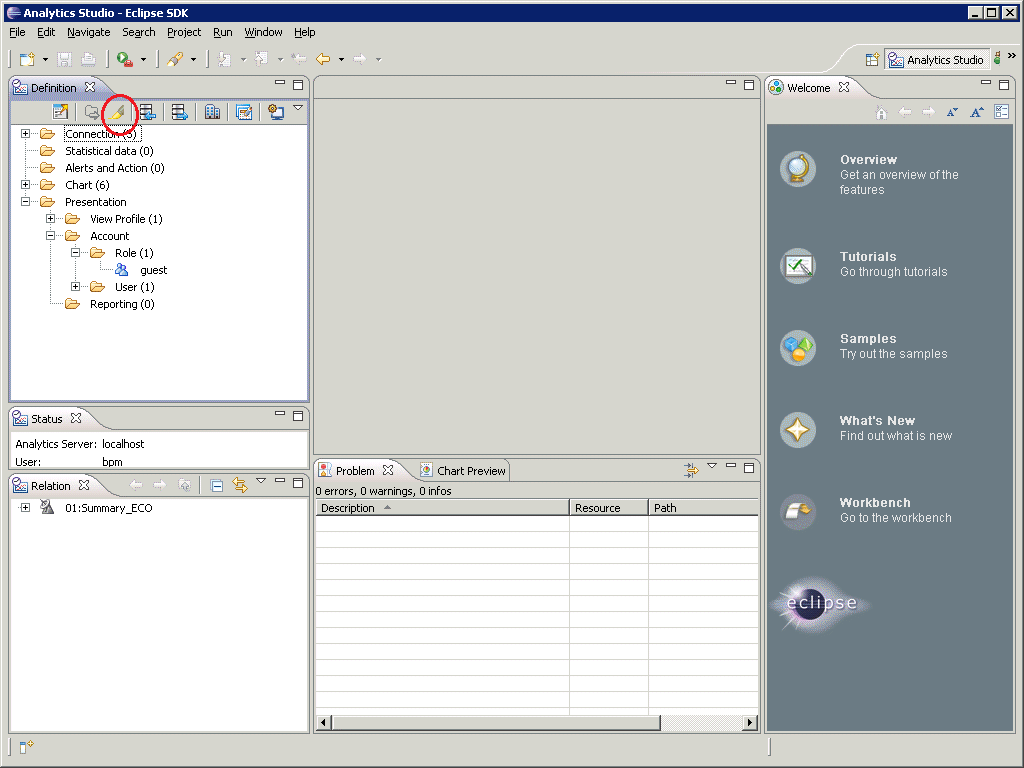
Note
If the Edit Mode is disabled, click the Reload from Server to the right to get the definitions (initial account and initial password: bpm).
Click the Yes.

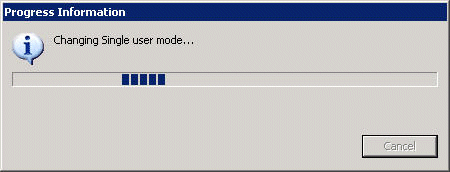
Specify the template file and register it with Interstage Business Process Manager Analytics server.
Point
Bring the following files from the Manager environment to Analytics Studio environment and store them in a directory.
These are self-extracting files. Double-click on each file to unpack it.
[In case that the Manager is Windows]
<Installation directory for the Manager>\dashboard\dashboard_en.exe
[In case that the Manager is Solaris or Linux]
/opt/FJSVssqc/dashboard/dashboard_en.exe
Click the Template to display the following screen, select Import template file and click the OK button.
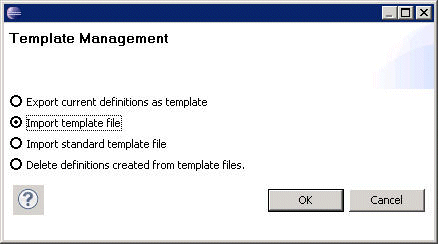
Click the Browse and specify the following folder from the extracted file:
<Extract directory>\dashboard\template\01-StandardTemplate
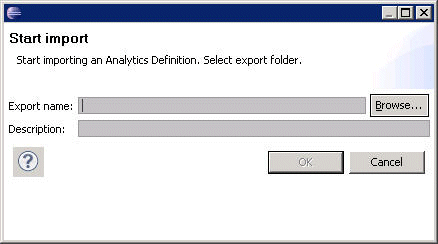
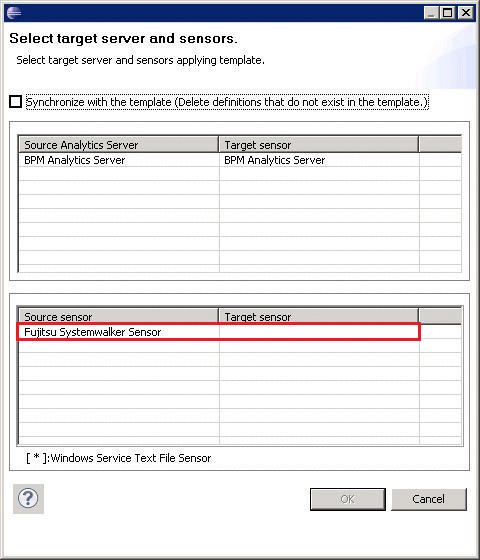
The Select target server and sensors screen appears so click the Target sensor column next to Source sensor.
In the selection box that appears, specify the following and then click the OK button:
[Windows]
Host name of the Dashboard Server
[UNIX]
localsensor
Click the OK button.

Refer to "4.1.3.5 Account Management" and set the account to the View Profile of the applied template.
Upload the edited template to the server.
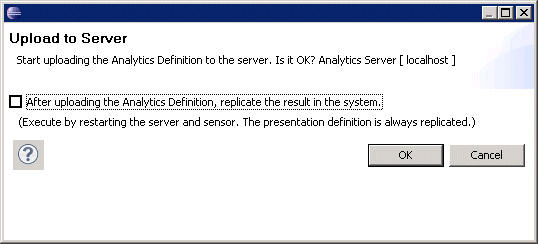
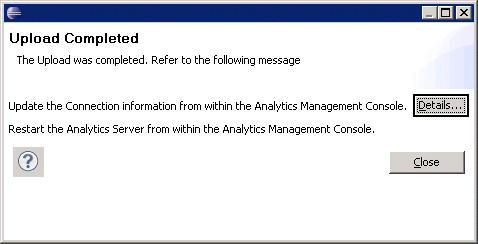
Click the Upload to Server and click the OK button when the following screen appears.
When the completion screen appears, click the Close.
Connect to the Interstage Business Process Manager Analytics Management Console. Refer to step 1 in "3.2.4.4 Setting an Interstage Business Process Manager Analytics database" for how to connect to the Management Console.
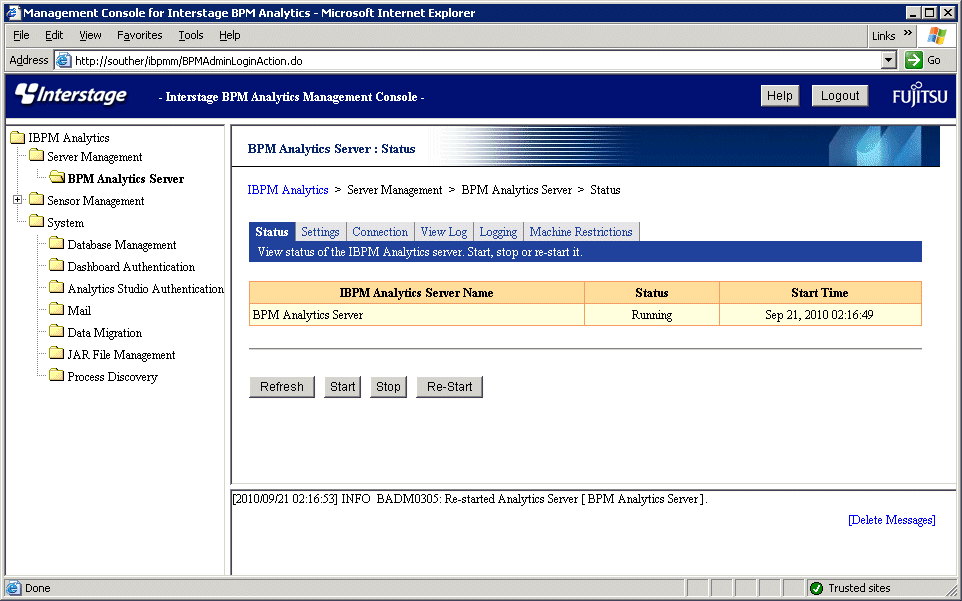
Restart the configuration files to Interstage Business Process Manager Analytics Server.
Click the BPM Analytics System >> Server Management >> BPM Analytics Server tab, then in the screen that appears to the right, click the Re-Start to restart.
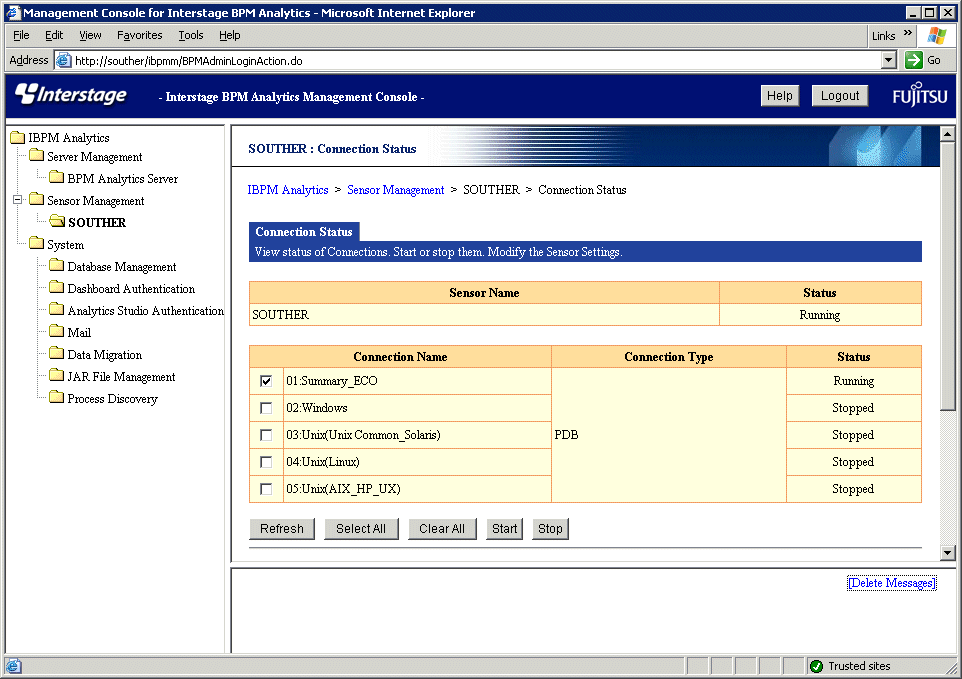
Start Sensor Connection Information (01:Summary_ECO).
Click the Sensor Management - <sensor name> tab, then in the screen that appears to the right, check the checkbox for the Connection Information name [01:Summary_ECO] and click the Start. Confirm that the Status has changed from "Stop" to "Start", then click the Logout at the top right.
Point
If you check After uploading the Analytics Definition, replace the result in the system in d in this step, then the Connection Information name [01:Summary_ECO] will already be started so it will not be necessary to restart it.
The <sensor name> is the name selected for Target sensor in b in this process.
