This section explains the steps for installing and setting up Interstage Business Process Manager Analytics.
This sub-section explains the steps for installing Interstage Business Process Manager Analytics.
Information
Refer to the following manual for details:
Section 4.1, " Installation" in the Interstage Business Process Manager Analytics V11.1 Installation Guide
[Windows]
Note
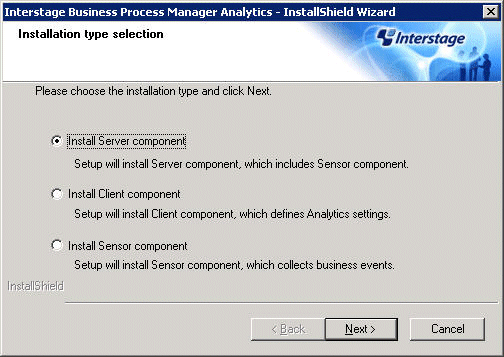
Select Install Server components in the Installation type selection window.
Start the installer.
Insert following CD-ROM in the CD-ROM drive of the computer:
"Systemwalker Service Quality Coordinator Enterprise Edition V13.5.0 Server Disc No.3/4"
Point
Depending on the machine's settings, the installation may not start automatically. If it does not start automatically, perform the following procedure to manually start the installation:
From the Start menu, select Run.
In the Run dialog, click Browse, select the following file, and then click the OK button.
CD-ROM drive: \swSetup.exe
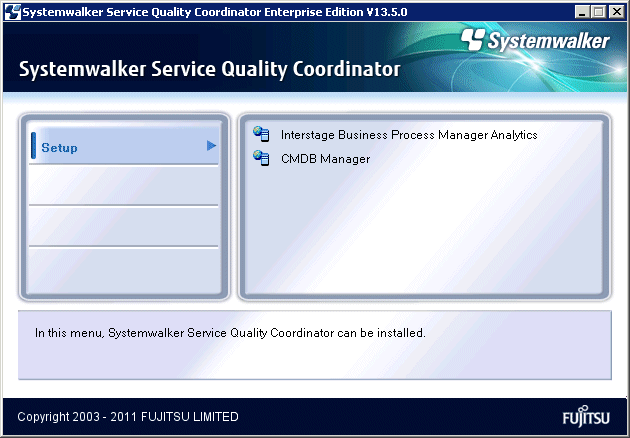
In the screen that is displayed, select Setup >> Interstage Business Process Manager Analytics.
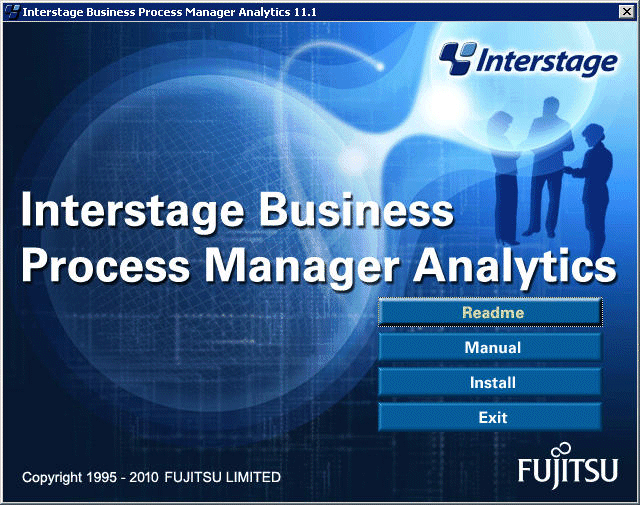
Click the Install button.
Select Install Server component and click the Next button
Confirm Installation.
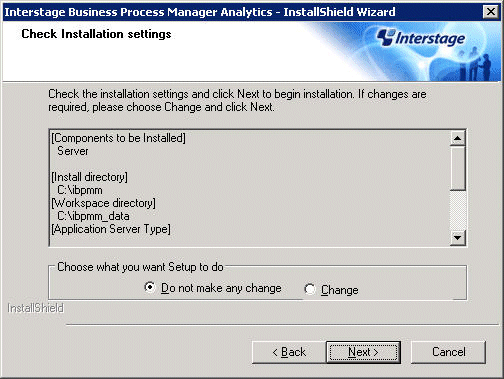
Confirm the information you have entered in the Check Installation settings screen. To make changes to the installation, for example to the installation directory, select Change and click Next. If there are no changes to make, select Do not make any change and click Next. Installation starts.
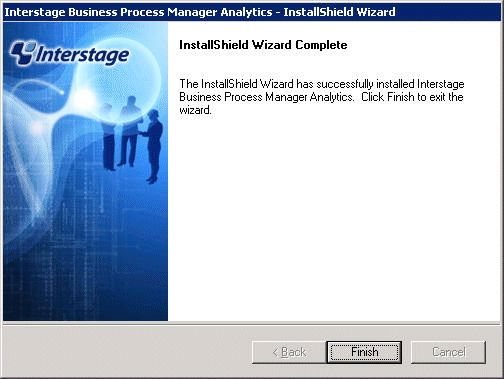
Click the Finish button.
[Solaris]
Put the CD-ROM in CD-ROM drive.
Insert the "Systemwalker Service Quality Coordinator Enterprise Edition V13.5.0 Server Disc No.5/6" CD-ROM into the CD-ROM drive. If the volume management daemon does not run automatically, mount the CD.
# mkdir -p /cdrom/cdrom0 (*1)
# /usr/sbin/mount  -F hsfs  -o ro /dev/dsk/cntndnsn /cdrom/cdrom0 (*2)
*1: Necessary only when there is no /cdrom/cdrom0.
*2: Match n to the CD-ROM drive of each installation machine.
Start the Interstage services necessary for installation. Execute the following commands:
Start the Interstage JMX service.
# /opt/FJSVisjmx/bin/isjmxstart
Start the GUI service.
# /opt/FJSVisgui/bin/ismngconsolestart
Start the Interstage service.
# /opt/FSUNtd/bin/isstart
Start the installer.
The procedure for starting the installer (when the mount point of the CD-ROM is/cdrom/cdrom0) is as follows:
# cd /cdrom/cdrom0/bpma
# ./install.sh
Install with the standard settings. Press Enter without making any other changes.
This package's installation information is as follows:
        Installation Type:             server (fixed value)
        Install directory:             /opt (fixed value)
        Workspace directory:           /var/opt (fixed value)
        Application Server Type:       Interstage (fixed value)
        Java Home directory:           /opt/FJSVawjbk/jdk5 (fixed value)
        Server FQDN or IP address:     cmdb-rx5-217
        Port Number:                   80
Would you like to change the install information? n [y,n,?,q]
[Linux]
Put the CD-ROM in CD-ROM drive.
Insert the "Systemwalker Service Quality Coordinator Enterprise Edition V13.5.0 Server Disc No.5/7" CD-ROM into the CD-ROM drive. If the volume management daemon does not run automatically, mount the CD.
# mount -r -t iso9660 /dev/cdrom /mnt/cdrom (*1)
*1: Match mount point /mnt/cdrom of the CD-ROM drive to each system environment.
Start the Interstage services necessary for installation. Execute the following commands:
Start the Interstage JMX service.
# /opt/FJSVisjmx/bin/isjmxstart
Start the GUI service.
# /opt/FJSVisgui/bin/ismngconsolestart
Start the Interstage service.
# /opt/FJSVtd/bin/isstart
Start the installer.
The procedure for starting the installer (when the mount point of the CD-ROM is/mnt/cdrom) is as follows:
# cd /mnt/cdrom/bpma
# ./install.sh
Note
If the CD-ROM mounted automatically, the following message may appear due to permission being denied:
-bash: ./install.sh: /bin/sh: bad interpreter: Permission denied
If this occurs, unmount the CD-ROM, then start again at step 1 to remount it.
Install with the standard settings. Press Enter without making any other changes.
This package's installation information is as follows:
        Installation Type:             server (fixed value)
        Install directory:             /opt (fixed value)
        Workspace directory:           /var/opt (fixed value)
        Application Server Type:       Interstage (fixed value)
        Java Home directory:           /opt/FJSVawjbk/jdk5 (fixed value)
        Server FQDN or IP address:     cmdb-rx5-217
        Port Number:                   80
Would you like to change the install information? n [y,n,?,q]
Register jar files to Interstage Business Process Manager Analytics.
Information
Refer to the following manual for details:
Section 5.6, " JAR File Management" in Interstage Business Process Manager Analytics V11.1 Management Console Guide
Register the .jar files that are necessary to put together the Systemwalker Service Quality Coordinator Dashboard.
Connect to the Interstage Business Process Manager Analytics Management Console.
[Windows]
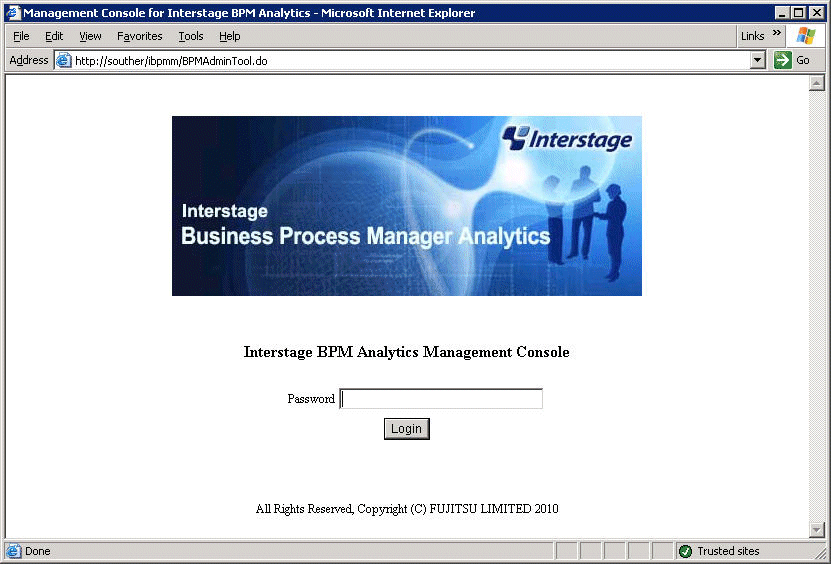
From the Windows Start menu, select "Interstage Business Process Manager Analytics", "Management Console" and login. The initial password is "bpm".
[UNIX]
Access the following URL from the Web browser of the Analytics Studio environment, and start the Interstage Business Process Manager Analytics Management Console:
http://<IP address of the dashboard server>/ibpmm/BPMAdminTool.do
Point
The following should be done under a Windows environment, but this does not necessarily have to be performed on the Analytics Studio environment:
Bring the following files from the Manager environment to the environment which is displaying the Interstage Business Process Manager Analytics Management Console and store them in a directory.
These are self-extracting files. Double-click each file to unpack them.
[In case that the Manager is Windows]
<Installation directory for the Manager>\dashboard\dashboard_en.exe
[In case that the Manager is Solaris or Linux]
/opt/FJSVssqc/dashboard/dashboard_en.exe
Register the necessary .jar files using System >> JAR File Management.
Click the Browse, select the .jar files, and click the Add.
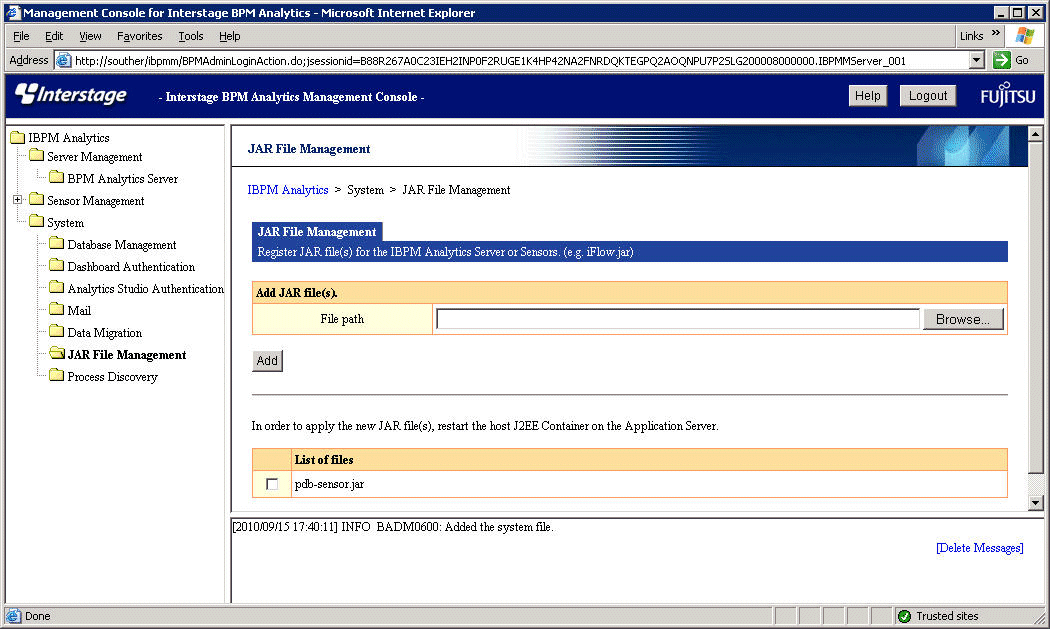
Register the following jar files from the files you extracted in step 2:
<Extract directory>\dashboard\sensor\lib\pdb-sensor.jar
<Extract directory>\dashboard\cmdb\lib\cmdb-common.jar
<Extract directory>\dashboard\cmdb\lib\axiom-dom-1.2.5.jar
<Extract directory>\dashboard\cmdb\lib\commons-logging-1.1.jar
<Extract directory>\dashboard\cmdb\lib\wsdl4j-1.6.2.jar
Register configuration files to Interstage Business Process Manager Analytics.
Insert the template files for the Interstage Business Process Manager Analytics sensor.
From the files extracted and brought from the Manager environment in step 2 of "3.2.4.2 Registering jar files to Interstage Business Process Manager Analytics", copy the entire PDB directory to the Dashboard Server Environment.
The following files are stored in the PDB directory:
agenttype.xml
template.xml
template_resource.properties
template_resource_ja.properties
[Windows]
Copied from (environment that the files were brought from the Manager environment):
<Extract directory> \dashboard\sensor\types\PDB
Copy to (dashboard server environment):
C:\Interstage\J2EE\var\deployment\ijserver\IBPMMServer\apps\ibpmm.war\conf\types
[Solaris/Linux]
Copied from (environment that the files were brought from the Manager environment):
<Extract directory> \dashboard\sensor\types\PDB
Copy to (dashboard server environment):
/var/opt/FJSVj2ee/deployment/ijserver/IBPMMServer/apps/ibpmm.war/conf/types
Insert the log configuration files for the Interstage Business Process Manager Analytics sensor.
From the files extracted and brought from the Manager environment in step 2 of "3.2.4.2 Registering jar files to Interstage Business Process Manager Analytics" copy the BPMAS_PDB_Log4jConfiguration.xml file to the directory C:\Interstage\J2EE\var\deployment\ijserver\IBPMMServer\apps\ibpmm.war\conf\log in the Dashboard Server environment.
[Windows]
Copied from (environment that the files were brought from the Manager environment):
<Extract directory>\dashboard\sensor\log\BPMAS_PDB_Log4jConfiguration.xml
Copy to (dashboard server environment):
C:\Interstage\J2EE\var\deployment\ijserver\IBPMMServer\apps\ibpmm.war\conf\log
[UNIX]
Copied from (environment that the files were brought from the Manager environment):
<Extract directory> \dashboard\sensor\log\BPMAS_PDB_Log4jConfiguration.xml
Copy to (dashboard server environment):
/var/opt/FJSVj2ee/deployment/ijserver/IBPMMServer/apps/ibpmm.war/conf/log
Stop the Interstage working unit and then restart it. The settings will take effect after restarting.
Information
Refer to the following manual for details:
"Starting and Stopping WorkUnits" in the Interstage Application Server Operator’s Guide
Specify the following URL to display the Interstage Administration Console:
If SSL encrypted communication is to be used (if Interstage Application Server has been installed with the default settings):
https://host name:port number/IsAdmin/If SSL encrypted communication is not to be used:
http://host name:port number/IsAdmin/Point
Host name
Specify the host name or IP address of the Dashboard Server.
Port number
Specify the port number of Interstage HTTP Server for the Interstage Management Console. The port number is set during installation of the Interstage Application Server. The default is 12000.
Specification of the host name and port number is the same as for when SSL encrypted communication is not to be used.
Login to the same account used when installing Interstage Application Server.
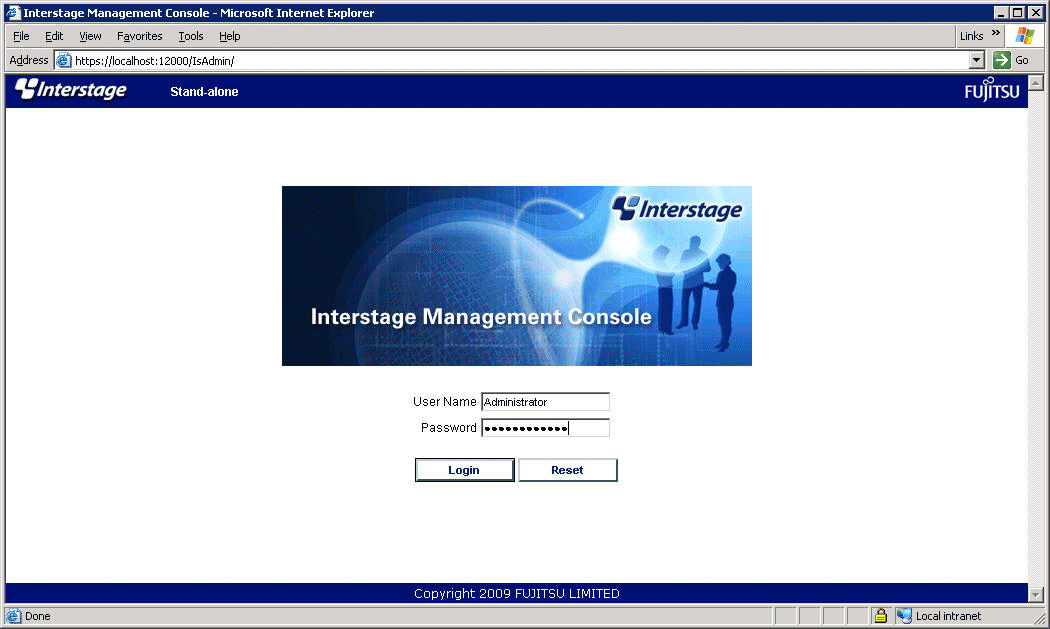
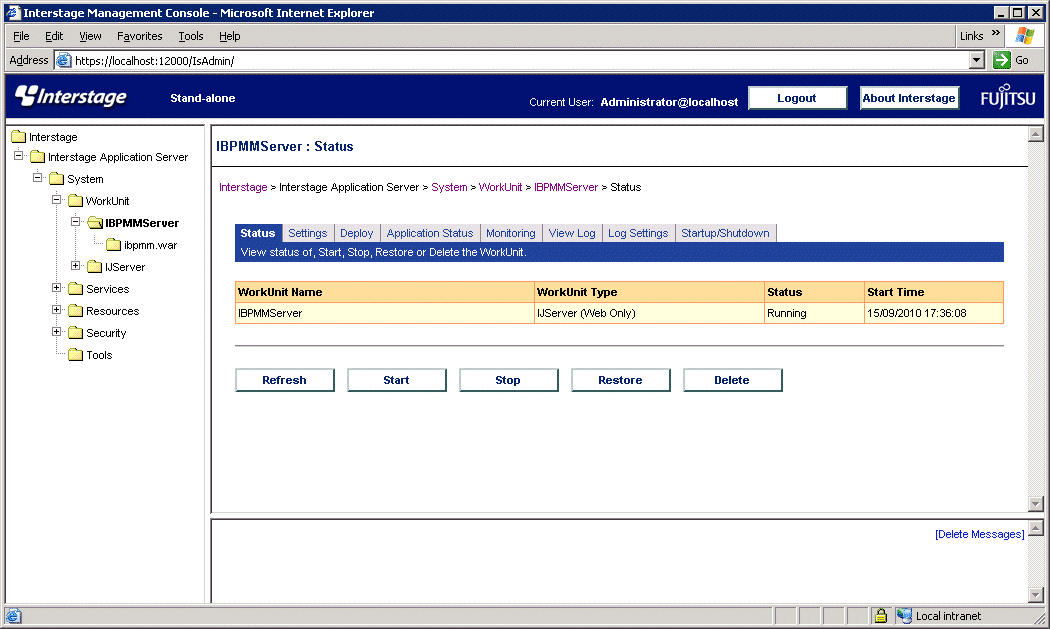
Select System >> WorkUnit >> IBPMMServer to open the following screen. Click the Stop (a screen asking you to choose Normal Stop or Forced Stop may appear, choose the Normal Stop, and then click Stop).
Click the Start when you return to the following screen:
Set an Interstage Business Process Manager Analytics database.
Information
Refer to the following manual for details:
Chapter 8, "Procedure for setup execution environment" in the Interstage Business Process Manager Analytics V11.1 Installation Guide
Connect to the Interstage Business Process Manager Analytics Management Console.
[Windows]
From the Windows Start menu, select Interstage Business Process Manager Analytics >> Management Console >> Login The initial password is "bpm".
[UNIX]
Access the following URL from the Web browser of the Analytics Studio environment, and start the Interstage Business Process Manager Analytics Management Console:
http://<IP address of the dashboard server>/ibpmm/BPMAdminTool.do
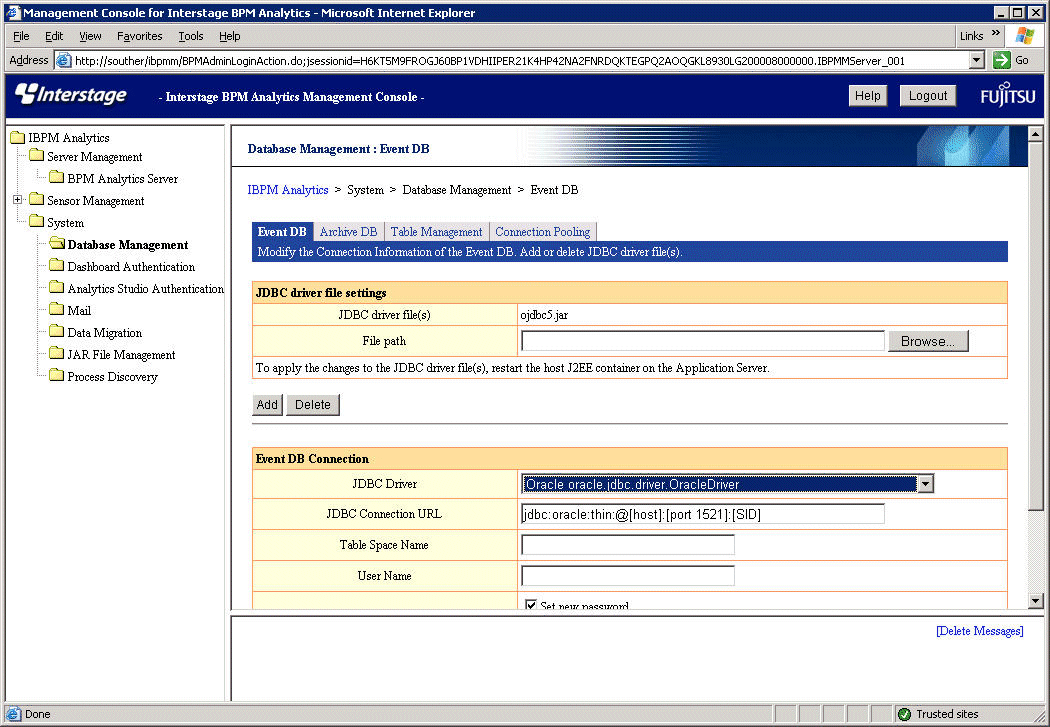
From System >> Database Management >> Event DB register the driver file for JDBC.
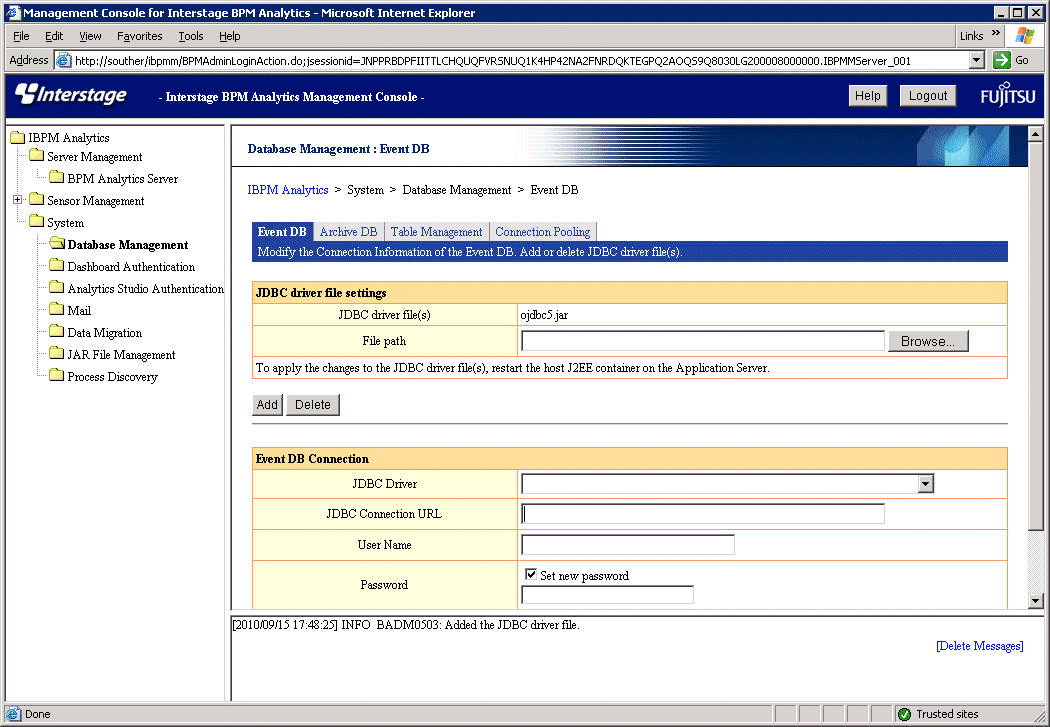
Register the JDBC driver file.
Point
If necessary, transfer the files to the local environment and specify the path of the forwarding site.
Stop the Interstage working unit and then restart it. The settings will take effect after restarting.
Information
Refer to the following manual for details:
"Starting and Stopping WorkUnits" in the Interstage Application Server Operator’s Guide
Access the following URL to display the Interstage Administration Console:
If SSL encrypted communication is to be used (if Interstage Application Server has been installed with the default settings):
https://host name:port number/IsAdmin/
If SSL encrypted communication is not to be used:
http://host name:port number/IsAdmin/
Point
Host name
Specify the host name or IP address of the Dashboard Server.
Port number
Specify the port number of Interstage HTTP Server for the Interstage Management Console. The port number is set during installation of the Interstage Application Server. The default is 12000.
Specification of the host name and port number is the same as for when SSL encrypted communication is not to be used.
Login to the same Windows account used when installing Interstage Application Server.

Select System >> WorkUnit >> IBPMMServer to open the following screen. Click the Stop (a screen asking you to choose Normal Stop button or Forced Stop button may appear, but you should choose the Normal Stop, and then click Stop).
Click the Start when you return to the following screen:

Make settings for the event storage database in the Operation Management Console of Interstage Business Process Manager Analytics.
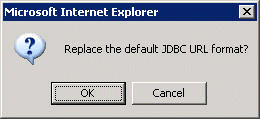
When you select corresponding driver in the "JDBC driver" column, a confirmation dialog will appear. Click the OK.
Enter the following items and click the Change button:
Set value | Requirement | |||
|---|---|---|---|---|
JDBC Connection URL | Replace each parameter (host, port, and SID) in the URL displayed in the JDBC Connection URL column with the parameters that will actually be used. | |||
host | Replace with the dashboard server name or IP address. | |||
port | Replace with the port number used by the database. | |||
SID | Replace with the system identifier used by the database. | |||
Table Space Name | Replace with the "EVENTSPACE" defined in the .dat file created in "Database Setup". If you have changed the database space name from "EVENTSPACE", also replace this with the new name. | |||
User Name | Set with the user name ("EVENTUSER" in the example .dat file) defined in the .dat file created in " Database Setup ". | |||
Password | Set with the password ("password" in the example .dat file) defined in the .dat file created in " Database Setup ". | |||
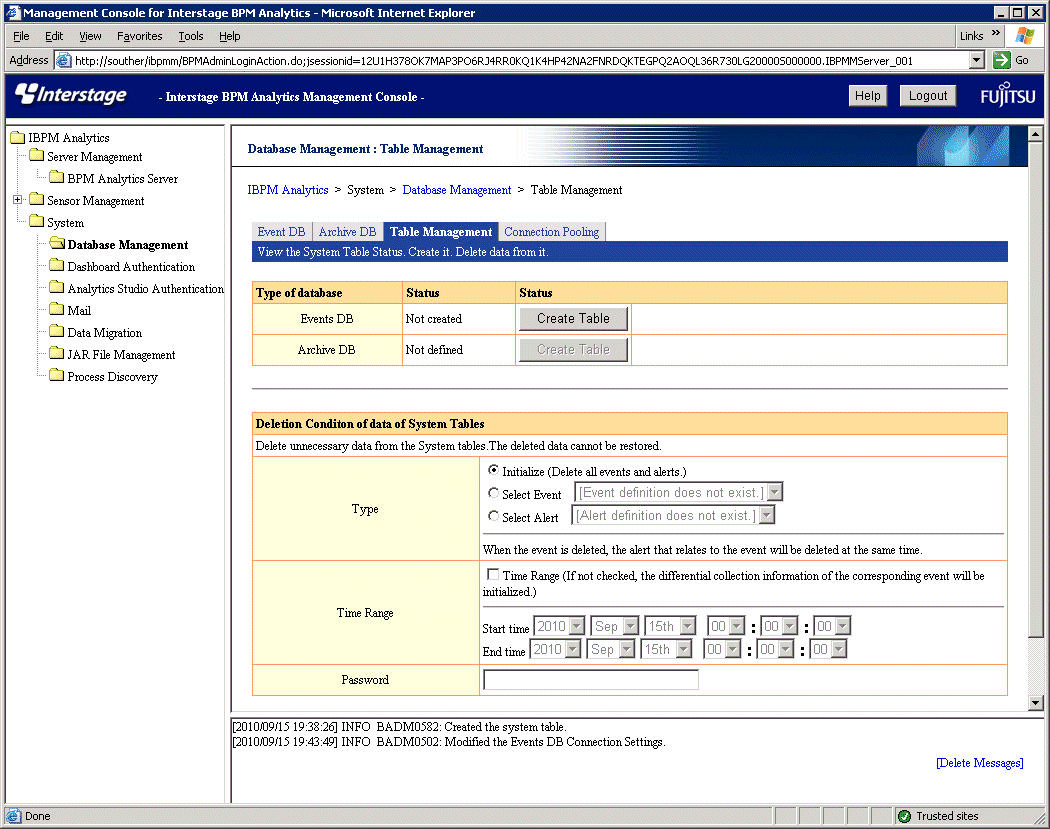
Click to the Table Management tab, and click the Create Table on the right side of the event storage database.
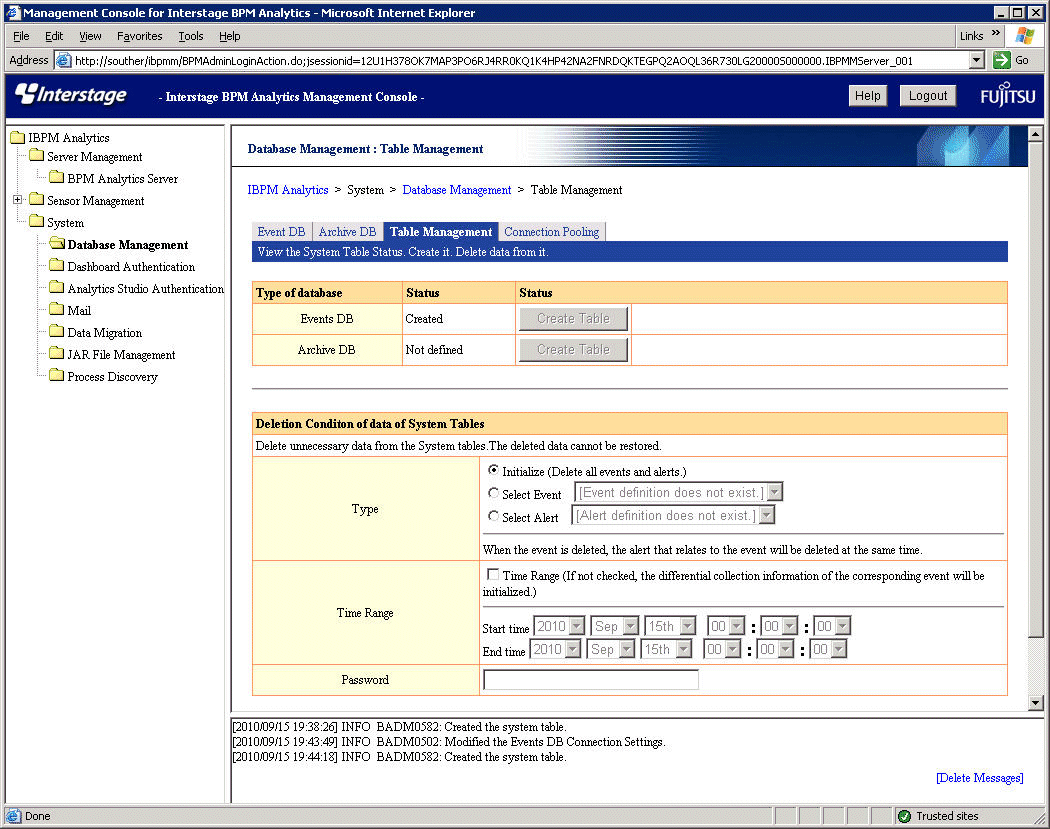
Check that the status column next to Event DB has changed to Created.
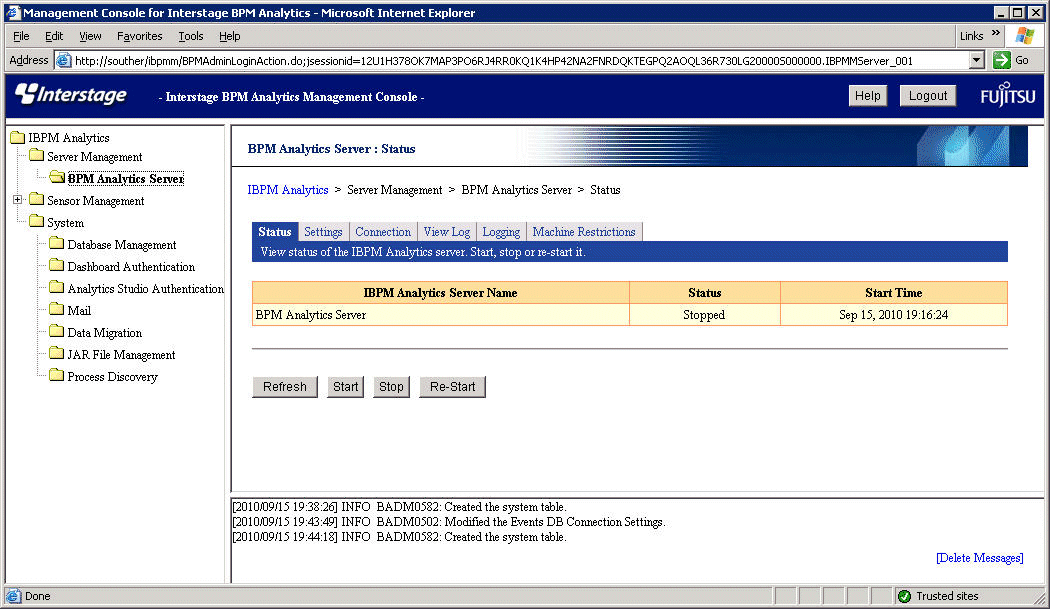
Click the BPM Analytics Server, then click the Start on the screen that appears to the right. Confirm that the Status has changed from "Stopped" to "Running", then click the Logout at the top right.
