Create section information through one of the following approaches.
Register or delete through the operation of the Environment Setup window
Register through uploading the CSV file
The procedure is as follows.
Login to the main menu and click Environment Setup
The Environment Setup window is displayed.
Click the Sections button.
The following window is displayed.
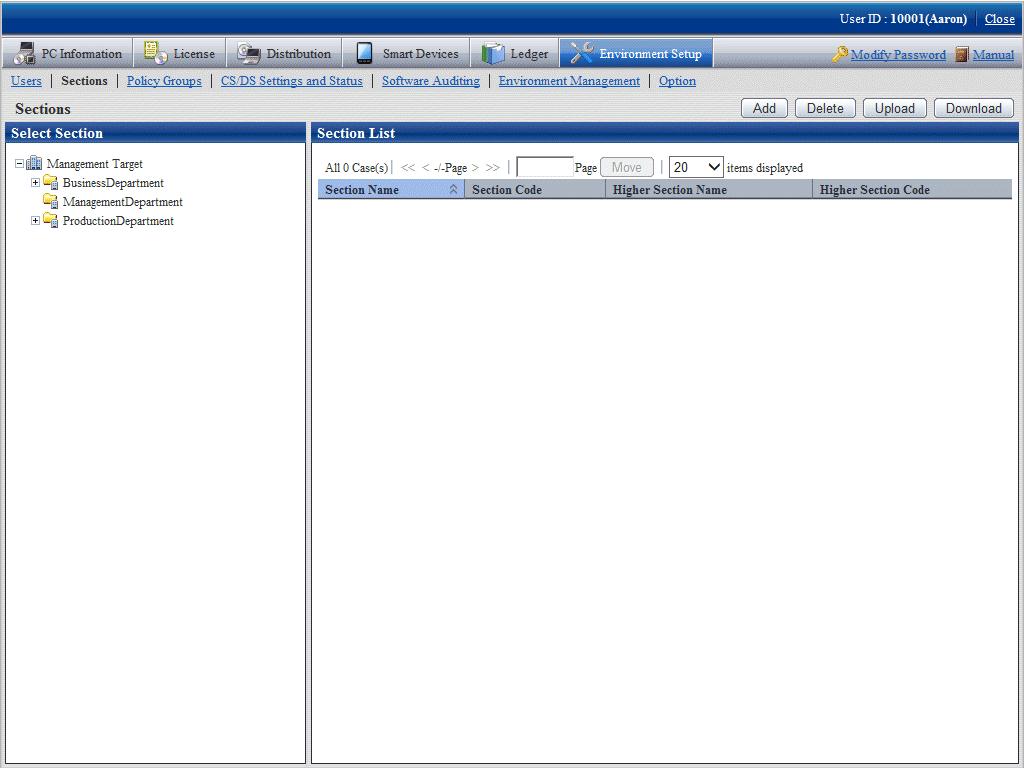
Click the Add button.
The following window is displayed.
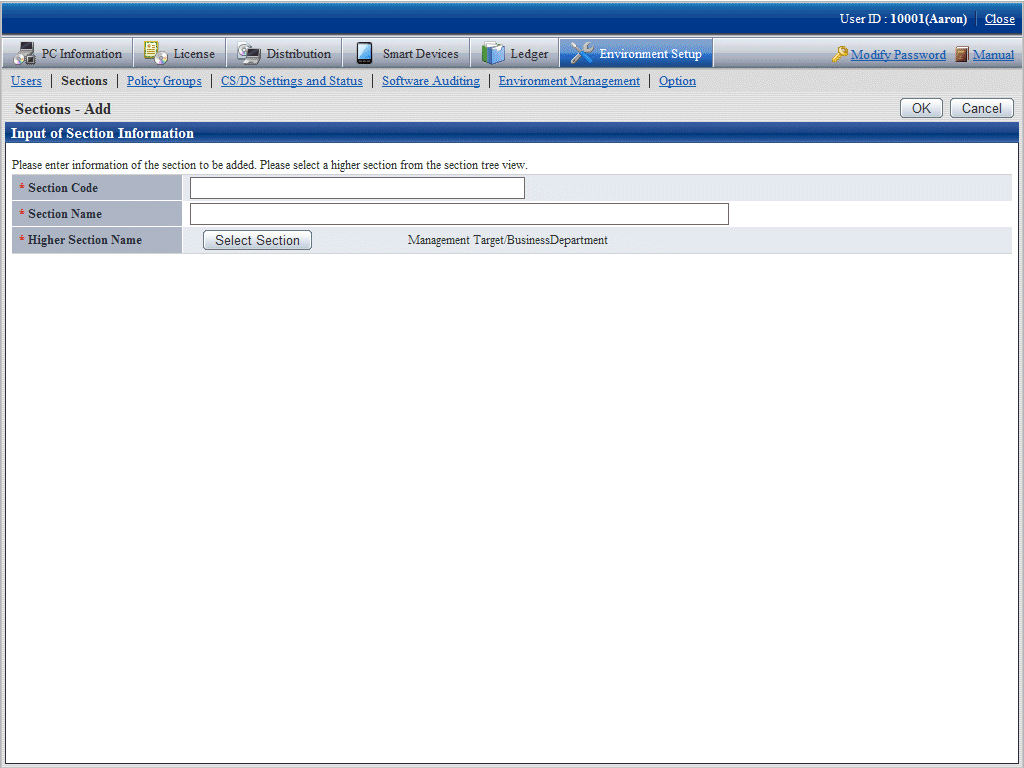
Enter the information of the section to be registered.
Items to be defined | Input Characters |
|---|---|
Section Code | Specify a section code. |
Section Name | Specify the name of a section or section. However, when multi-byte characters are specified, only 180 bytes can be specified. |
Higher Section Name | Enter the section at the higher of the section to be added. |
Click the OK button.
The section management information is registered.
It describes how to delete a section.
The procedure is as follows.
Login to the main menu and click Environment Setup.
The Environment Setup window is displayed.
Click the Sections button.
The following window is displayed.

Click the Delete button.
The following window is displayed.
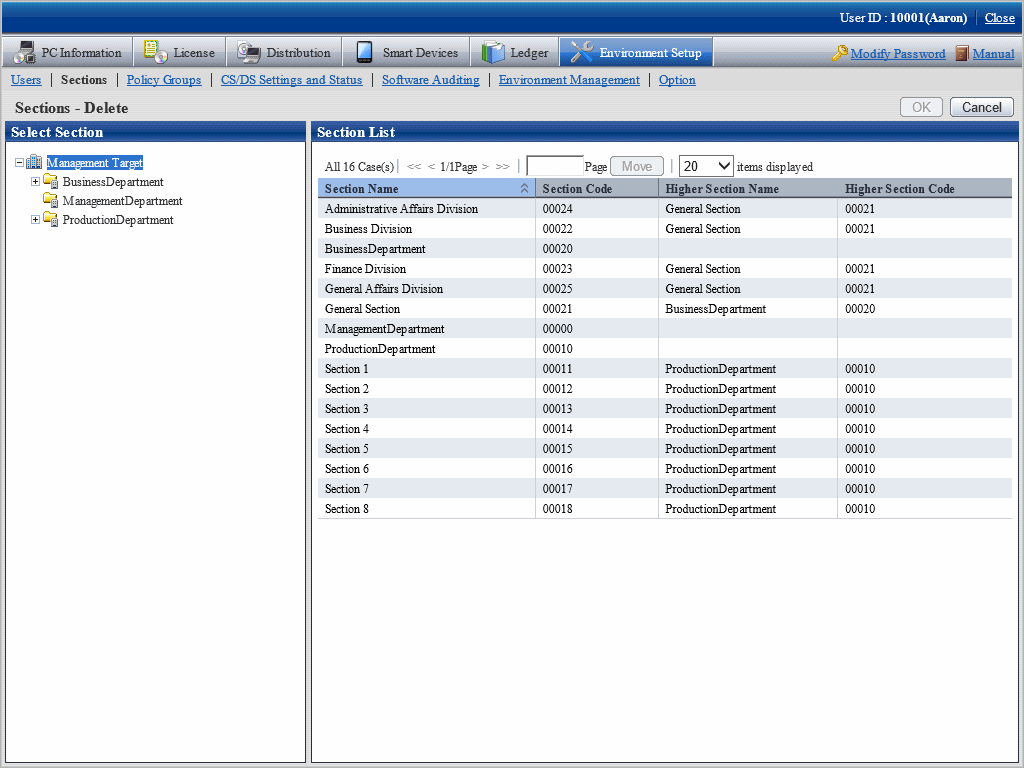
Select the section to be deleted from the tree on the left, and click the OK button.
Section management information is deleted.
If PC exists in the section to be deleted, the section cannot be deleted.
If the section to which the user of PC (user) belongs has been modified, delete the section after modifying the section to which the user belongs or deleting the user. Alternatively, delete the section after deleting the correspondent PC in the deletion of PC Information > Inventory Information window.
After the section has been deleted, the user of "Section Management Account" that belongs to the deleted section will become "User Account".
After the section has been deleted, the user that belongs to the section to be deleted will be moved to the not Configured user.
Record the section management information to a file in CSV format, and register the section by uploading this file.
For details of the CSV file format, refer to the Reference Manual.
New registration
The method of new registration by uploading is as follows.
Login to the main menu and click Environment Setup.
The Environment Setup window is displayed.
Click the Sections button.
The following window is displayed.

Click the Upload button.
The following window is displayed.
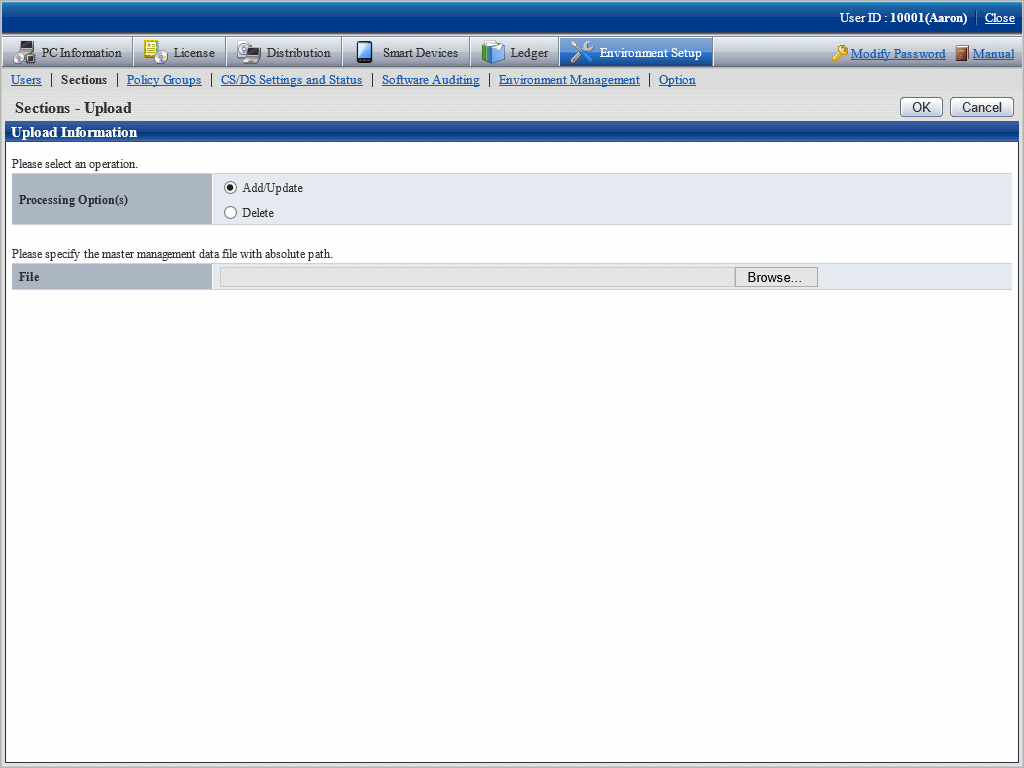
Enter the following items.
Processing Option(s)
Select the operation content from the following items.
Item | Meaning |
|---|---|
Add/Update | Add/Update the data that has been registered in Master data. Register new data in which the value of key item of the data to be uploaded should not be duplicated as the value of Key Item of the management information that has been registered. Update the data in which the value of the key item of data to be uploaded is matched with the value of Key Item of the management information that has been registered. * The Key Item is the initial item of management information created in CSV format. |
Delete | Delete the data that has been registered in Master data. Delete the data in which the value of Key Item of the data to be uploaded is the same as the value of Key Item of the management information that has been registered, * The Key Item is the initial item of management information created in CSV format. |
File
Select the file in CSV format.
After the specification has completed, click the OK button.
The upload result is displayed.
When error occurred, the list of section that cannot be added/updated due to inconsistence of section management information can be downloaded.
For error content, refer to the error content of "dtpmast.exe (Constructing Master Data)" in Reference Manual.
Modify a registration
The method of modifying the registered Master data is as follows.
Login to the main menu and click Environment Setup.
The Environment Setup window is displayed.
Click the Sections button.
The following window is displayed.

Select a section from the tree of the left field.
The organizations under the selected section is displayed on the right field.
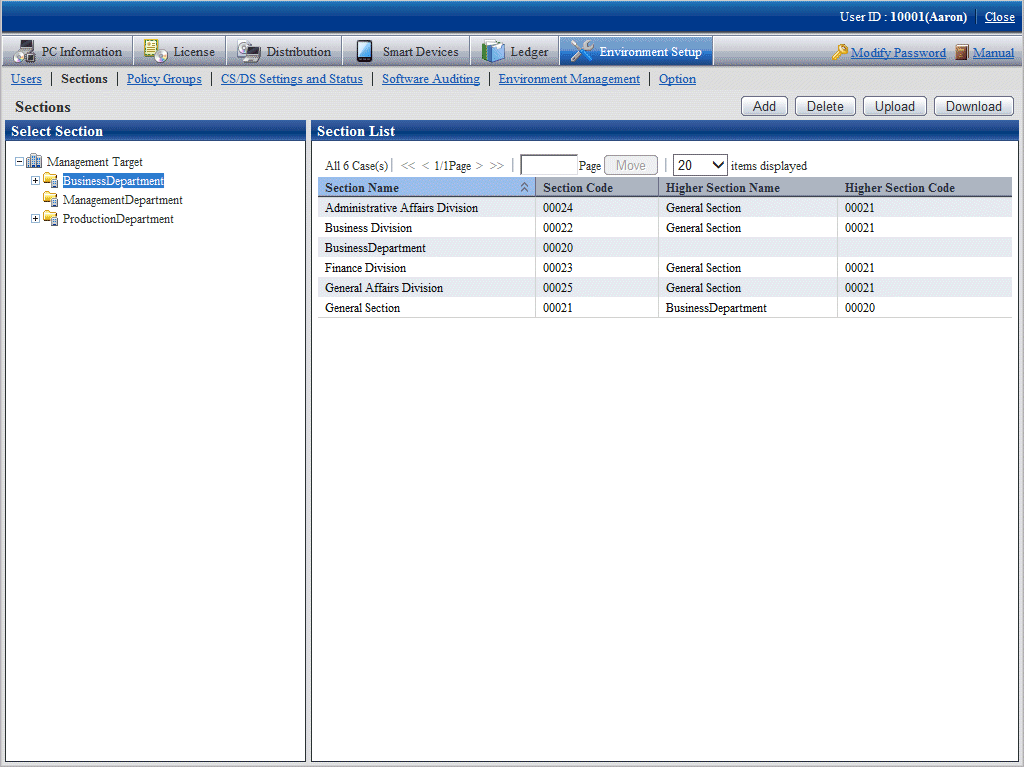
Click the Download button.
The following window is displayed.
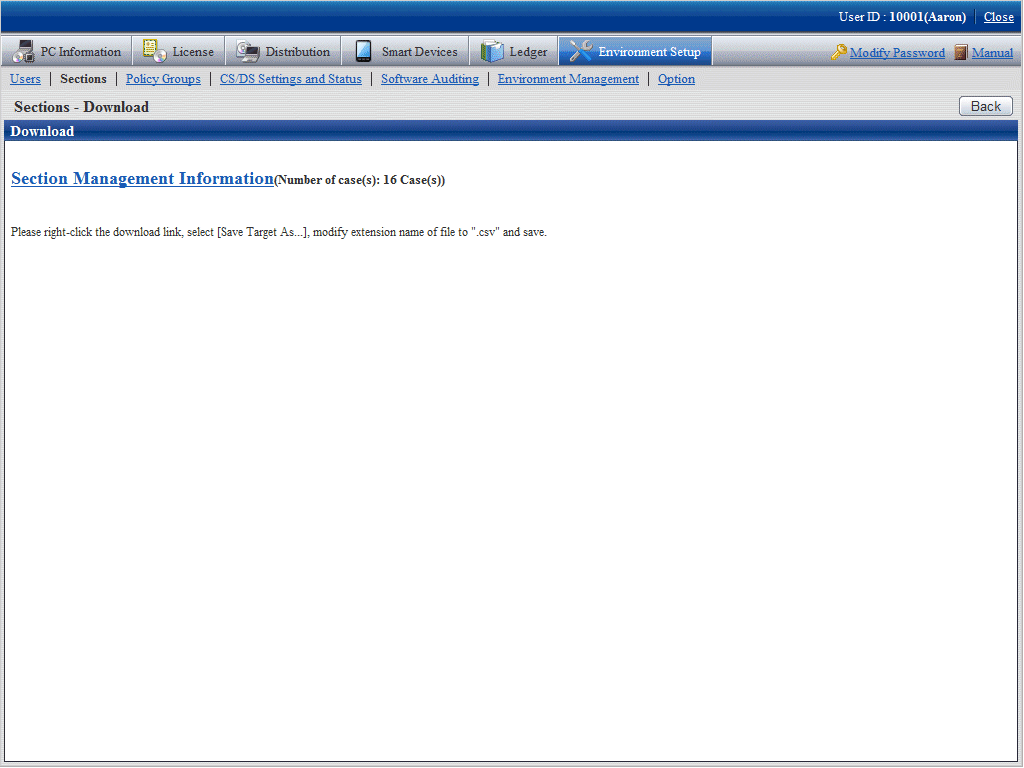
Right-click the download anchor and select Save to a file or Save the link. Save it by the ".csv" extension.
Edit the downloaded file and create a data file according to the purpose of addition, updating, or deletion.
Note
Note the following if using spreadsheet software such as Microsoft Excel instead of a text editor when modifying or saving downloaded CSV files.
Although values using double quotation marks are correctly displayed in the original file, the double quotation marks disappear when you modify or save the file using spreadsheet software, therefore, in such cases use a text editor to add the double quotation marks.
Although the leading zeros in values such as "000001" are correctly displayed in the original file, all the zeros disappear, and the value in this example is replaced with "1"when you modify or save the file using spreadsheet software. Therefore, in such cases, force the spreadsheet software to recognize the numbers as text.
Example: When modifying data in Microsoft Excel, use the user-defined format to display the leading zeros, or insert a single quotation mark before the first digit.
As in the content of new registration mentioned above, register the management information of CSV format from the Sections - Upload window.
After the section has been deleted, the user of "Section Management Account" that belongs to the deleted section will become "User Account".
Procedure of modifying section code
It describes how to modify the section code.
The procedure is as follows.
Download the CSV file of section management information. refer to the procedure of "Modify a registration" of "2.1.4.3 Register through Uploading".
In the CSV file downloaded in "1.", modify the section code and other content that is required to be modified.
Delete the section to be modified. Refer to "2.1.4.2 Delete Section".
Register the CSV file edited in "2.". Refer to the procedure of "New Registration" of "2.1.4.3 Register through Uploading".
If the lower-level section exists under the section to be modified, the lower-level section also needs to be modified. If the lower-level section exists, it is unable to delete only the higher section.