This section explains the procedure for converting an existing COBOL project into a project under remote development, and then creating a COBOL program for a server by remote development.
1. Make server environment settings
3. Set server information for the project
1. Make server environment settings
Make environment settings for the server to be used for remote development. Check with your server administrator. For details on environment settings of a server, see "9.2.1.1 NetCOBOL Remote Development Service" and "9.2.2 Setting up the user environment on the server."
2. Set server information
Set information for linkage with the server used for remote development.
Select "Window" > "Preferences" from the menu bar. When the "Preferences" dialog box appears, select "COBOL" > "Remote Development". The "Remote Development" page is displayed.
Select the "New" button on the "Remote Development" page.
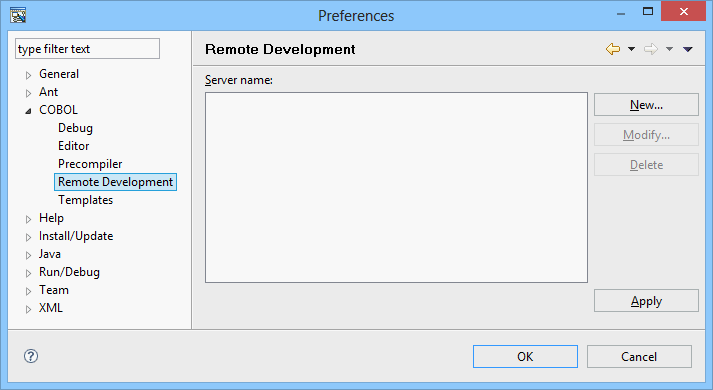
The "New Server Information" dialog box appears.
Set the information required for linking to the server as follows:
Field | Entry | ||
|---|---|---|---|
Server name | Enter an arbitrary name that will be used to manage server information. | ||
Server OS | Select the operating system of the server used for remote development. | ||
Server address | Enter a name (FQDN: Fully Qualified Domain Name) or IP address that identifies the server in the network. | ||
Save user name and password | Check this checkbox. | ||
User name | Enter the user name of the account used to access the server. | ||
Password | Enter the password assigned to the user. | ||
Character-code conversion | This section is for the specification of text file code conversion information. | ||
COBOL Source character-code on the server side | Select the character-code of the COBOL source file transferred to the server side of remote development. | ||
Convert character set in the server | Select "Convert character set in the server", since code conversion processing is executed on the server. This field is disabled if "Windows(Itanium)" or "Windows(x64)" is selected at "Server OS". | ||
Convert character set in the client | |||
Information for UNIX Server system | This information should be configured if Solaris, Linux(x86), Linux(Itanium), or Linux(x64) is specified at "Server OS". | ||
FTP is used for remote development | If this field is selected, use the ftpd/rexec service as the remote development server-side service. | ||
Use PASV mode for file transfer(FTP) | Check this box only if file transfer will be in PASV mode. This field is enabled if remote development uses the server-side ftpd/rexec service. | ||
NetCOBOL Remote Development Service on server side | This information is for the server-side NetCOBOL remote development service. | ||
This item is enabled if the Server OS is "Windows (Itanium)", and is used to specify the TCP/IP port number of the NetCOBOL remote development service. | |||
SSH Port Forwarding | The connection to NetCOBOL remote development services are encrypted. When "Linux(x64)" is selected at "Server OS", this item is enabled. | ||
SSH Port number | Specify the SSH Port number. The default value is 22. When "SSH Port Forwarding" is selected, this item is enabled. | ||
SSH Server FingerPrint | Specify the FingerPrint by hexadecimal digit string. Ask the server administrator about the value. When "SSH Port Forwarding" is selected, this item is enabled. | ||
Algorithm | Specify the algorithm of SSH Server FingerPrint (either sha1 or md5). Ask the server administrator about the value. The default value is md5. When "SSH Port Forwarding" is selected, this item is enabled. | ||
After setting the information in the "New" dialog box, click the "Connection test" button. When the information is correct, environmental variable information for the server is displayed.
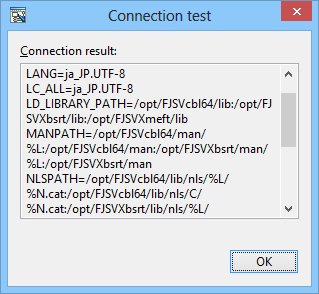
Click the "OK" button in the "Connection test" dialog box to return to the "New Server Information" dialog box.
Click the "OK" button in the "New Server Information" dialog box. The "Preferences" dialog box appears. The server name entered in the "New Server Information" dialog box is displayed in Server name on the "Remote Development" page.
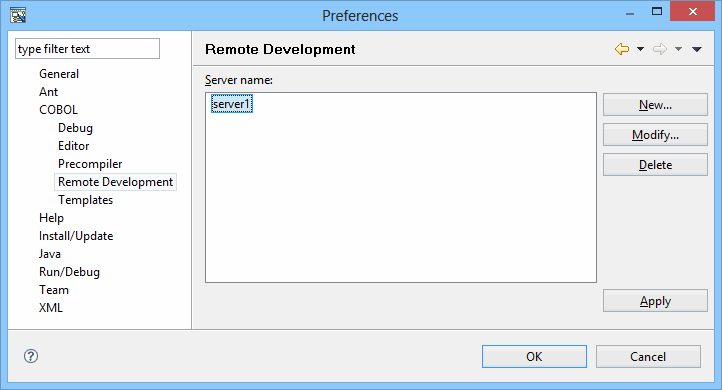
Click the "OK" button to close the "Preferences" dialog box.
Point
Since the server information set in this step is shared among workspaces, the information can be used from another workspace.
3. Set server information for the project
To convert a COBOL project into one under remote development, set the server information for the project.
Select the project in the "Dependency" or "Structure" view, and select "Property" from the context menu. The property dialog box appears.
Select "Remote Development" in the left pane of the property dialog box. The "Remote Development" page is displayed.
Set the server information for the project as follows:
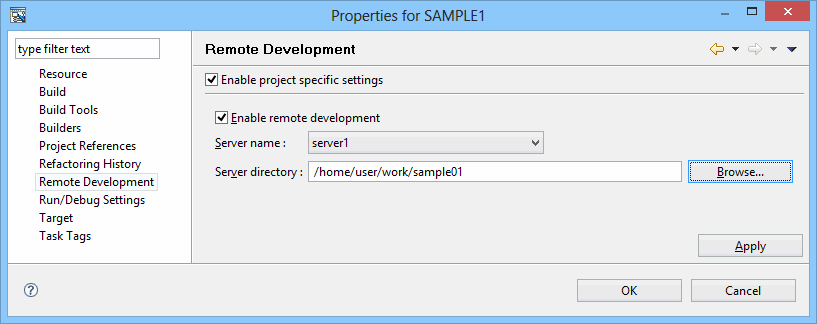
Field | Entry |
|---|---|
Enable project specific setting | This checkbox must be checked. |
Enable remote development | This checkbox must be checked. |
Server name | Select the server name that was entered in the "Set server information". |
Server directory | Specify the full path name of the storage directory of the resources used for remote development. The server directory can be selected by clicking the "Browse" button. The makefile creation function and remote build function use this directory as the current directory for processing. |
Click the "OK" button to close the property dialog box.
4. Create a makefile
Create a makefile that will be used to build a COBOL program on the server.
Select "Project" > "Remote Development" > "Makefile Creation..." from the menu bar. The "Makefile Creation" dialog box appears.
Leave the defaults and click the "OK" button.
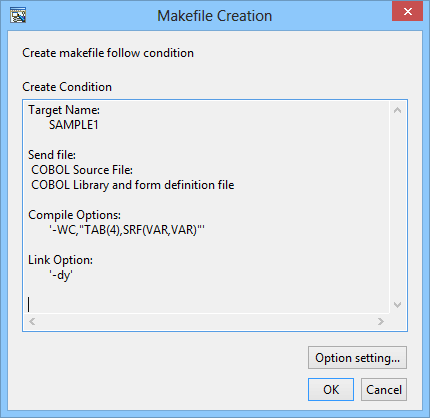
The resources that are required for creating the makefile are sent to the server, and the makefile is created. The created makefile is named "Makefile" and registered in the "Other Files" folder. To view the contents of the makefile, select the makefile and select "Open" from the context menu.
Note
The following confirmation message may be displayed.

Click the "OK" button to disable the automatic build.
Point
The makefile creation results on the server can be checked by selecting "COBOL Remote" from the "Open Console" icon on the toolbar in the "Console" view.
5. Build the project on the server
To build the COBOL program on the server, select "Project" > "Remote Development" > "Build" from the menu bar.
Point
Compilation errors are displayed in the "Problems" view. Select a compilation error in the "Problem" view, and select "Go To" from the context menu. The COBOL editor opens the COBOL source file and displays it with the current line at the error location.
The build results on the server can be checked by selecting "COBOL Remote" from the "Open Console" icon on the toolbar in the "Console" view.
6. Debug the COBOL program
To debug the COBOL program running on the server, launch the NetCOBOL interactive remote debugger and start debugging. Use the remote debugger connector, which is a tool for connecting a client to the server.
To start remote debugging, execute one of the commands listed below on the server to start the remote debugger connector.
Server | Start command |
|---|---|
Windows (Itanium) | cobrds64 |
Windows(x64) | |
Solaris | svdrds |
Linux(Itanium) | |
Linux(64) | |
Linux |
Before starting the debugger, set breakpoints as follows:
On the vertical ruler at the left edge of the COBOL editor window, position the cursor on the line where a breakpoint is to be set and double-click the left mouse button. A mark indicating a set breakpoint (![]() ) is displayed on the vertical ruler.
) is displayed on the vertical ruler.
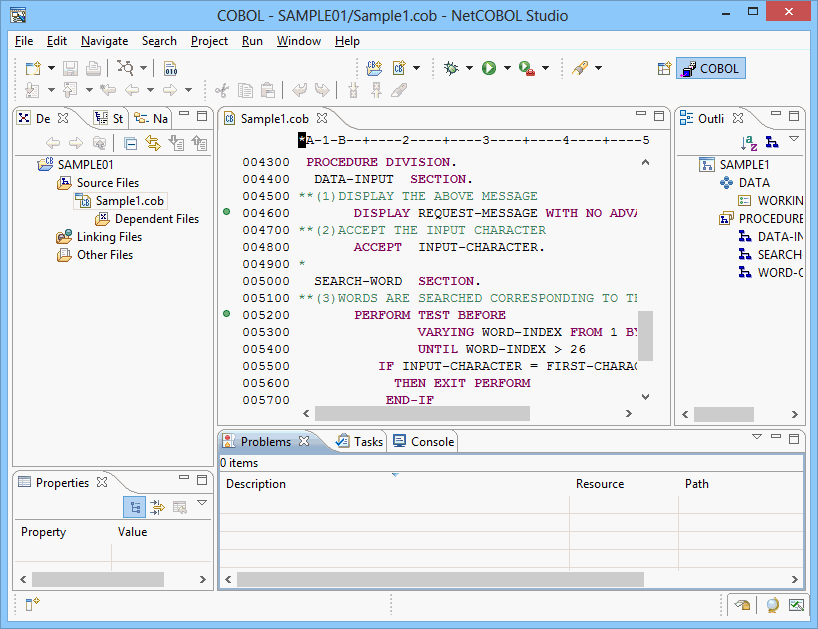
After completing the setting of breakpoints, start the debugger:
Select "Run" > "Debug Configurations..." from the menu bar. The "Debug Configurations" dialog box appears.
Select "Remote COBOL Application" from the left pane and press the "New" button to create a configuration.
Select "Normal Debug" for "Debug Style", and select "Debug" button to start debugging.
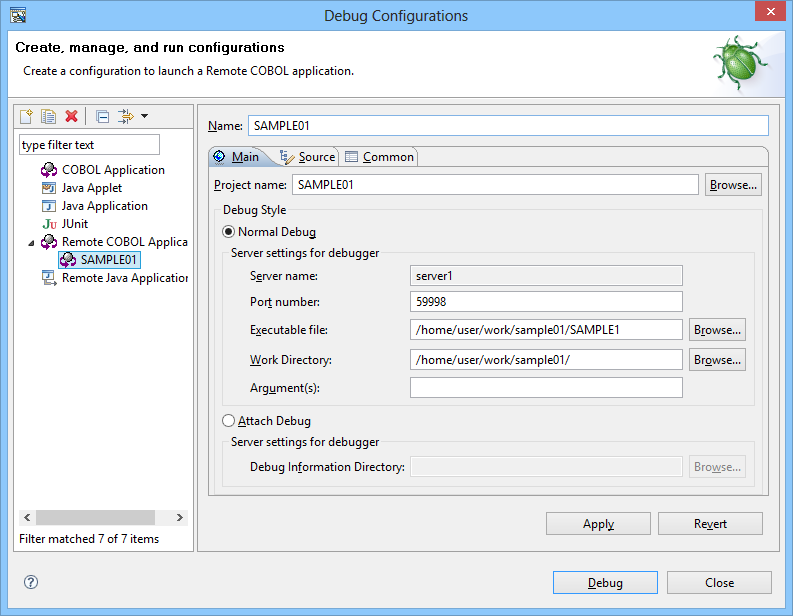
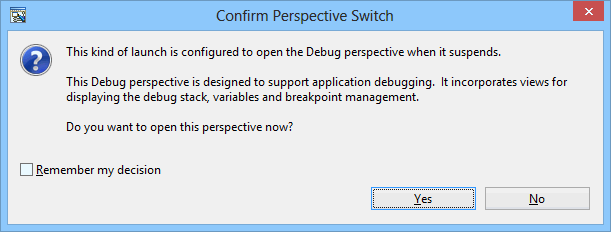
A message is displayed to confirm switching to the Debug perspective when the first breakpoint is reached. Click the "Yes" button.
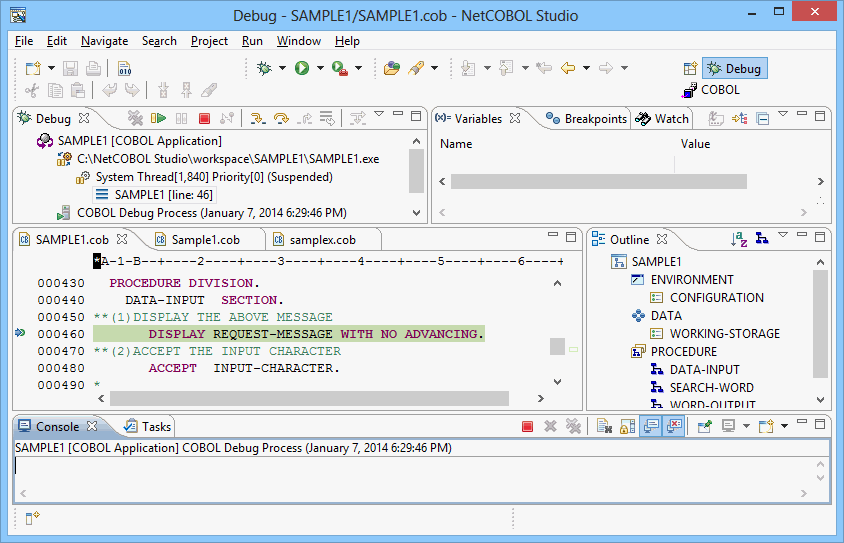
The Debug perspective is displayed, and processing is stopped at the first breakpoint. To perform debugging, select the target menu item from "Run" in the menu bar.
Point
After completing debugging, select "Window" > "Open Perspective" > "COBOL" from the menu bar to return to COBOL perspective.