This lesson describes how to add a JBK image button Bean to the Java Form created in Lesson 2, and how to use this button so that calendar displayed can be changed.
Placing a button Bean
In workbench, open the "MyCalendar" project created in Lesson 2.
Open [Frame1.java] in Java Form Designer. To display the context menu, right-click [MyCalendar] > [src] > [myapp.javaform] > [Frame1.java] in the [Package Explorer] view of workbench. Then, select [Open With] > [Graphical Editor].
If [JBK] is not already selected on the Object Palette, click [JBK] to select it.
Click [Image button] on the Object Palette to select it.
Place the Bean on the Java Form by dragging it with the mouse.

With the Bean selected, select [Edit] > [Copy] from the Java Form Designer menu bar.
Select [Edit] > [Paste] from the menu bar.
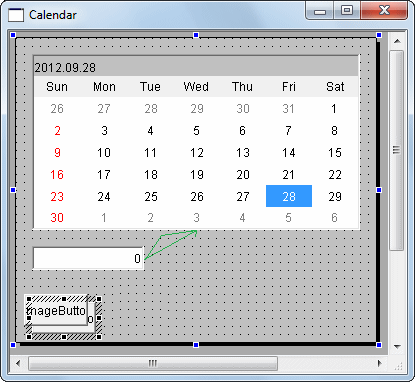
Drag the pasted Bean to change its location.
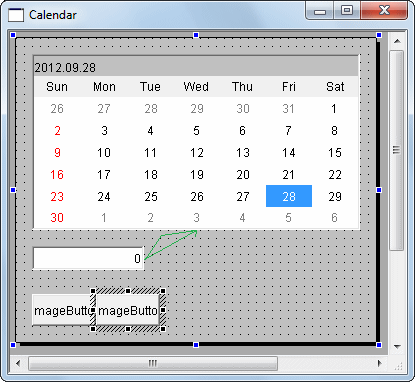
Repeat the procedure until you have added five button Beans. Modify the label properties and code event processes as follows:
Bean Name | Label Property Value | action Event (action_actionPerformed) Process |
|---|---|---|
jFImageButton1 | << | jFCalendarView1.moveYear(-1); |
jFImageButton2 | < | jFCalendarView1.moveMonth(-1); |
jFImageButton3 | Today | jFCalendarView1.moveToday(); |
jFImageButton4 | > | jFCalendarView1.moveMonth(1); |
jFImageButton5 | >> | jFCalendarView1.moveYear(1); |
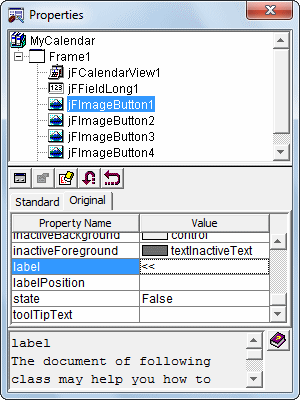
Modify properties on the property sheet. For jFImageButton1, the procedure for modifying text properties is as follows:
Code the event process in "action_actionPerformed" for each button in the Java editor.
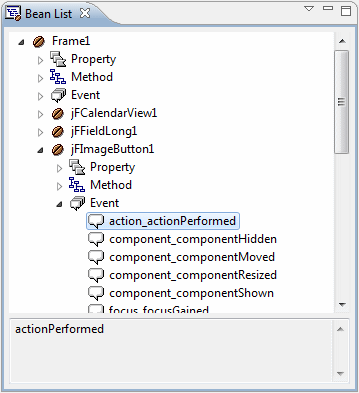
To code the process in "action_actionPerformed" for jFImageButton1, double-click [Frame1] > [jFImageButton1] > [Event] > [action_actionPerformed] in the [Bean List] view.
When an event process creation confirmation dialog is displayed, click [Yes].
The processing procedure of the "jFImageButton1_action_actionPerformed$" event is displayed. Enter the procedure according to the above table.

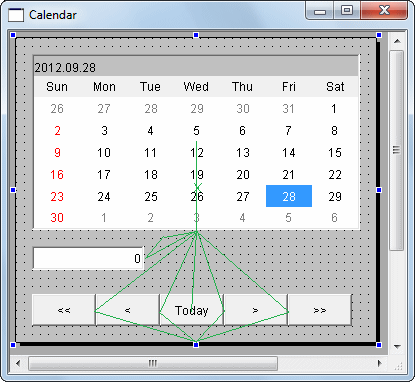
When you have placed the button Beans and modified their label properties, the Java Form has the following appearance:
Save the Java Form.
Select [File] > [Save] from the Java Form Designer menu bar.
To close the Java Form, select [File] > [Close] from the Java Form Designer menu bar.
Building
Building is executed automatically when resource files (such as the Java files) are saved if the [Build Automatically] item is enabled in the [Project] menu.
If [Build Automatically] is disabled, right-click on the project and select [Build Project] or select [Build Project] in the [Project] menu.
A JAR file is required so create it.
Use the export wizard to create the JAR file.
Select [File] > [Export] to start the export wizard.
Select [Java] > [JAR file] in the export wizard.
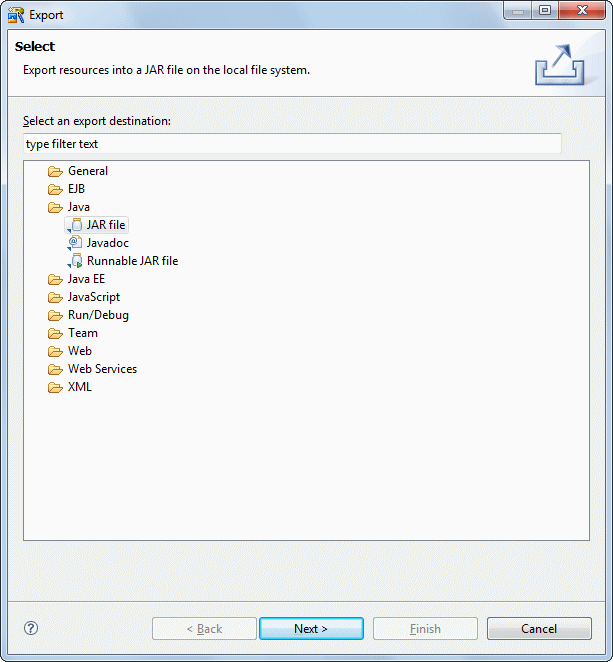
The JAR export wizard is displayed.
Select [MyCalendar] > [src] folder in [Select the resources to export] and enter the following settings.
After setting the information, click [Finish].
Setup Items | Setup Content |
|---|---|
Select the resources to export | src/ |
Export generated class files and resources | Checked |
JAR file | MyCalendar/MyCalendar.jar |
Compress the contents of the JAR file | Checked |
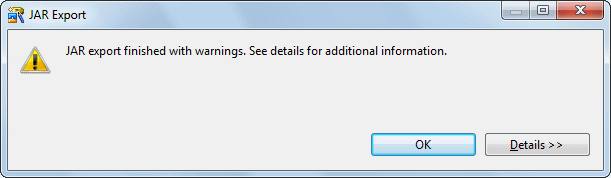
The following message is output when exporting JAR, but this does not indicate a problem.
Running
Select the file (class) to be executed. Click [MyCalendar] > [src] > [myapp.javaform] > [MyCalendar.java] in the [Package Explorer] view of workbench.
Select [Run] > [Run As] > [Java Application] from the menu bar. As a result, the application starts, and the Java Form is displayed.
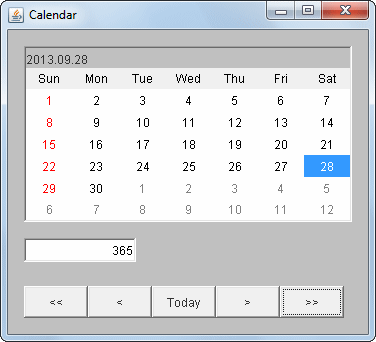
Click the added [<<], [<], [Today], [>], and [>>].
The calendar changes according to the button you click.
The following shows the results of clicking [>>] when "Today" is displayed.
Close the application by clicking the Close [X] button on the title bar.