This lesson describes how to add JBK input and output field Beans to the Java Form created in Lesson 1, and how to display the number of days from the current date to the day selected in the calendar. It also describes how to switch the displayed calendar according to the number of days specified in the input and output fields.
The types of input and output field Bean are as follows:
Data/Time field (com.fujitsu.jbk.gui.JFFieldDate)
Real number field (com.fujitsu.jbk.gui.JFFieldDouble)
Embedded character string field (com.fujitsu.jbk.gui.JFFieldFilled)
Integer field (com.fujitsu.jbk.gui.JFFieldLong)
Character string field (com.fujitsu.jbk.gui.JFFieldString)
Because you want to input and output numerical values, use an integer field Bean.
Placing an integer field Bean
In workbench, open the "MyCalendar" project created in Lesson 1.
Open [Frame1.java] in Java Form Designer. To display the context menu, right-click [MyCalendar] > [src] > [myapp.javaform] > [Frame1.java] in the [Package Explorer] view of workbench. Then, select [Open With] > [Graphical Editor].
If [JBK] is not already selected on the Object Palette, click [JBK].
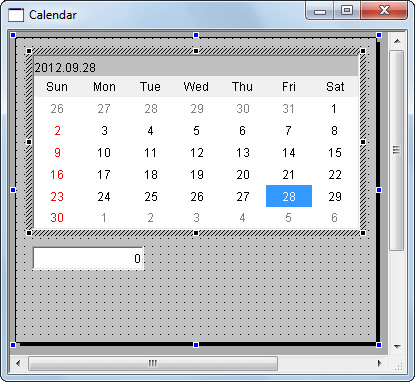
Click [Integer Field] on the Object Palette to select it.
Place the Bean on the Java Form by dragging it with the mouse.
Coding an event process
Code event processes in the Java editor.
To start the Java editor, select [View] > [Java Editor] from the Java Form Designer menu bar. You can also start the Java editor by double-clicking on a Java Form or pasted Bean.
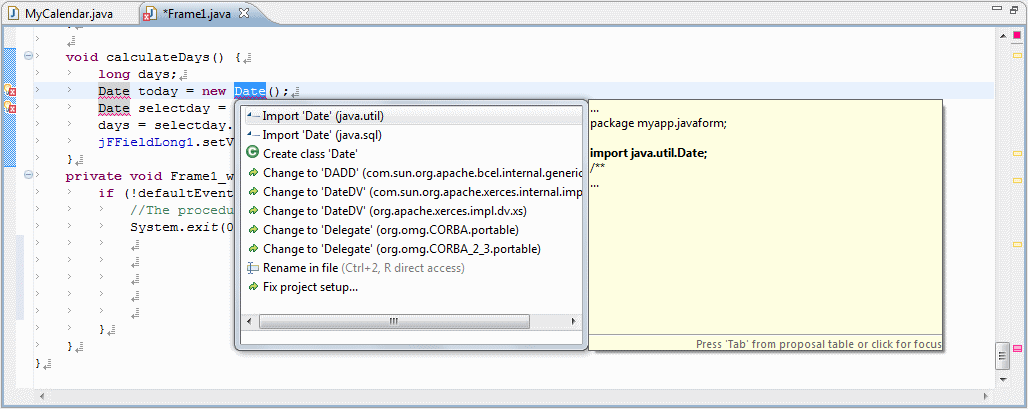
Since the JDK Date class is used, add the import keyword.
The Date class is contained in the "java.util" package of JDK. Code it as follows:
import java.util.Date;
Calculate the number of days from the current date to the date selected in the calendar Bean, and code the process to be displayed in the integer field Bean.
Create this process as a Frame1 class method so that it can be called from other event processes.
Code the text shown below in red.
    /*
     * User definition initialization
     */
    protected void initUser$ () {
        // The user definition initialization is described at this point.
    }

    void calculateDays() {
        long days;
        Date today = new Date();
        Date selectday = jFCalendarView1.getDate().getTime();
        days = selectday.getTime() / 86400000 - today.getTime() / 86400000;
        jFFieldLong1.setValue(days);
    }
Point
Java editor code assist function
Java editor has a function that displays errors, such as invalid method descriptions and missing import keywords and classes, and proposes corrections of the errors. If an import keyword is missing in a class used, the class is indicated by a wavy line, and the electric bulb icon is displayed on the vertical ruler. Packages that can be imported and processed corrections can be displayed by clicking this electric bulb icon. Also, you can add an import keyword by selecting [Import java.util.Date] from the proposed corrections.
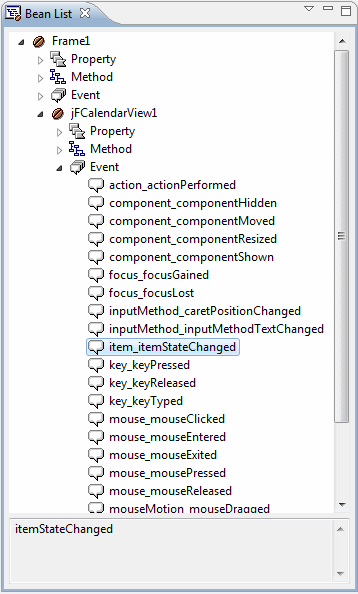
Display the [Bean List] view to code a process in which a specific event occurs.
Select [Window] > [Show View] > [Other] from the menu bar. The [Show View] dialog is displayed. Select [Java] > [Bean List], then click [OK].
Code a process that calls the calculateDays method when a calendar date is selected.
If another date has already been selected, an item event occurs. In the "item_itemStateChanged" event, code a process corresponding to the item event.
Double-click [Frame1] > [jFCalendarView1] > [Event] > [item_itemStateChanged] in the [Bean List] view.
An event process creation confirmation dialog is displayed. Click [Yes].
Code the text shown below in red in the "jFCalendarView1_item_itemStateChanged" event.
    public void jFCalendarView1_item_itemStateChanged(java.awt.event.ItemEvent e) {
        if(!defaultEventProc(e)) {
            // The procedure when the event is generated is described below.
            calculateDays();
        }
    }
Code the process so that when a value is entered in the integer field, calendar selection is modified according to the number of days elapsed from the current date.
An action event occurs when the [Enter] key is pressed for the active integer field. In the "action_actionPerformed$" event, code a process corresponding to the action event.
Double-click [Frame1] > [jFFiledLong1] > [Event] > [action_actionPerformed] in the [Bean List] view.
An event process creation confirmation dialog is displayed. Click [Yes].
Code the text shown below in red in the "jFFiledLong1_action_actionPerformed$" event.
    public void jFFieldLong1_action_actionPerformed$(java.awt.event.ActionEvent e) {
        if(!defaultEventProc(e)) {
            // The procedure when the event is generated is described below.
            jFCalendarView1.moveToday();
            jFCalendarView1.moveDate((int) jFFieldLong1.getValue());
        }
    }
Point
You can create interactive source code using JavaBeans properties and methods.
Interstage Studio provides a "Create Bean Relationships function" that supports creation of source code using JavaBeans properties and methods in event process methods. You can use this function to improve the efficiency of development of event processes.
In the above example, the text in red was coded in the Java editor. However, the Create Bean Relationships function can be used because "jFCalendarView1.moveToday();" is the JavaBeans method call source code in the event process method.
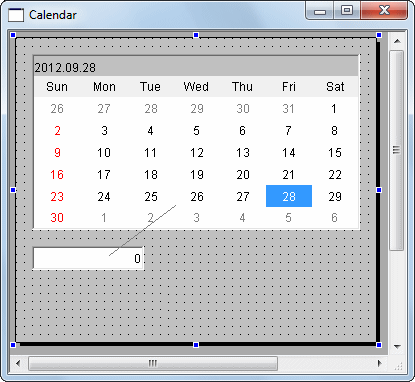
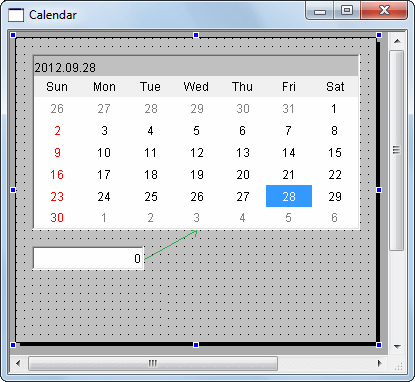
Click and hold down the right mouse button at jFFieldLong1, drag jFFieldLong1 to jFCalendarView1, and then release the button at an appropriate point. This operation is known as wiring.
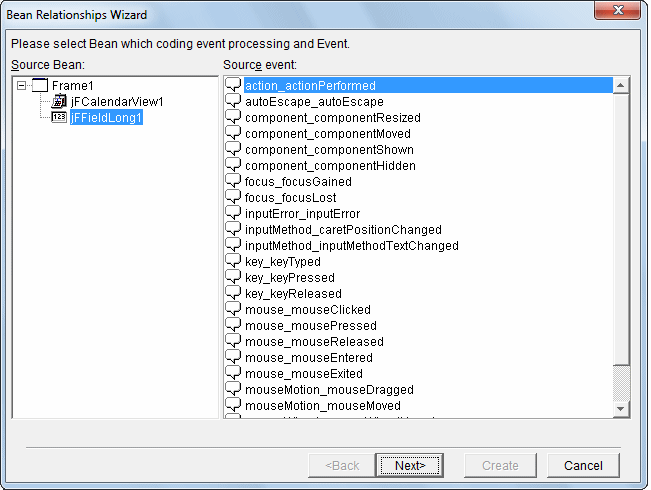
The Bean Relationships Wizard is displayed. On the Source Bean list, the Bean that was the starting point of wiring is already selected. From the Source event list, select [action_actionPerformed] corresponding to the action event, then click [Next].
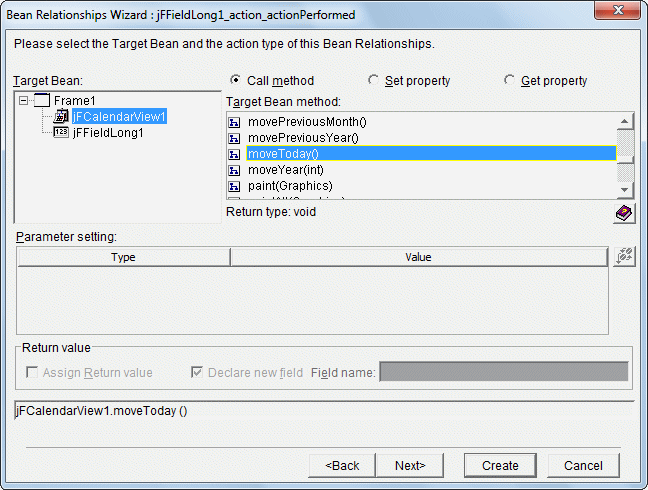
On the Target Bean list, the Bean that was the end point of wiring is already selected. Select [Call method] as the Bean Relationships type, select [moveToday()] from the Target Bean method list, then click [Next].
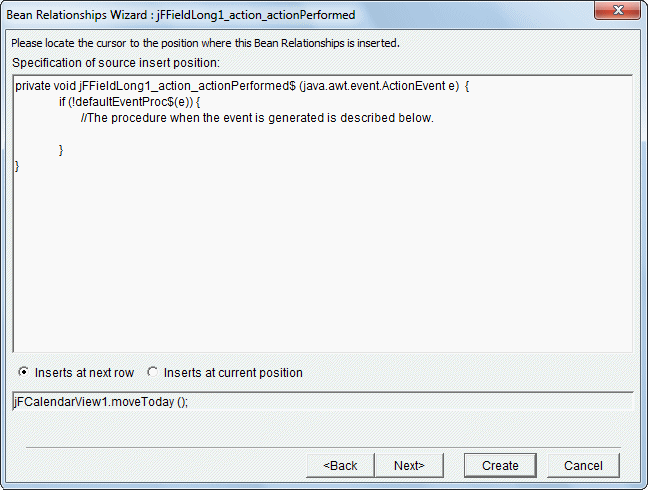
Select the location at which to insert source code, then click [Next].
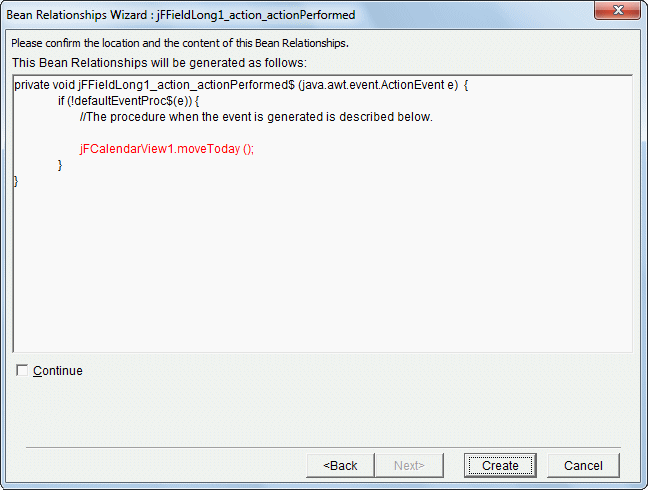
The entire event process method with the inserted source code is displayed. Text in red is source code created by the wizard. Verify the contents of the source and the insertion point, then click [Create].
Source code using JavaBeans properties and methods in event process methods is represented on the screen by lines linking Beans.
Save the Java Form.
Select [File] > [Save] from the workbench menu bar.
To close the Java Form, select [File] > [Close] from the Java Form Designer menu bar.
Building
Building is executed automatically when resource files (such as the Java files) are saved if the [Build Automatically] item is enabled in the [Project] menu.
If [Build Automatically] is disabled, right-click on the project and select [Build Project] or select [Build Project] in the [Project] menu.
A JAR file is required so create it.
Use the export wizard to create the JAR file.
Select [File] > [Export] to start the export wizard.
Select [Java] > [JAR file] in the export wizard.
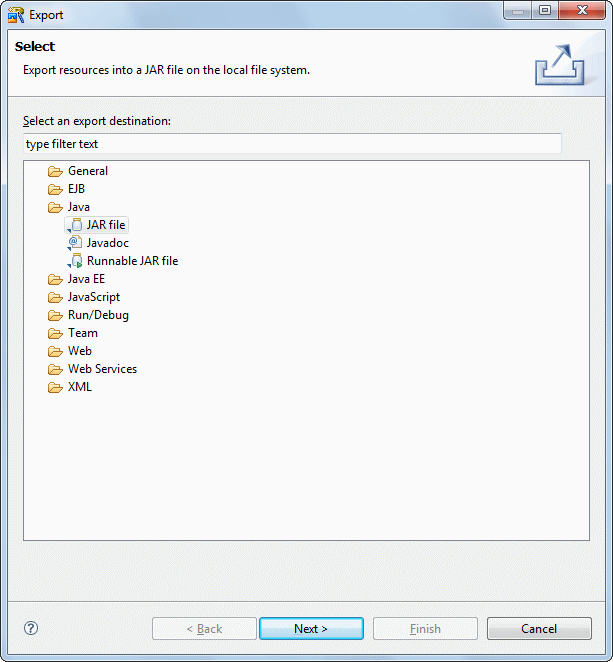
The JAR export wizard is displayed.
Select [MyCalendar] > [src] folder in [Select the resources to export] and enter the following settings.
After setting the information, click [Finish].
Setup Items | Setup Content |
|---|---|
Select the resources to export | src/ |
Export generated class files and resources | Checked |
JAR file | MyCalendar/MyCalendar.jar |
Compress the contents of the JAR file | Checked |
The following message is output when exporting JAR, but this does not indicate a problem.

Running
Select the file (class) to be executed. Click [MyCalendar] > [src] > [myapp.javaform] > [MyCalendar.java] in the [Package Explorer] view of workbench.
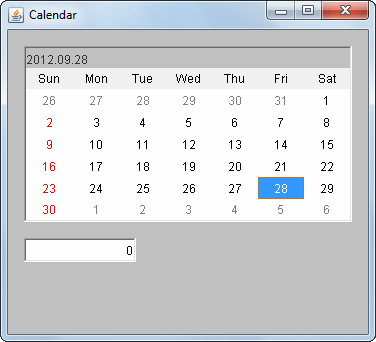
Select [Run] > [Run As] > [Java Application] from the menu bar. As a result, the application starts, and the Java Form is displayed.
Click a date other than the selected date.
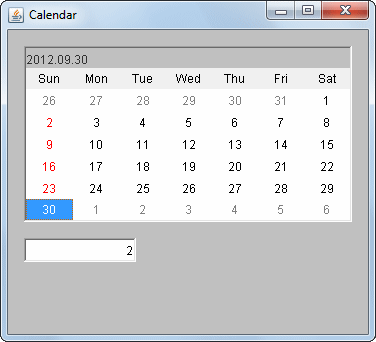
The number of elapsed days is displayed in the integer field.
Select two days later.
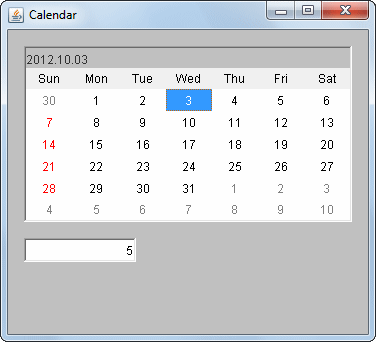
Enter a number in the integer field, and press the [Enter] key.
Confirm that the calendar display changes.
Enter "5" in the integer field.
Close the application by clicking the Close [X] button on the title bar.