This section describes how to newly install Systemwalker Desktop Keeper Management Console.
If the Management Console of an old version has been installed, please refer to “Chapter 4 Version Upgrade” when installing the Management Console of V14.2.0.
Items to be confirmed before installation
Please refer to the “Port Number List” in “Systemwalker Desktop Keeper Reference Manual” to confirm the port number being used.
When setting the (Master) Management Server to be connected, please ensure the existence of the computer name being specified.
Installation steps for the Management Console are as follows. In addition, please refer to “Systemwalker Desktop Keeper User’s Guide” for the operating environment.
Log in Windows with the user that belongs to the Administrators group or the user that belongs to the Domain Admins group.
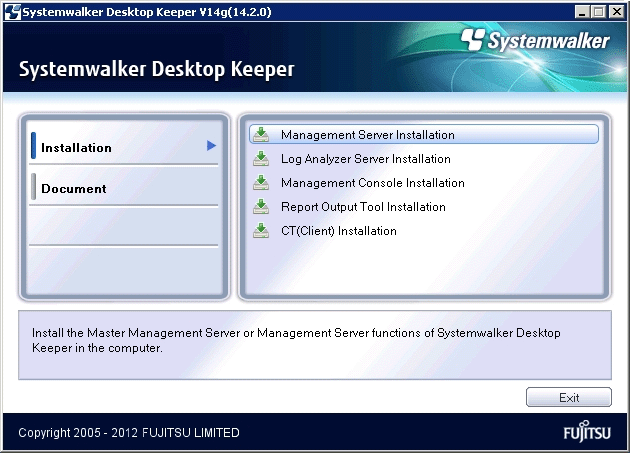
After the CD-ROM of Systemwalker Desktop Keeper is inserted into the PC, the following window will be displayed:
Please select [Management Console Installation].

If the above installer window is not started, please start the “swsetup.exe” in the CD-ROM drive.
After the window “Welcome to Use Systemwalker Desktop Keeper Management Console Setup” is displayed, please click the [Next] button.
The “Select the installation target” window will be displayed.
If the displayed installation target is not to be changed, click the [Next] button.
If the displayed installation target is to be changed, please click the [Browse] button of the folder to be changed, and click the [Next] button after the folder has been changed.
The “Enter server information” window will be displayed. Please set the information of server to be connected and click the [Next] button.
The procedure of setting the server to be connected is as follows.
Set the following information as the information of server to be connected and click the [Add] button.
Note
Please confirm the setting of the (Master) Management Server to be connected.
Please set the information of the (Master) Management Server to be connected to be the same as the setting in the Management Console. The confirmation method is as follows:
Please start [All Programs] - [Systemwalker Desktop Keeper] - [Server] - [Sever Settings Tool] from the [Start] menu on the connected (Master) Management Server.
Click the [Management Server Settings] button.
Confirm the following items:
-Configuration value of [IP address of server] of [Server settings];
-Configuration value of [Management Console <---->Level Control Service] of the [Port number settings].
[Computer name or IP address of connected (Master) Management Server]: Enter the computer name or IP address of the connected (Master) Management Server.
When entering the computer name, please confirm the correctness of the name. If the name cannot be analyzed correctly, the (Master) Management Server and Management Console cannot be connected.
The value set here will be displayed as the alternative selection of [Connection Target Server Name] in the login window of the Management Console.
[Port number being used]: Enter the port number used for communication between the Management Console and level control service.
After being added, the set information will be displayed under the [Add] button.
If there are multiple servers being connected, perform the operation in Step a. according to the number of servers.
In addition, move up or down the servers that are often connected using the [Up] or [Down] buttons.
The “Complete installation preparation” window will be displayed.
When starting the installation, please click the [Install] button to start installation.
When confirming the set content or wishing to modify it, please click the [Return] button to reset.
After processing has completed normally, [Installation has completed.] will be displayed. Please click the [Finish] button.
Note
It is required to register the administrator information when using the Management Console.
When using the Management Console, “Sever Setting Tool” should be used to register administrator information. For registration of administrator information, please refer to “2.2.5.6 Set administrator information ”.