Preparing for installation
Before running the Installer, refer to "1.2.1 Installing a Manager" to check the installation conditions and collect the necessary information.
Prepare the product CD-ROM (Server) and refer to "Chapter 3 Installation and Setup" for information about installer startup and screens.
Installation procedure
This section explains the procedure for installing a Manager.
Windows
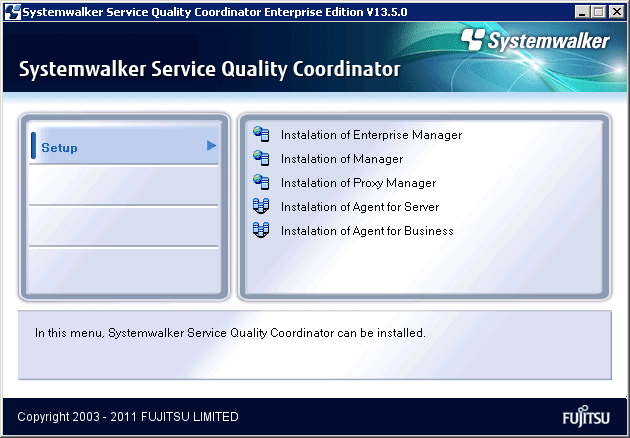
Select Installation of Manager.
Installation window
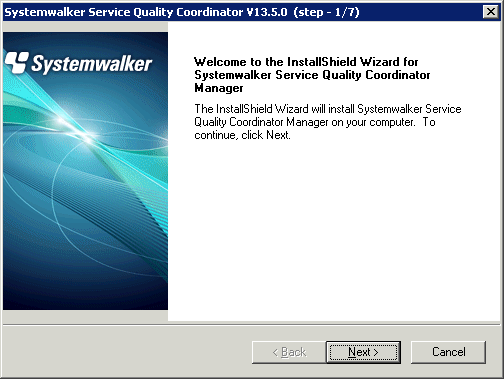
Click Next.
Available disk space display
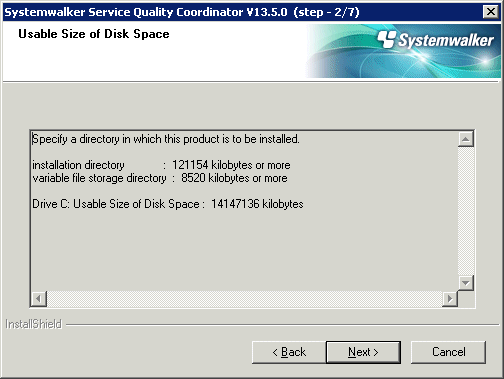
Check the remaining disk space and click Next.
Select the installation directory
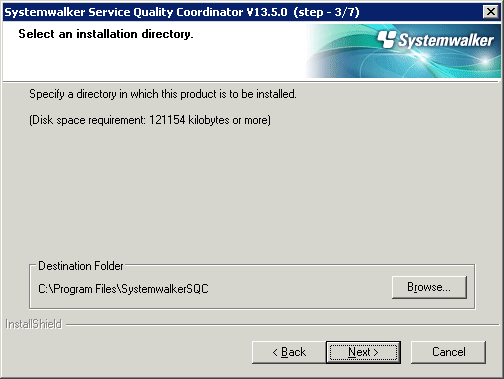
Check the installation directory and click Next.
Select the variable file storage directory
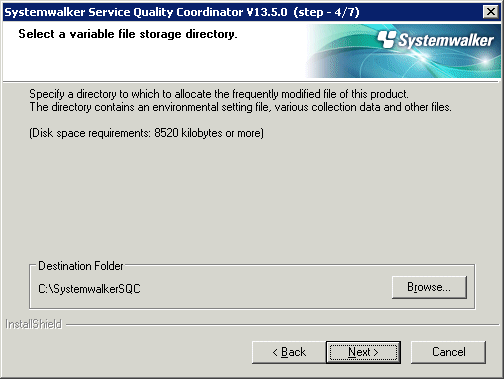
Check the variable file storage directory and click Next.
Enter the Troubleshoot retention period
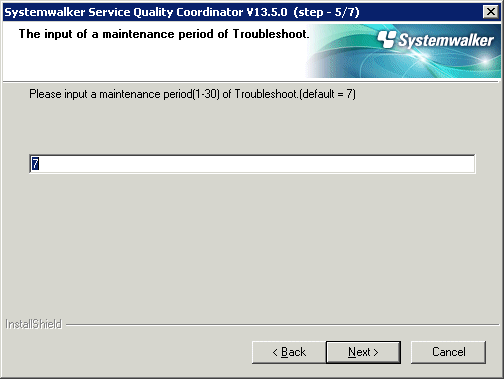
Enter the Troubleshoot retention period and click Next.
Check that file copy starts
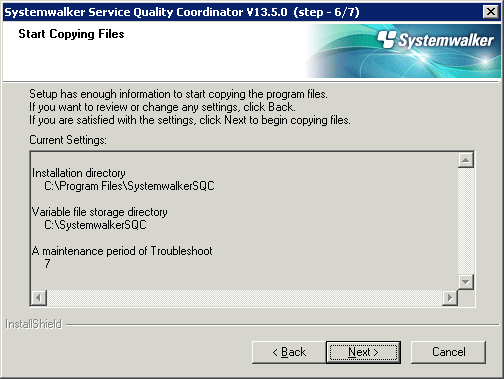
Check the settings and click Next.
Setup status
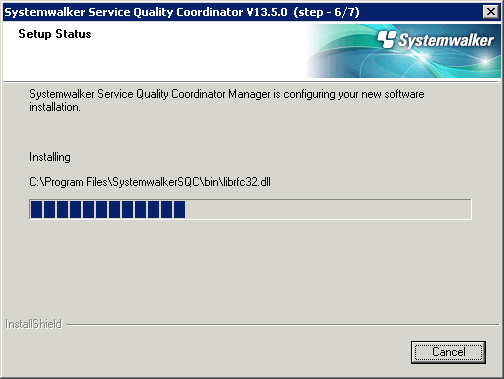
Start installation.
Completion of InstallShield Wizard
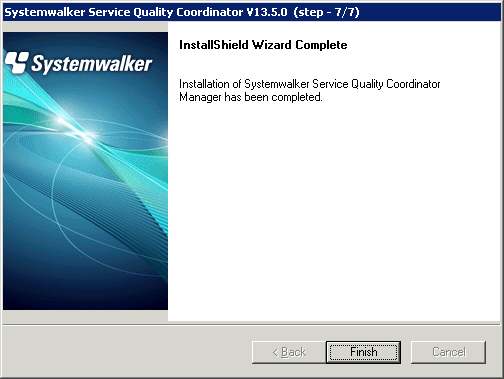
Click Finish to finish installation.
Point
By splitting the Manager physical disk into summary data, resource data and archive files, the number of Agents that can be managed by one Manager can be extended to approximately 300.
Refer to "6.6.1 Changing the PDB/Archive File Storage Location" in the Installation Guide for details on how to split the disk.
UNIX
================================================================================
                Systemwalker Service Quality Coordinator Setup
                                     V13.5.0
 All Rights Reserved, Copyright(C) FUJITSU LIMITED && FUJITSU AUSTRALIA LIMITED
                                    2003-2011
================================================================================

<< Select Installation type >>

 1.Enterprise Manager
 2.Manager
 3.Proxy Manager
 4.Agent for Server
 5.Agent for Business

--------------------------------------------------------------------------------
Please specify installation type. [?,q] ==> 2
Enter "2" and press the Enter key.
Confirm the installation directory
Default installation information is following:
	Program install directory        : /opt
	Fixed configuration directory    : /etc/opt
	Variable configuration directory : /var/opt
Do you want to change the above information? (default: n)[y, n, ?, q]
> n
If the installation directory is correct, enter "n" and press the Enter key.
If "y" is entered
The following window will be displayed to allow the user to change the installation directory:
Please specify program install directory. (default: /opt)[?, q]
> /opt2
Please specify fixed configuration directory. (default: /etc/opt)[?, q]
> /etc/opt2
Please specify variable configuration directory. (default: /var/opt)[?, q]
> /var/opt2
Confirm the Troubleshoot retention period
Default troubleshoot cycle is following:
	Troubleshoot Cycle: 7
Do you want to change the above environment? (default: n)[y, n, ?, q]
> n
If the Troubleshoot retention period is correct, enter "n" and press the Enter key.
If "y" is entered
The following window will be displayed to allow the user to change the Troubleshoot retention period:
Please specify Troubleshoot cycle.
 (default: 7)[1-30, ?, q]
> 10
Confirm the commencement of installation
Do you want to continue with the installation of Systemwalker SQC Manager [y,n] y
Enter "y" and press the Enter key to start installation.
Point
By splitting the Manager physical disk into summary data, resource data and archive files, the number of Agents that can be managed by one Manager can be extended to approximately 300.
Refer to "6.6.1 Changing the PDB/Archive File Storage Location" in the Installation Guide for details on how to split the disk.