

| PRIMECLUSTER Global Disk Services Configuration and Administration Guide 4.1 (Linux) |
|
Contents
|
| Chapter 5 Operation | > 5.2 Settings | > 5.2.1 Operating from the Settings Menu |
In this section, how to create a new group is explained.
In the [Settings] menu, click [Group Configuration]. Group Configuration screen appears.
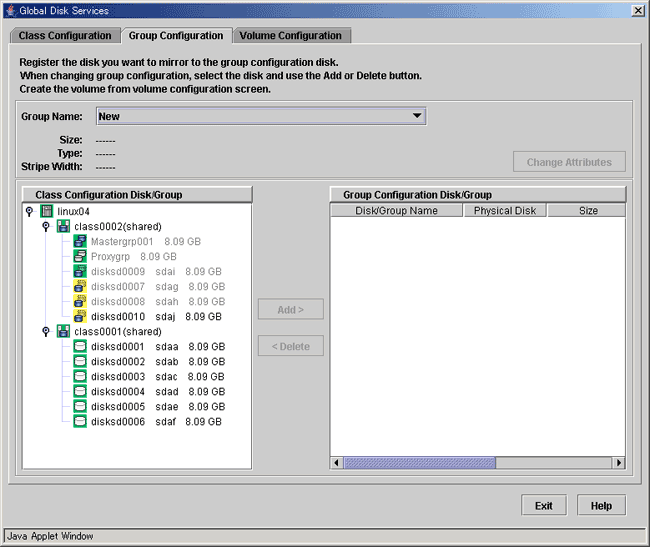
Follow the procedures below to create a new group.
In the "Group Name" list, select "New."
In the [Class Configuration Disk/Group] list, select the disk/lower level group you want to include in the disk group.
You can select more than one disk/group at a time.
Selecting a disk/group will make the <Add> button available.
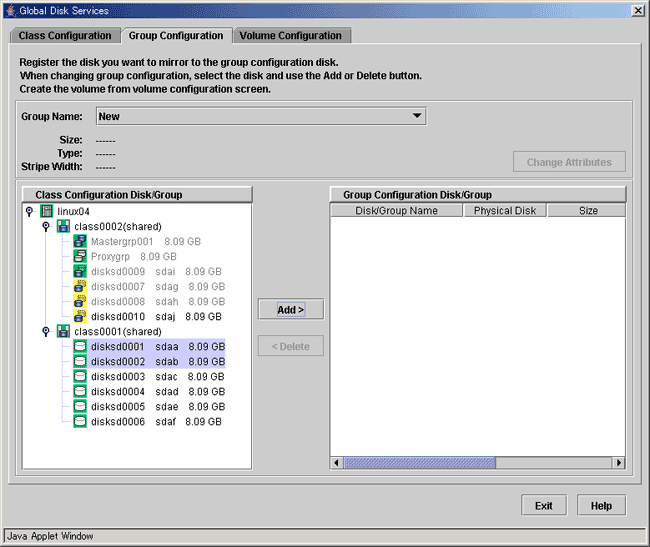
Press <Add>, and the [Group Attributes Definition] screen appears. You will be able to specify the group attributes such as group name, type and stripe width.

Enter the group name.
Change the default group name if necessary.
Set the group type.
Select "mirror" for mirroring, "stripe" for striping, and "concat" for concatenating. The default setting is "mirror".
You will be able to enter this field only when you select "stripe" for the "Type." For the stripe width, you can specify a value of two raised to the power.
The default setting is "32".
After setting the attributes, press <Exit> and a new group will be created.
If you press <Cancel> in the [Group Attributes Definition] screen, connection of the disk itself will be canceled.
 For information on assigning a group name, see "Object Name."
After creating all groups, press <Exit> and close [Group Configuration] screen.
|
Contents
|