You are now going to create a new PowerCOBOL project.
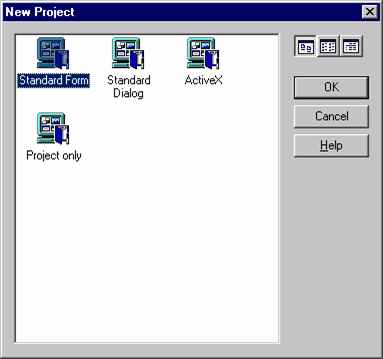
Select New Project from the File menu. The New Project wizard dialog box is displayed:
Figure 8.6 The New Project wizard dialog box

Make sure the first Standard Form icon is highlighted (this creates a project with a window that contains no controls), and click on the OK button.
You will now be taken back to the Project Manager main window, and a new project named "Untitled" will appear in the left windowpane.
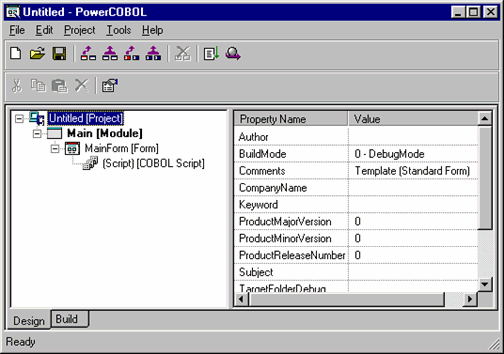
Move the mouse to the project name in the left windowpane, right-click on it, and select Expand All from the pop-up menu. The Project Manager window should now appear as follows:
Figure 8.7 The Project Manager window with the newly created project displayed

PowerCOBOL has created a new project containing a single main application module named "Main", and a single form (window) named "MainForm". For the purpose of this exercise, you will retain and use these names.
Select Save As from the File menu. Change the name of the project from "Untitled" to "MYODBC" and navigate to the directory (folder) you wish to save the project in. You might even want to create a new directory (folder) to save this in. Click on the Save button to save the project.
The name of the project will now change from "Untitled" to "MYODBC" in the Project Manager window.