This section describes how to install Systemwalker Runbook Automation on Windows systems.
This section describes how to install Systemwalker Runbook Automation on Business Servers.
Start the installer.
The installer will start automatically when the "Systemwalker Runbook Automation Media Pack (15.1.2) Disc No. 2/2" DVD-ROM is inserted in the drive.
If the installer does not start automatically, then start it manually by executing "swsetup.exe".
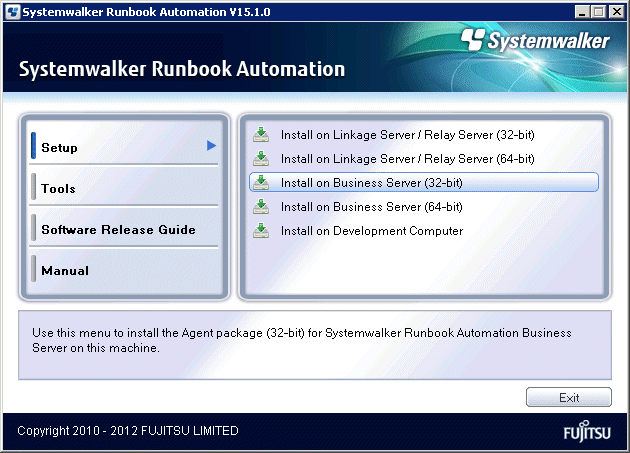
Select Install on Business Server.
Select the 32-bit or the 64-bit version, depending on the CPU architecture of installation destination server.
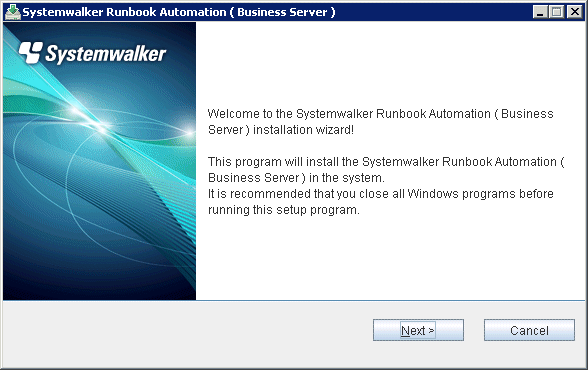
Click the Next button.
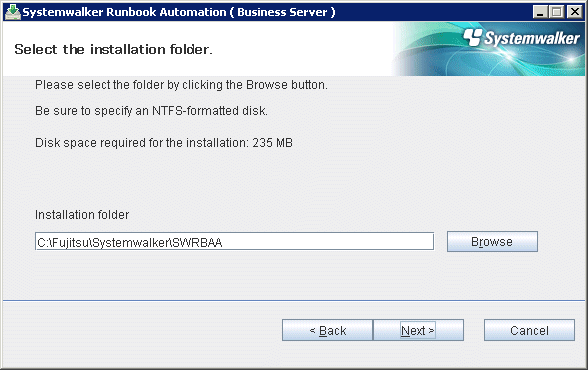
Specify the installation directory.
Specify the directory, and then click the Next button.
Note
The installation directory can contain up to 58 characters.
Specify an NTFS format disk for the installation directory.
Be sure to specify a new directory.
Relative paths and paths starting with "\\" cannot be specified.
The directory name can contain only alphanumeric characters, hyphens (-), underscores (_), and spaces.
A standard directory under "C:\Program Files" or "C:\Program Files (x86)" can also be specified.
Check the installation settings.
Ensure that the settings are correct, and then click the Next button.
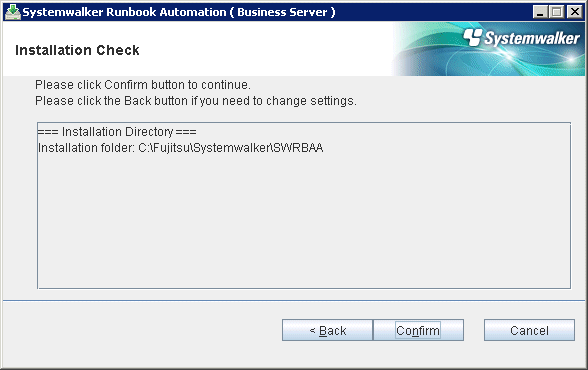
Installation will start.
Installation will complete.
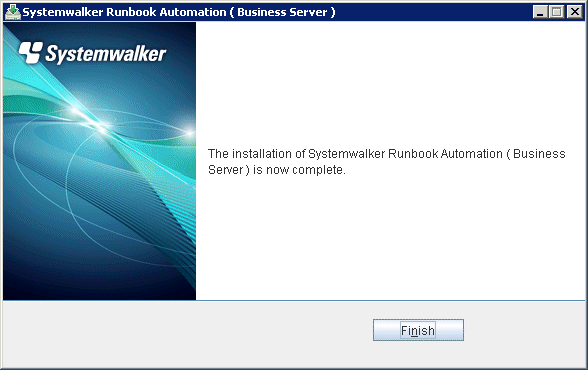
In the completion window, click the Finish button.
