You can upload Workflow Application projects from Systemwalker Runbook Automation Studio to the Management Server and package all files that make up your application into a .bar file. An uploading wizard walks you through the procedure of uploading a project from your workspace to a remote server.
Note
You need to have Administrator rights on the remote server to be able to perform this task.
To upload a Workflow Application project to a remote server:
In the Navigator view, right-click the project name. Select Upload Application from the pop-up menu.
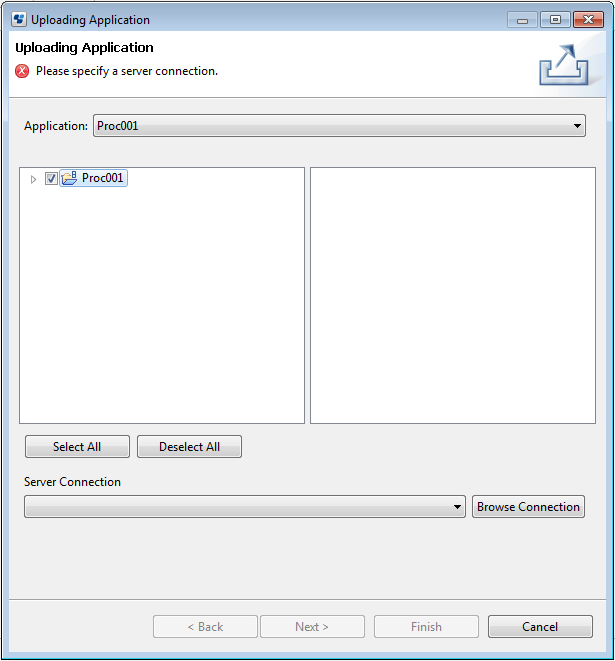
The Uploading Application dialog is displayed. As long as no server connection is specified, the dialog shows an error message.
Figure 3.20 Displaying the Uploading application dialog
To specify the project to be uploaded:
Select a project from the Application drop-down list.
The default application is the name of the project you have selected in the Navigator view.
Use the check boxes to select or deselect components to be uploaded. You can upload an entire project or individual project components. To do this, expand the project folder, clicking the + sign in front of the project name. The possibility to select project components prevents you from uploading identical projects. Besides, you do not have to deploy files that you don't want to deploy. In addition, you can select or deselect all components at once, using the Select All or Deselect All tabs. By default, all project components are selected.
Select a remote server.
You can select a server from a drop-down list or by browsing available server connections.
Select a remote server from the Server Connection drop-down list. This list automatically displays the last server you have selected. If you have not yet selected any server, the list is empty. In that case, or if you want to select a different server:
In the Uploading Application dialog, click the Browse Connection button, and select a server. This dialog displays all available server connections.
Click OK to confirm your selection.
If no server is available, in the Select Server Connection dialog, click New to specify a new server connection. Server Connection Setting dialog is displayed.
To create a new server connection, enter all the parameters in Server Connection Setting dialog that is displayed after clicking the New button. Refer to "2.4.1 Server Connection Settings" in Chapter 2, "Basic Information and Customization for the User Interface" to know more about various parameters.
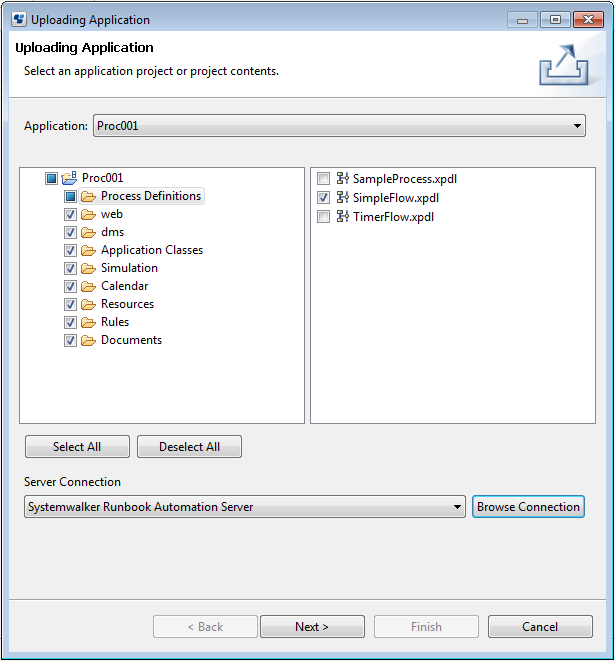
In the example, you have specified a Management Server. The Uploading Application dialog now looks as follows:
Figure 3.21 Selecting project components and server
In the Uploading Application dialog, click Next.
You can choose to update a project that already exists on the server, or create a new project:
Figure 3.22 Choosing to update or create an application
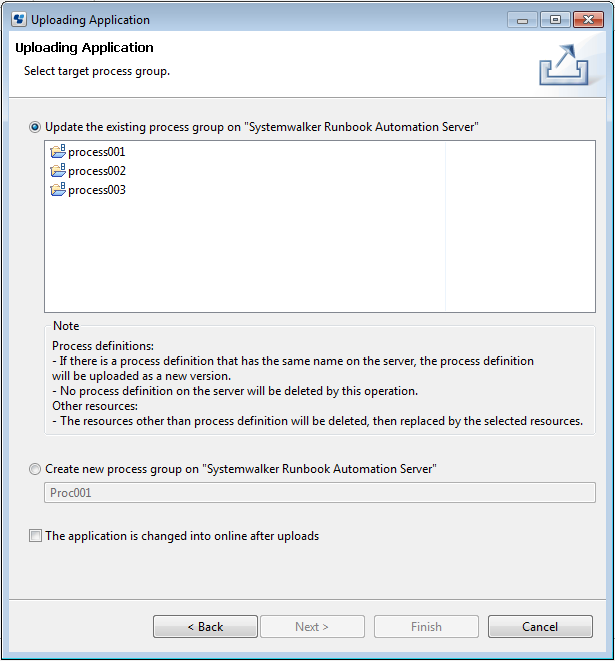
Select the Update the existing process group checkbox to upload your project to another project that already exists on the server.
Note
For Process Definition
If Process Definition with same name existing on server, Process Definition are added as the latest version.
Process Definitions are not removed by update procedure.
For the file except of Process Definition
Replace file on server by uploaded file.
File on server which not exist among uploaded application.
Select the Create new process group to server checkbox to upload a new project onto the server. If your new project has the same name as another project on the server, it will ask you to overwrite it.
If you want to set process group where destination of upload to be online, select The application is changed into online after uploads checkbox to be on.
Note
For state of process group on server
When upload, process group on server might to be offline state. If select set process group where destination of upload to be online, set process group where destination of upload to be offline.
If select The application is changed into online after uploads checkbox to be on, process group where destination of upload will be changed into offline automatically, and will be changed into online state after upload procedure.
Click Finish to upload the new project.