This chapter explains the installation of the Client program of Express.
A flowchart outlining the installation process for the Client program is shown below:
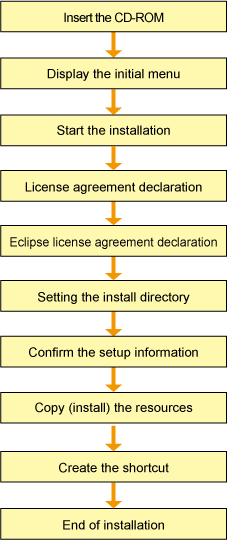
Install Client program, using the following procedure:
Login to the system.
Logon as the user who has the Administrator's authority on the system where Express will be installed.
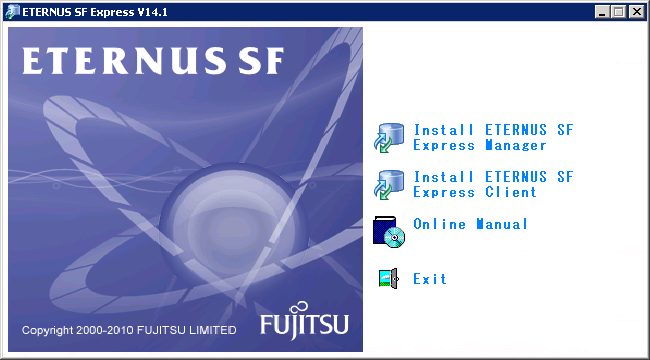
Insert the Express CD-ROM into the drive and an initial window will be displayed. Click [Install ETERNUS SF Express Client].
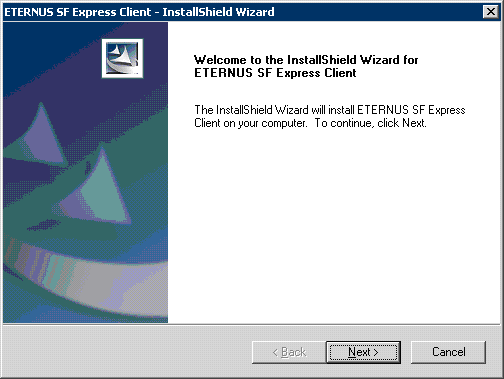
At the following window, check the displayed contents, and then click the [Next] button.
Accept the license usage terms and conditions displayed on the [License Agreement] window.
Check the displayed contents, and then click the [Yes] button.
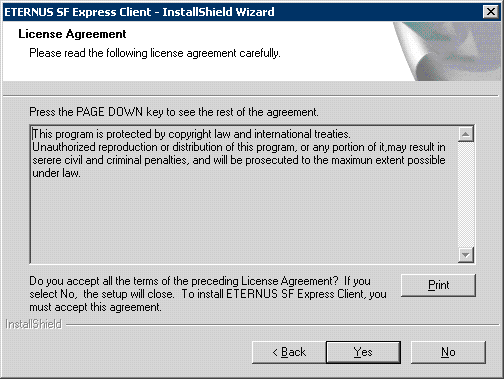
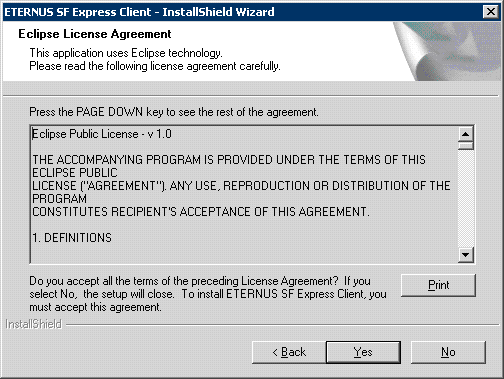
Accept the license of Eclipse usage terms and conditions displayed on the [Eclipse License Agreement] window.
Check the displayed contents, and then click the [Yes] button.
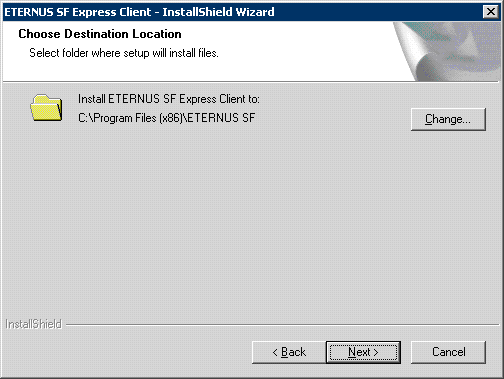
Specify the installation directory.
If this product is to be installed in directories other than those displayed (default directories), click the [Change] button to select the desired directories. After all the proper directories have been selected, click the [Next] button.
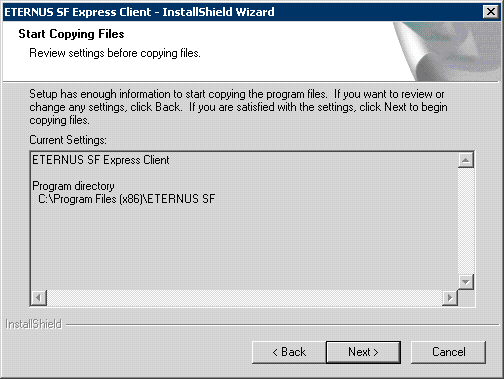
Confirm the settings on the [Start Copying Files] window.
If the information specified is correct, click the [Next] button, or to correct or modify any settings click the [Back] button.
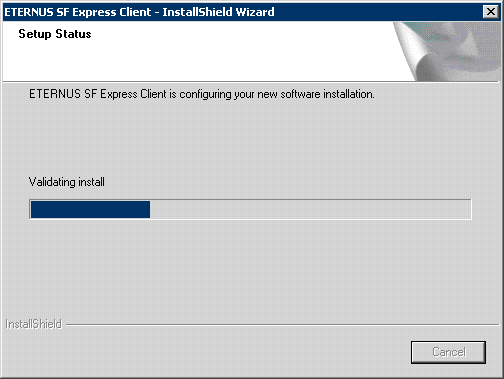
Start the copying.
The file transfer in progress can be viewed on the [Setup Status] window.
Create the shortcut.
When [Yes] button is clicked, installer is create the shortcut on the desk top.
When [No] button is clicked, installer is not create the shortcut.

Finish the Installer.
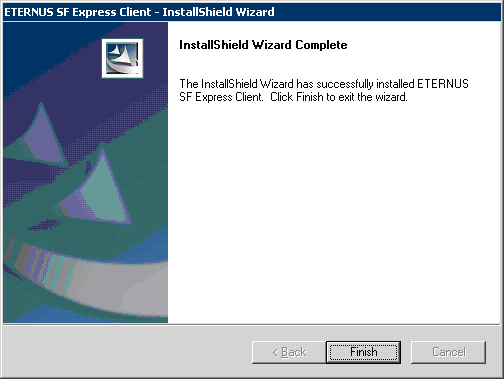
When the installation is completed, the following confirmation window will be displayed.
Click the [Finish] button to end the install process.
