This chapter explains how to install Manager function.
Note
At installation, all the nodes must be installed in the same environment (i.e., the local drive name, port number, and install directory must be the same for both).
Do not install the Manager function on a shared disk.
Because the database environment is created with the cluster setup command, be sure to respond with "No" to any prompt about whether to create a database environment as an extension of installation process.
The port number for the communication service to be specified by installation is for communication service for local transactions. Set the port number for cluster transactions in the following location according to the operation method.
Perform the "Customization" procedure for the cluster system in "Chapter 4 Customization of Storage Management Server Transactions and Storage Server Transactions".
The installation flow is shown below. The node on which installation is performed first is called the primary node; the other node becomes the secondary node.
For a cascade topology, follow the procedure given for the secondary node on every other secondary node.
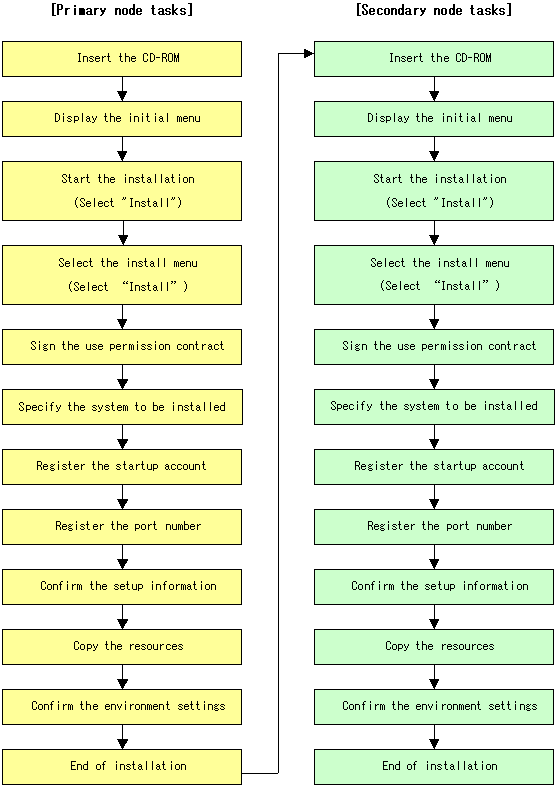
Install the Manager function of the Windows version AdvancedCopy Manager with the following procedure.
The Manager function does not install correctly if installed while the following services are in use. Ensure these services are not running before attempting installation (However, this excludes the case where Symfoware Server V9.1. or later is used in Windows Server 2008):
Terminal service (used from remote desktop connection)
Telnet server service
Note that a console session connection to a terminal service can be used if the Storage Management server is Windows Server 2003. Refer to the following site for the console session connection method:
http://support.microsoft.com/kb/278845/en |
Log on to the primary node.
Log on to the primary node. Log on as the administrator of the terminal where the installation is to be done. Ignore "(Secondary node)" in the following explanation.
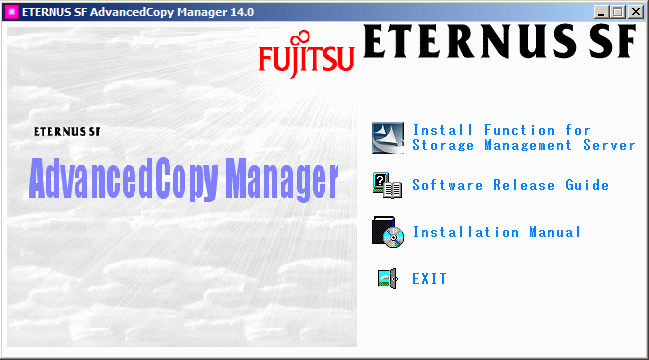
Insert the AdvancedCopy Manager CD-ROM (Manager Program) into the drive and an initial [ETERNUS SF] window will be displayed. Click on [Install Function for Storage Management].
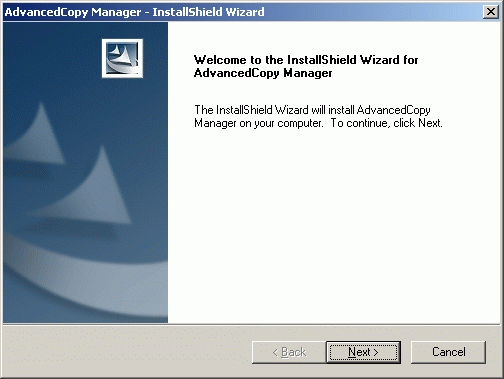
At the following (InstallShield) window click the [Next] button.
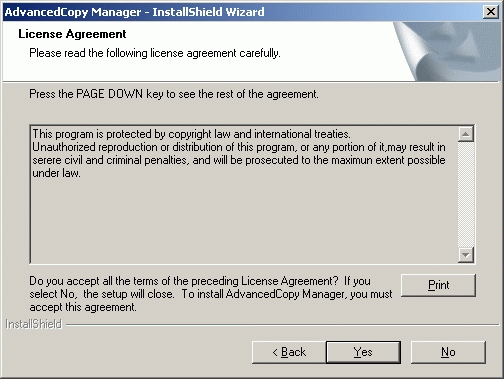
Accept the use permission contract displayed on the [License Agreement] window by clicking on [Yes].
Confirm the displayed contents, and click the [Yes] button.
Click "Default" or "Custom" on the [Welcome] window, and then click [Next].
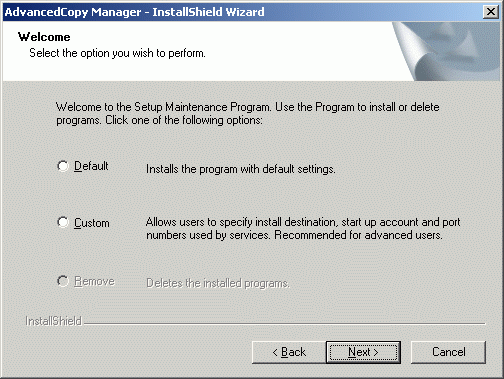
If [Default] is selected
The install information on the following windows need not be set (steps 6 to 8 are not required):
[Set install destination] window
[Startup/Account registration] window
[Register port number] window
An error check is performed automatically for the default install information in the omitted screens.
If an error is detected: A warning dialog is displayed and the display switches back to that window.
If no errors are detected: A warning dialog is displayed and the [Start copying files] window is displayed.
For details on default installation information and error check contents, refer to the "ETERNUS SF AdvancedCopy Manager Installation and Setup Guide", section "Installation of the Manager" > "Prerequisites for Windows Platform" > "Installation".
If [Custom] is selected
Installation information must be set in all the installation windows.
Enter the required information in the windows displayed in step 8 and subsequent steps.
Specify the system to be installed.
(Primary node)
If this product is to be installed in directories other than those displayed (default directories), click the [Browse] button to select the desired directories. After all the correct directories have been selected, click the [Next] button. Note: directories with spaces their names (e.g., Program Files) must not be specified. Do not install the Manager function on a shared disk.
(Secondary node)
Specify the same drive and directories as those specified for the primary node.
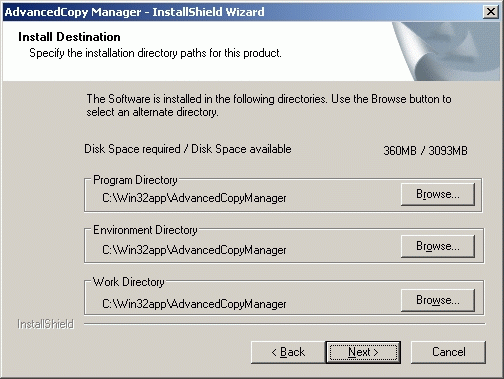
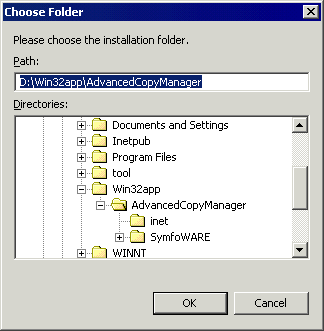
When the [Browse] button is clicked, the following window is displayed, allowing the selection of other than the defaulted directories.
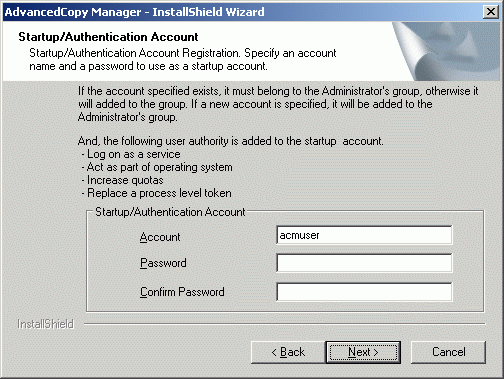
Input the startup account on the [Startup/Authentication feature manager] window.
(Primary node)
Input the account name belonging to the Administrator's group with a password, and click the [Next] button. The account name and password must satisfy the following conditions:
An account name and password that can be specified in the operating system.
For details on the startup account, refer to the "ETERNUS SF AdvancedCopy Manager Installation and Setup Guide", section "Installation of the Manager" > "Prerequisites for Windows Platform" > "Startup account".
If the account name is not registered, the system adds this account with Administrative rights with the password set not to expire. In addition, the system sets the following user authority:
Log on as a service
Function as part of the operating system
Adding a quota
Replace the process level token
(Secondary node)
Specify the same account name and password as those specified for the primary node.
Input the number of the port to be allocated to the service on the [Registering a port number] window.
(Primary node)
Enter the port number to be allocated to each service within the following range:
5001 to 65535
The first displayed value is a recommended value in a non-cluster environment and is not always unique.
To perform cluster operation, change all port numbers so that they are within the range as indicated above.
After the port number entry is completed, click the [Next] button. This window will be redisplayed with the accepted port number.
(Secondary node)
Specify the same values for all items as the values specified for the primary node.
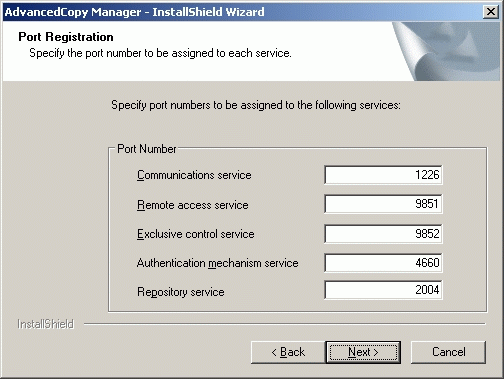
If the AdvancedCopy Manager service name is defined with an ALIAS, the following window will be displayed and the port number specified on the previous screen is ignored. The installation proceeds anyway.

Configure the port number manually by editing the file C:\WINDOWS\system32\drivers\etc\Services.
Confirm the settings in the [Start Copying Files] window.
If no errors are detected, click the [Next] button. To correct or otherwise change any settings, click the [Back] button.
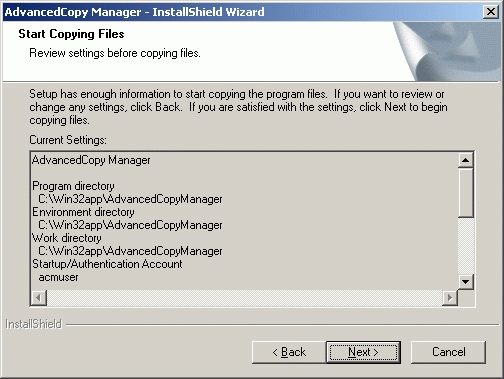
Copying starts.
The file transfer that is in progress can be viewed on the [Setup Status] window.
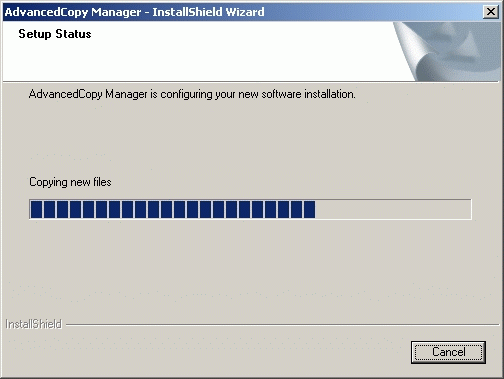
Confirm the environment settings.
When the following [Environment setup] window opens, click the [No] button.

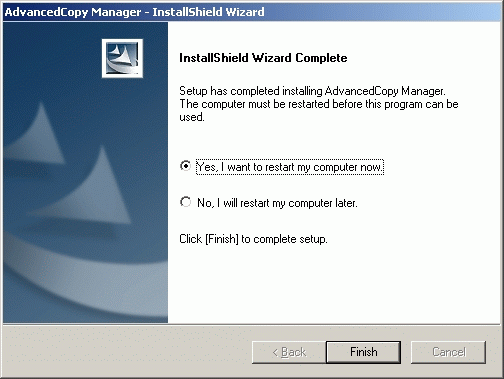
Finish the installation.
Select the [restart the computer] option and click the [Finish] button to complete the installation.
(Primary node)
Next, start installation on the secondary node by continuing with step 13.
(Secondary node)
Installation of both nodes is now complete. To provide the cluster construction for a Storage Server transaction, see "Chapter 3 Preparations for Customizing Storage Management Server Transactions, Storage Server Transactions, and Tape Server Transactionss".
Log on to the secondary node.
Log on to the secondary node. Log on as the administrator of the terminal where the installation is to be done.
Go back to 2.
Starting with step 2, perform the same installation procedure for the secondary node that you did for the primary node. Ignore (Primary node) in the following explanation.