The procedure for installing Agents is described below.
The CD-ROM "ETERNUS SF Storage Cruiser 14.0 Manager/Agent (Solaris, HP-UX)" is used in the installation of Agents.
Login as super user.
# su
Execute deamons by the following command.
# /usr/sbin/pfs_mountd &
# /usr/sbin/pfsd &
Insert the CD-ROM "ETERNUS SF Storage Cruiser 14.0 Manager/Agent (Solaris, HP-UX)" into the CD-ROM drive.
Mount CDROM.
# /usr/sbin/pfs_mount -t rrip CD-ROM_mount_point CDROM_mount_name
Check that this software (old version, level etc.) is not installed.
# /usr/sbin/swlist | /usr/bin/grep FJSVssage
If package information is displayed, it means that this software is already installed.
Refer to "7.4.1 Stopping agent", and after stopping the agent please uninstall the output package.
Installation time for this software is around 5 minutes.
Login as the super user (root) by the following command.
# su
After executing "6.4.3.1 Pre-installation preparations", execute the following command.
Copy a package to a working directory to install.
Point
Secure 250MB free space for the working directory (work_directory).
Copy the compressed target operating system package in the CD-ROM to the work_directory, and uncompress it. And, execute the swinstall command.
For HP-UX 11.0 or HP-UX 11i:
# cp CD-ROM_mount_point/agent/HPUX/pkg/FJSVssage-13.0.0.depot.Z work_directory
# uncompress work_directory/FJSVssage-13.0.0.depot.Z
# swinstall -s work_directory/agent/HPUX/pkg/FJSVssage-13.0.0.depot
For HP-UX 11iv2(IPF) or HP-UX 11iv3(IPF)
# cp CD-ROM_mount_point/agent/HPUX/pkg/FJSVssage-13.4.0_ia64.depot.Z work_directory
# uncompress work_directory/FJSVssage-13.4.0_ia64.depot.Z
# swinstall -s work_directory/agent/HPUX/pkg/FJSVssage-13.4.0_ia64.depot
For HP-UX 11iv2(PA-RISC) or HP-UX 11iv3(PA-RISC)
# cp CD-ROM_mount_point/agent/HPUX/pkg/FJSVssage-13.4.0_pa.depot.Z work_directory
# uncompress work_directory/FJSVssage-13.4.0_pa.depot.Z
# swinstall -s work_directory/agent/HPUX/pkg/FJSVssage-13.4.0_pa.depot
The following window will be displayed. Select "FJSVssage" from the list, and click [Actions]-[install].

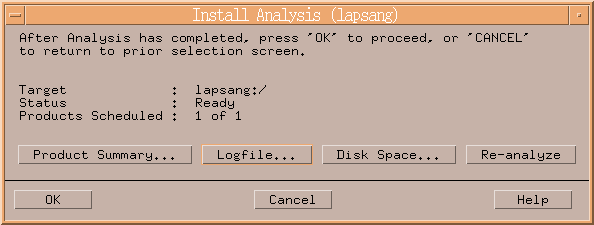
The "Install Analysis" dialog will be displayed, and package will be checked.
After checking package, click [OK].
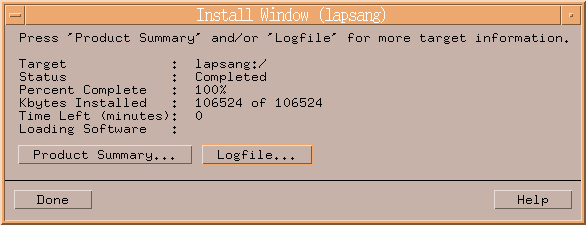
The "Install Window" dialog will be displayed.
When "Status" indicates "Completed", the installation is completed. (Click <Logfile> button for the detail information.)
Clicking the <Done> button, the initial dialog will be displayed.
The installation is completed. Continuously, execute the post-installation setup by referring to "6.4.4 Post-installation setup".