This section explains how to change the userApplication attributes with CUI.
For further details about the operation attribute specified in step 8, see "Appendix D Attributes" in "PRIMECLUSTER Reliant Monitor Services (RMS) with Wizard Tools Configuration and Administration Guide."
Operation Procedure:
Note
"Application" on the CUI screen indicates a cluster application.
Log in to any one of the cluster nodes using system administrator access privileges.
Stop RMS.
If RMS is running, see "7.2.1.2 Stopping RMS" and stop RMS.
Execute the "hvw" command.
# /opt/SMAW/SMAWRrms/bin/hvw -n <configuration file>
Specify an optional Configuration file name in <configuration file>.
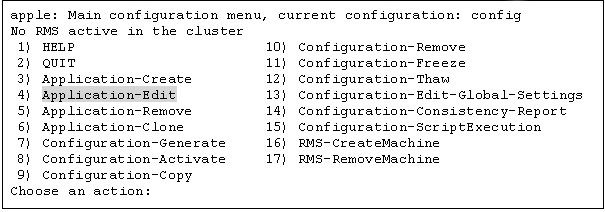
Select "Application-Edit" from the main menu of CUI. Enter a number and then press the Enter key.
Figure 11.1 Main menu
Select the userApplication for which you want to change the operation attributes from the "Application selection menu."
The following example shows how to select "APP1."
Figure 11.2 Cluster application selection menu

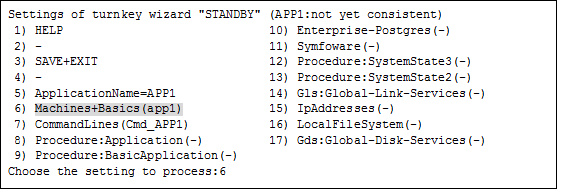
When "turnkey wizard "STANDBY"" appears, select "Machines+Basics" and then change the operation attributes of the userApplication.
Figure 11.3 turnkey wizard "STANDBY"
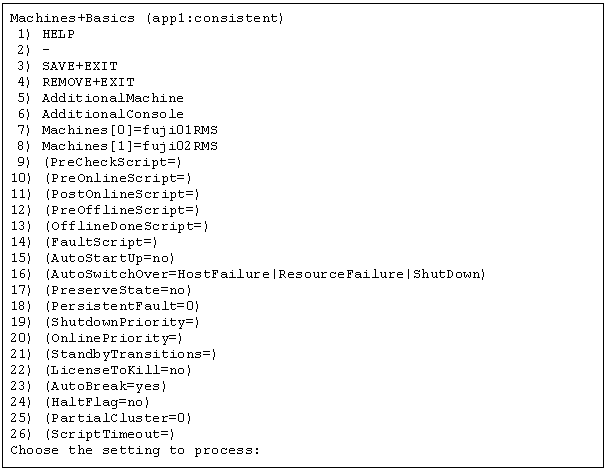
Select the operation attribute that you want to change from "Machines+Basics."
Figure 11.4 Machines+Basics
To change the value:
Select the item that you want to change. Enter a number and then press the Enter key.
(Example)
Choose the setting to process: 20 <RETURN>
The "Value setup menu," as shown in step 8, will be displayed.
Select "SAVE+EXIT." Enter a number and then press the Enter key.
Choose the setting to process: 3 <RETURN>
"turnkey wizard "STANDBY"" of step 9 will be displayed.
Set up the value from the value setup menu.
Figure 11.5 Value setup menu (Example of OnlinePriority)

Select a setup value. Enter a number and then press the Enter key.
Point
Select "RETURN" to return to the previous menu.
If there are multiple attributes to be changed, repeat steps 7 and 8 for each attribute.
If the attribute is other than "OnlinePriority," the menu number in step 8 will be different from that in this example.
Select "SAVE+EXIT" from the "Machines+Basics" screen to return to the "turnkey wizard "STANDBY"".
Figure 11.6 turnkey wizard "STANDBY"
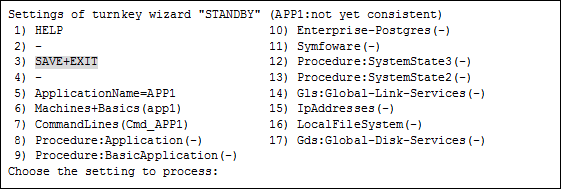
Select "SAVE+EXIT" to return to the cluster application selection menu.
Select "RETURN" to return to the main menu.
Figure 11.7 Cluster application selection menu

Select "Configuration-Generate" and then "Configuration-Activate" from the main menu.
Content changes will be enabled on all the cluster nodes.
Figure 11.8 Main menu
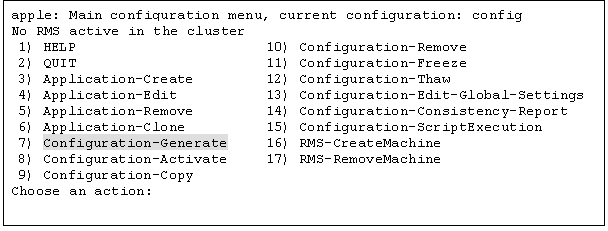
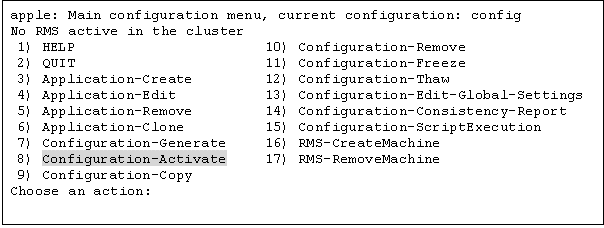
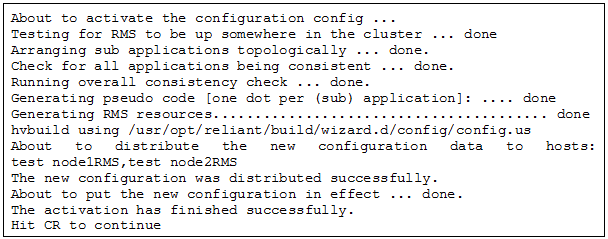
Figure 11.9 Configuration distribution (Example of executing Configuration-Activate)
Note
When the processing is successfully done, the message "The activation has finished successfully" appears. If this message is not displayed, the modified information contains incorrect settings. Check and correct the settings.
Press the Enter key to return to the main menu.
Figure 11.10 Main menu
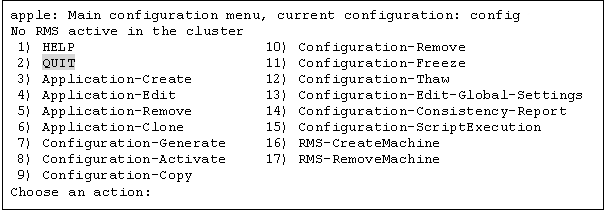
Select "QUIT" to terminate the processing.
Check the cluster service for the PRIMECLUSTER-compatible product.
Execute the following command in any node that is part of the cluster system.
This step is not necessary if PRIMECLUSTER Wizard for NAS is used.
# /etc/opt/FJSVcluster/bin/clrwzconfig -cIf the results of the cluster service check for the PRIMECLUSTER-compatible product shows that the "clrwzconfig" command output message 8050, re-register the cluster service for the PRIMECLUSTER-compatible product.
Execute the following command in any node that is part of the cluster system.
This step is not necessary if PRIMECLUSTER Wizard for NAS is used.
# /etc/opt/FJSVcluster/bin/clrwzconfigStart up RMS and userApplication from Cluster Admin.
Information
For instructions on starting RMS, see "7.2.1.1 Starting RMS."
For instructions on starting the cluster application, see "7.2.2.1 Starting a Cluster Application."