Install CT on a PC to collect hardware and software information of the PC.
The method of installing Systemwalker Desktop Patrol CT is shown below.
Point
If installing High Security CT
If installing High Security CT for secure communication, the installation method is different. Refer to "Installing High Security CT" in the Installation Guide for details.
Start to download menu from the Web browser.
The download menu is a list of operation menus to operate assets management of Systemwalker Desktop Patrol from the Web browser. For the URL, contact the Administrator.
For the Web browser, Microsoft(R) Internet Explorer6.0 or later is required.
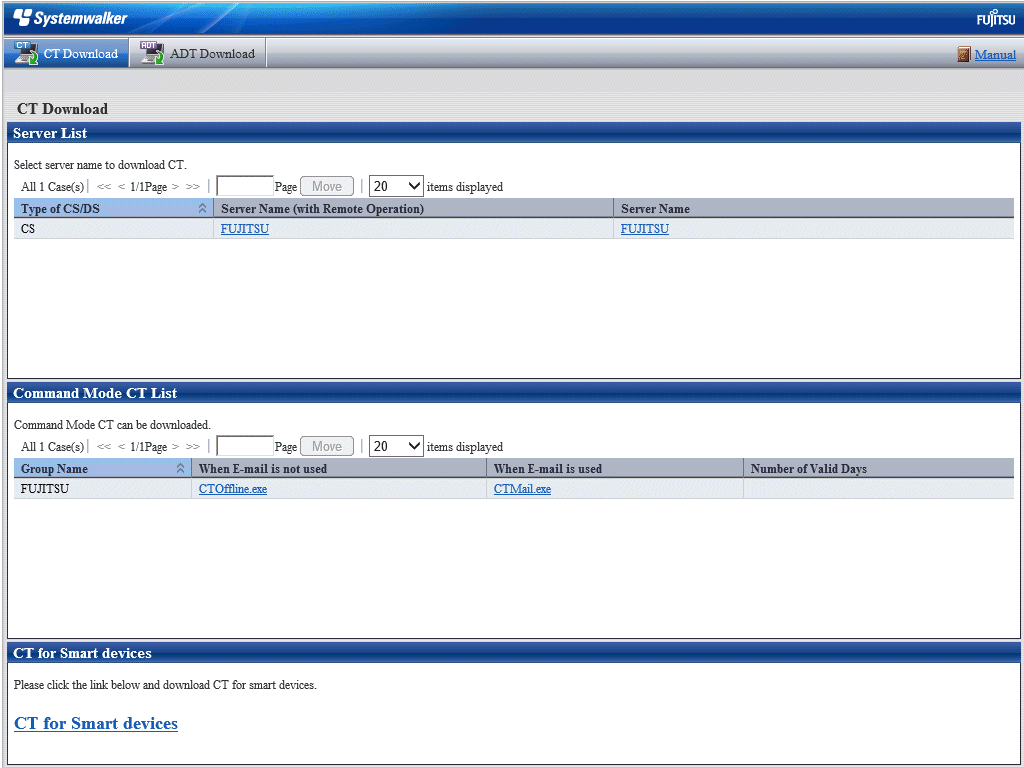
Follow the instructions of the administrator regarding whether to click Server Name of the PC that becomes the upstream server or Server Name (with Remote Operation).
The below screen appears and a message that verifies saving is displayed.

Click the Run button.
The installation of the Systemwalker Desktop Patrol CT starts and the Welcome dialog box appears.
Note
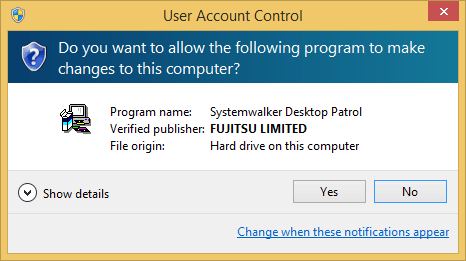
Although the below security warning screen is displayed, select Run.
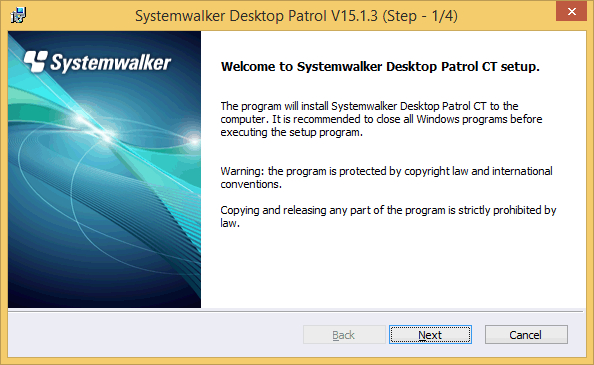
Click the Next button.
The below screen is displayed.
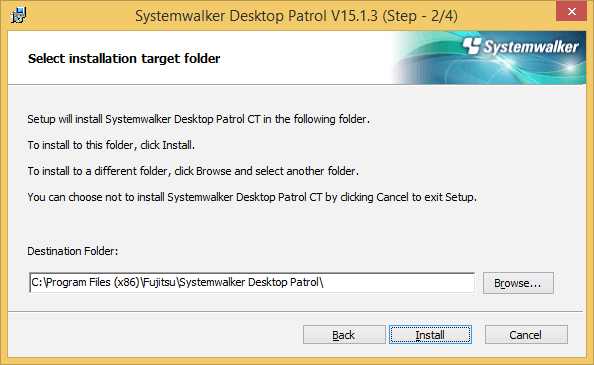
Specify the destination folder of installation and click the Install button.
Start installation.
The below screen is displayed.
Note
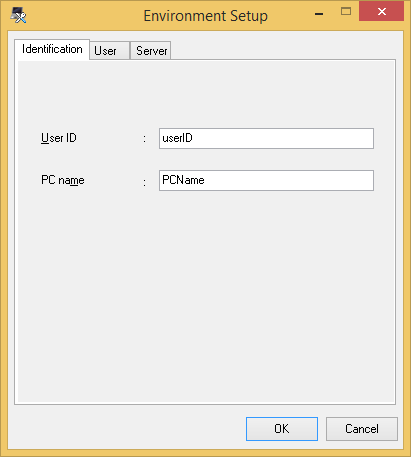
In the course of install, the screen of Environment Setup is displayed after ground screen.
Use taskbar or Alt+TAB keys to switch the window, and display the window.
Enter the following information in the Identification and User click the OK button. In addition, because the information of Server switch tab has been set, it is unnecessary to modify.
The Identification tab
Item | Description |
|---|---|
User ID | Enter the User ID. |
PC name | Enter the computer name of the installation PC. |
For User ID and PC name, enter the value as instructed by the "Administrator", if any.
Besides, when making Active Directory linkage, as the User identification information tab is not displayed, it is unnecessary to enter User ID and PC name.
The User tab
Enter the value as instructed by the "Administrator", if any.
Note
If the User ID and PC name are not entered, cannot collect the Inventory Information. Be sure to enter the User ID and PC name.
The following window is displayed.
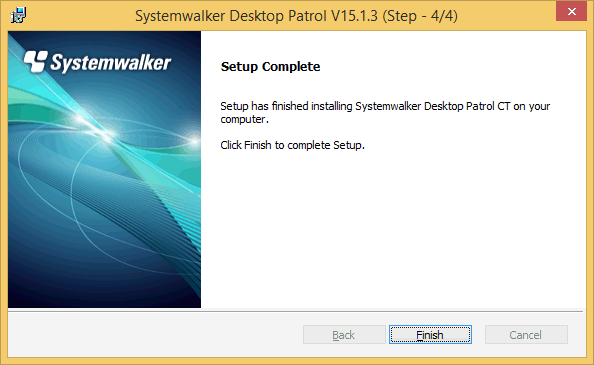
Click the Finish button. If Server Name (with Remote Operation) was selected, restart the operating system.
If Server Name was selected to install Systemwalker Desktop Patrol CT for the first time, Inventory collection will be performed and the PC information will be sent to the server after the Finish button is clicked.
If Server Name (with Remote Operation) was selected to install Systemwalker Desktop Patrol CT for the first time, inventory collection will be performed and the PC information will be sent to the server after the operating system is restarted.
Note
When the User ID and PC name are modified after installing Systemwalker Desktop Patrol CT, Inventory notification is immediately performed after the modification. Therefore, Inventory information still cannot be referred to via main menu.
If the Inventory notice is performed as soon as the User ID or PC name is modified, select Start > All Programs > Systemwalker Desktop Patrol CT > Inventory Collection, or Apps > Systemwalker Desktop Patrol CT > Inventory Collection to collect Inventory.
When the user ID and PC name are not entered
Follow the steps below when the User ID and PC name are not entered in step "7".
Select Start > All Programs > Systemwalker Desktop Patrol CT > Environment Setup, or Apps > Systemwalker Desktop Patrol CT > Environment Setup to set the User ID and PC name.
Select Start > All Programs > Systemwalker Desktop Patrol CT > Inventory Collection, or Apps > Systemwalker Desktop Patrol CT > Inventory Collection to perform inventory collection.