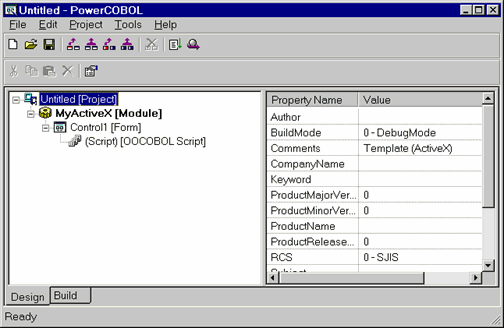
You should now initialize the PowerCOBOL environment and create a new ActiveX project using the New option from the File menu and selecting the ActiveX template.
Go ahead and expand the project to show all of its components:
Figure 11.1 The new ActiveX project

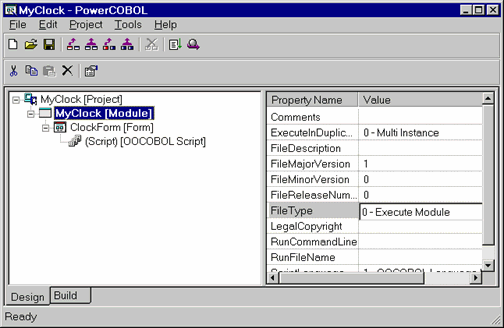
Rename the newly created module from "MyActiveX" to "MyClock" by right clicking on it and selecting the Rename option from the pop-up menu.
Also note the gear icon to the left of the module name. This indicates that PowerCOBOL will build a .DLL file for this module. Because we want to test this as a stand-alone .EXE file first, select the module and change the FileType property to 0 - Execute Module. The gear icon should change to an application icon.
Rename the newly created form from "Control1" to "ClockForm" using the same mechanism.
Because you want to create this control so that it may be placed within another form just like any other control, you will want to do away with ClockForm's title bar. Select ClockForm and change the Titlebar property to False.
Note that you will still observe a title bar when editing ClockForm in the form editor, but this title bar will not be displayed at runtime when executing the control.
Save the project as "MyClock" by selecting Save as from the File menu and changing "Untitled.ppj" to "MyClock.ppj" in the File name field and clicking on the Save button.
The project should now appear as follows:
Figure 11.2 The new project with the names changed

Note that the term OOCOBOL Script appears next to the Script section in the Project Manager. When you create an ActiveX control in PowerCOBOL, the scripting language becomes Object Oriented COBOL. You may still code using the procedural COBOL that you should already be familiar with, but you can additionally use OO COBOL extensions if you know how.
OO COBOL is the default scripting language for ActiveX controls because it allows multiple instances of the same control to be active. You should leave the scripting language set to OO COBOL for ActiveX controls.