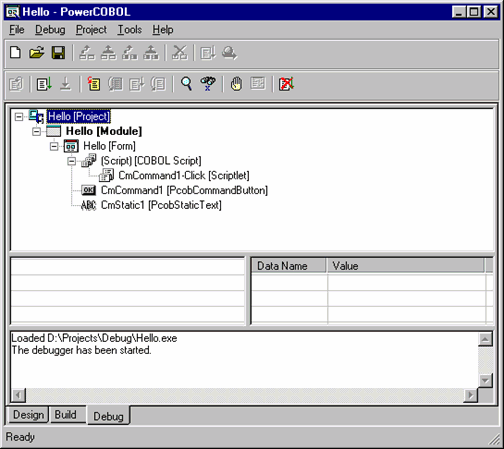
To use the Debugger, you must first build an application in debug mode. This is the default mode for PowerCOBOL. To ensure that your current build option setting is for debug mode, select the Properties option for the project (right-click on the project name in the left windowpane and select Properties from the pop-up menu). Within the project's Properties dialog box, click on the Build tab.
Figure 7.2 The Properties dialog box for the Hello project
Make sure that "0-DebugMode" is selected in the Build Mode field and click on the OK button. Now build the project (right-click on the project name in the left windowpane and select All Rebuild from the pop-up menu).
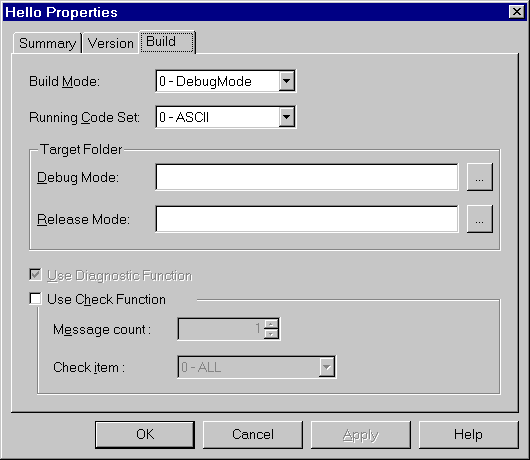
Once you have successfully built the project in debug mode, you are ready to invoke the Debugger.
Move the mouse over the name of the application module where you want to start the Debugger (typically the main module), right-click the mouse on it and select Debug from the pop-up menu.
The Debugger is tightly integrated into the PowerCOBOL application development facility. When the Debug window appears, right click on the project and select the Expand All option to expand your application hierarchy so that it appears as follows:
Figure 7.3 The Debug tab in the main PowerCOBOL Project Manager window