Figure 3.1 shows the initial FILEIO5.PRJ project.
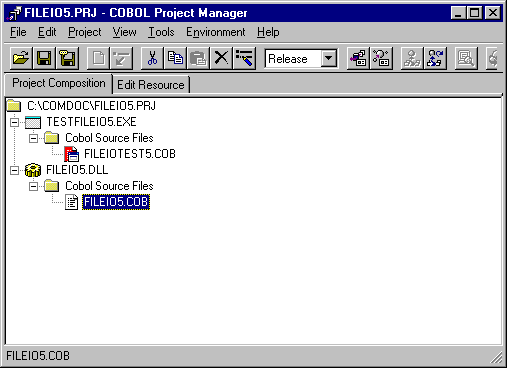
Figure 3.1 The initial FILEIO5.PRJ project
We will need to add a Target Repository Files folder and add the FILEIO5.REP file to this folder under FILEIO5.COB in the project hierarchy. This file is generated by the NetCOBOL compiler and is required when FILEIO5 is built.
We create the Target Repository Files folder by right clicking on the FILEIO5.COB file, selecting Create Folder from the context menu that appears, and then selecting the Target Repository Files option.
To add the FILEIO5.REP file under the newly created Target Repository Files folder, right click on the folder and select the Add File option. The FILEIO.REP file should be displayed in the file list that appears and you can select it. Note that this file will not exist unless you have already successfully built the FILEIO5.DLL program. In this case, you may select either the “All” option to add all repository files, or the “Target” option to add only the targeted repository file once it is created.
Figure 3.2 shows the project hierarchy with the FILEIO5.REP file properly added.

Figure 3.2 The project hierarchy with the FILEIO5.REP file added.
Once the FILEIO5.DLL has been successfully built and the FILEIO5.REP file has been added to the project hierarchy, we are ready to specify creation of a COM Server module for FILEIO5.DLL.
To accomplish this, we highlight the FILEIO5.DLL file in the project hierarchy and select the Project pulldown menu, move to the Option item and then to COM Server on the context menu that appears. We then select the Edit option as shown in Figure 3.3.
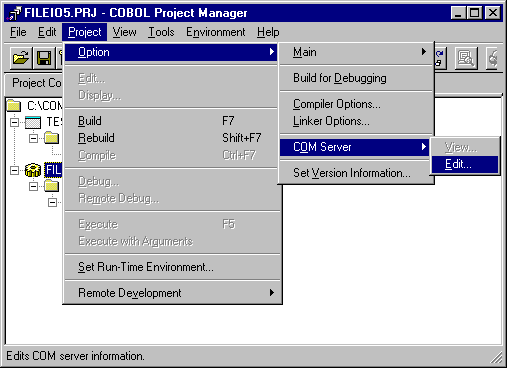
Figure 3.3 Selecting the Edit option of COM Server Specification
This brings up the Com Server Edit dialog box as shown in Figure 3.4.
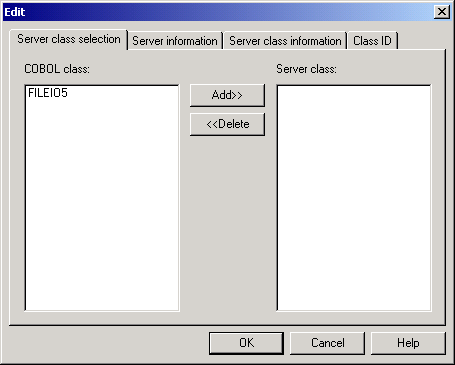
Figure 3.4 The COM Server specification Edit dialog box
Highlight the FILEIO5 class in the COBOL class: Option box and click on the ADD>> button to add it to the Com Server Class. Then click on the OK button to apply this selection and close the dialog box.
You will now notice that a new icon has appeared to the left of the FILEIO5.DLL file in the project hierarchy window as shown in Figure 3.5.
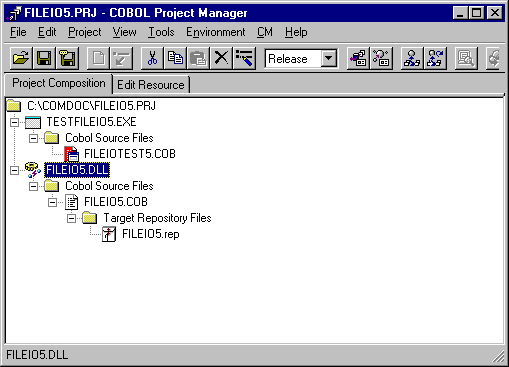
Figure 3.5 The Com Server Icon displayed next to FILEIO5.DLL