Make the CF and SF configuration by using Cluster Admin. This section explains how to configure CF and SF. See "2.1.4 Example of creating a cluster" in the "PRIMECLUSTER Cluster Foundation (CF) Configuration and Administration Guide."
Procedure
Start the Web browser on a client and connect to the primary management server to display Web-Based Admin View.
Log on to Web-Based Admin View and then select the "Global Cluster Services" menu (see Figure 3).
Select a node name to be added on the node selection screen (see Figure 6).
Click the "Configure" button in the left-hand side panel on the screen, to start the CF wizard (see Figure 8).
Select an existing cluster system name from the "Create/Join Cluster" screen and then click the "Add local node to an existing CF Cluster" option button. Then, choose the "Next" button (see Figure 10).
Select a node that you want to add from [Available Nodes] on the "Selecting cluster nodes and the cluster name" screen, and then add the node to [Clustered Nodes] (see Figure 11).
When the Cluster Interconnect confirmation screen appears, confirm that the combination of network interface cards is correct on all nodes. Then, click the "Next" button (see Figure 14).
Check the "For RMS" checkbox for the CIP subnet settings (note that the RMS cannot use the CIP if this is not set.)
When the "Complete Configuration" dialog box appears, close that screen and click the "Finish" button. This completes the CF settings.
Configure SF.
For details, see "8. Shutdown Facility" in the "PRIMECLUSTER Cluster Foundation (CF) Configuration and Administration Guide."
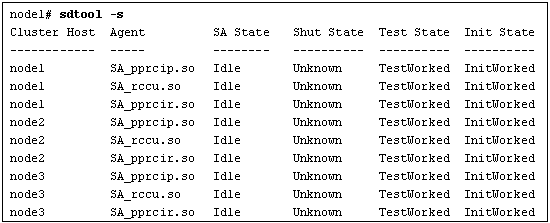
Confirm that the CF and SF have been configured correctly by executing the following commands on the GUI screen or on any one of the cluster nodes.

