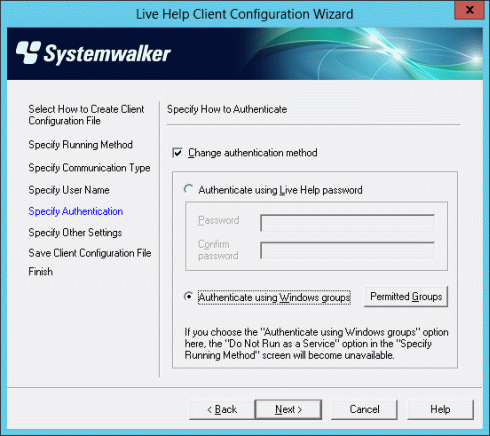
This authentication method allows the Client to authenticate Live Help connections using the Windows(R) Groups registered on the Client's system. The Client can grant the permission to connect to the Client's computer to up to 10 groups. A Support Specialist will be allowed to connect to the Client's computer only when he/she joins the Client session using a user who belongs to the permitted groups.
Note
If the "Do Not Run as a Service" option in the "Specify Running Method" screen has been selected, the "Authenticate using Windows groups" option is grayed out.
This button becomes available when you select the "Authenticate using Windows groups" option. Click the button to specify permitted groups.
You can grant the permission to connect to the Client's computer to up to 10 groups.
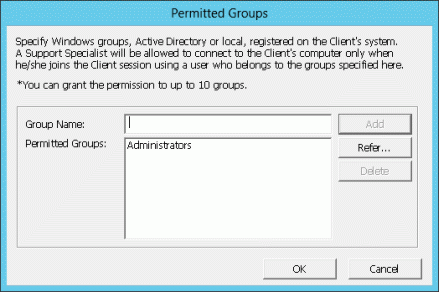
Groups displayed in the "Permitted Groups" field differ depends on which option you have chosen in the "Select How to Create Client Configuration File" screen, as follows.
Selected option in the "Select How to Create Client Configuration File" screen | Groups displayed in the "Permitted Groups" field |
|---|---|
Create a new Client configuration file | Administrators group |
Edit the following Client configuration file | The permitted groups specified in the selected Client configuration file |
Create a Client configuration file based on your Client's settings | The permitted groups specified on the Live Help Client application running on your computer |
To grant the permission to a group, choose one of the following methods:
Type a group name directly. OR...
Choose a group from a list of available groups.
Note
If a specified group does not exist on the target computer applying setting change, Configuration File Apply Tool will not register that group as the permitted group.
Each specified group will be recognized as one of the following group types in the following order, and registered as the recognized group, on the target computer.
Built-in group
Local group
Domain global group
If a specified group name exists both on the local computer and the domain where the target computer is a member of, the group is registered as the local group. Refer to the "Changing your Configuration" in the Live Help Client's Guide for more information about the group types.
Refer to the following sections for detailed instructions for the specifying permitted groups.
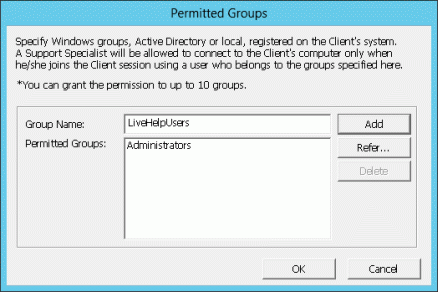
Type a group name to grant the permission in the "Group Name" field.
A group name can contain up to 256 characters.
Note
A group name cannot:
contain any of the following characters:
\ / [ ] : | < > + = ; , ? * @ "
end with a period.
begin with or end with a space.
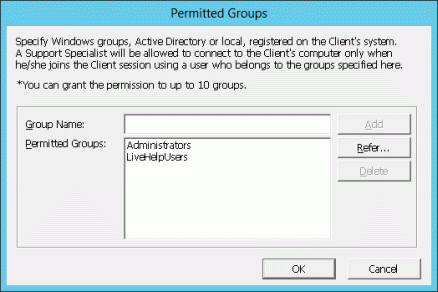
Click the Add button. The specified group will appear in the "Permitted Groups" field.
Choose a group from a list of available groups
Click the Refer button.
Windows(R) groups available on your computer will be displayed in the "Available Groups" window. Choose a group and click OK.
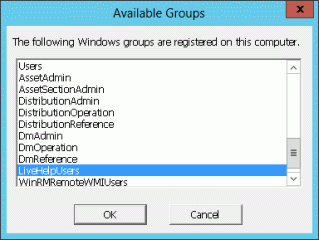
Note that groups displayed in the "Available Groups" field differ depends on how you logged on to your computer.
Login Using: | Displayed Groups |
|---|---|
A domain user | Built-in groups |
A local user (A domain user having the same user name and the same password exists) | |
A local user | Built-in groups |
Refer to the "Changing your Configuration" in the Live Help Client's Guide for more information about the group types.
The group you have selected in the step 2 will appear in the "Group Name" field.

Click the Add button. The specified group will appear in the "Permitted Groups" field.
