The flow for installation to a Windows operating system is the same for both the server and client.
Procedure
Log on to the computer, where you want to install Systemwalker Operation Manager, as a user belonging to the local Administrators group. If the installation environment is a domain controller, log on as a user belonging to the built-in local Administrators group.
1. Insert the Systemwalker Operation Manager product media into the drive
The installer starts and the following menu window is displayed. The description provided here uses the product media for the Windows x86 version as an example.
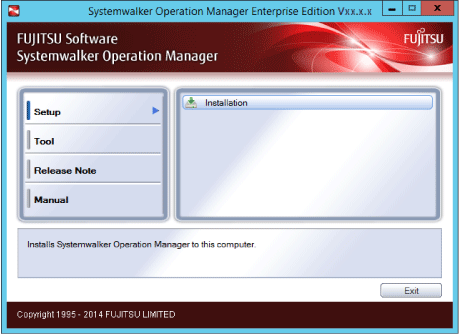
If the installer does not start automatically, execute the following installation command:
<drive>\swsetup.exe |
Click Installation to display the Welcome to Systemwalker Setup window.
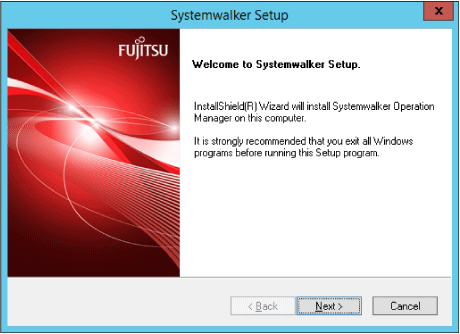
Click Next.
2. Select "Server" or "Client" as the installation type
Select Server. Selecting Server installs the server and client functions.
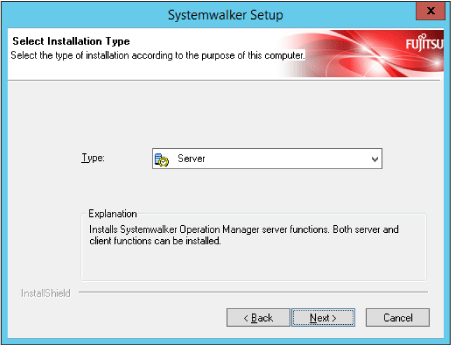
Click Next.
3. Select optional functions
If installing the server and client to the same computer, ensure that the default values are selected (Server Functions of Systemwalker Operation Manager and Document) and then also select Client Functions of Systemwalker Operation Manager.
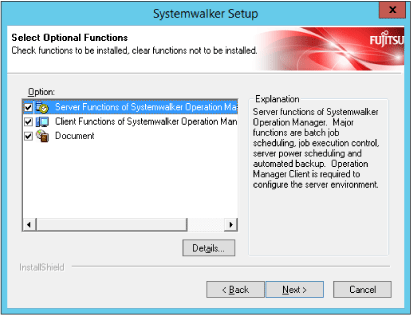
Click Next.
4. Select the installation directory
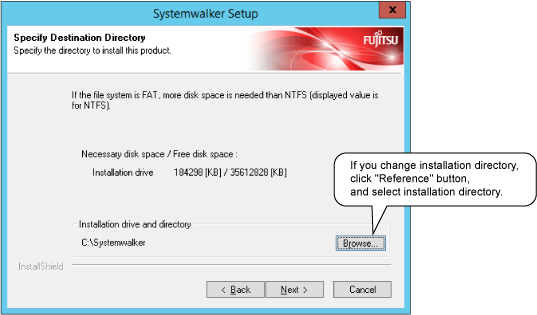
Click Next to display the Start of File Copy window. Confirm the displayed content.
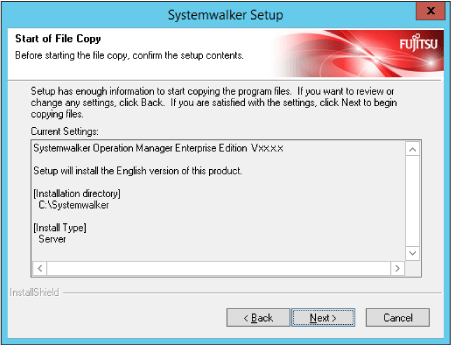
Click Next.
5. Complete installation
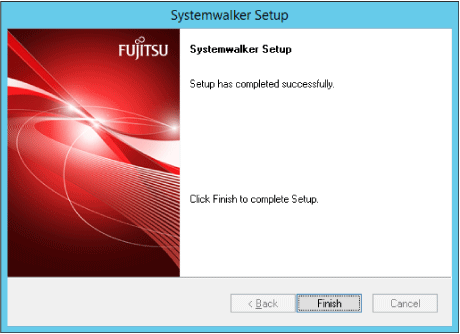
Click Finish to complete the installation of Systemwalker Operation Manager.
If any of the following conditions applies, you must restart the system:
Systemwalker Centric Manager is installed.
The installation is not a new installation.
The Microsoft Visual C++ 2005 Redistributable Package has been installed, the existing version is older than the version that is bundled with the product, and the conditions that require a restart are met.