You might want to set a new XML substructure to a UDA of type XML. This can be achieved using the Set Substructure in XML Java Action. You can assign this Java Action to process definitions and all nodes.
Prerequisite:
The process definition has a UDA of type XML whose structure you want to change by replacing an existing substructure.
Note
As opposed to the Add Substructure in XML Java Action, the Set Substructure in XML Java Action replaces an existing structure and overwrites it.
To set a substructure in a UDA of type XML:
Click the empty space in the Process Definition editor or select the node to which you want to assign the Java Action, to display the Properties view for the process definition or the node respectively.
Select the Action Set tab. Click Add corresponding to the position where you want to add the Java Action. The Action Type List dialog is displayed.
Expand XML Actions and double-click Set Substructure in XML.
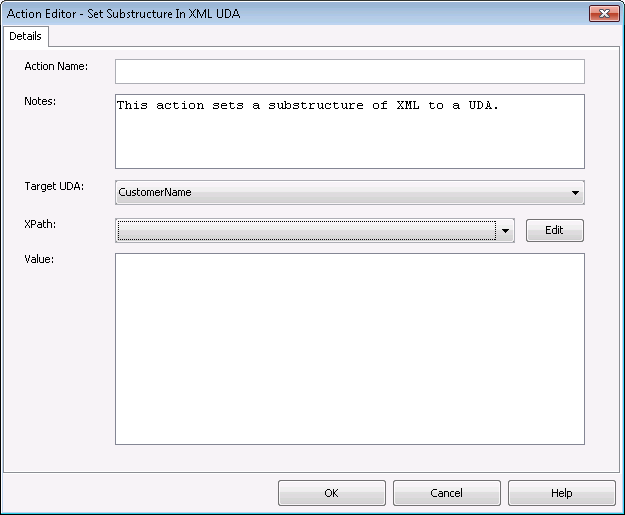
The Action Editor - Set Substructure In XML UDA dialog is displayed. It automatically shows the name of first UDA of type XML you have defined for the process definition or node (CustomerName UDA, in the example), and provides a default description:
Figure 11.27 Displaying the Action Editor dialog
Type a descriptive name and your notes for the Java Action in Action Name and Notes fields respectively.
From the Target UDA drop-down list, select the UDA in which you want to set a new XML substructure.
The Target UDA drop-down list displays only UDAs of type XML.
All the XPaths related to the target UDA (XML type) selected in the Target UDA drop-down list, are displayed in the XPath drop-down list.
Select the XPath expression of the Target UDA from the XPath drop-down list.
The XPath expression refers to that part of the UDA where the new text or attribute is to be stored.
Optional: If you want to edit the XPath expression that you selected in the XPath drop-down list, click the Edit button located next to the XPath drop-down list.
XPath Editor dialog is displayed with the selected XPath expression in its editor area. You can edit this XPath expression and click OK to use the edited XPath expression.
Note
The edited XPath expression is displayed as the latest XPath in the XPath drop-down list.
Note
The XPath expressions related to the selected XML UDA are displayed in the XPath drop-down list. When XML Schema is defined in selected UDA, the XPath list that can be used with this XML Schema is displayed. When Initial value is defined in selected UDA, the XPath list that can be used with this Initial value is displayed. When both are defined, Xpath list of XML Schema is displayed.
Note
XPath Editor only validates the syntax of the XPath. It does not check if the edited XPath expression exists or not.
In the Value field, specify the value of the text or attribute.
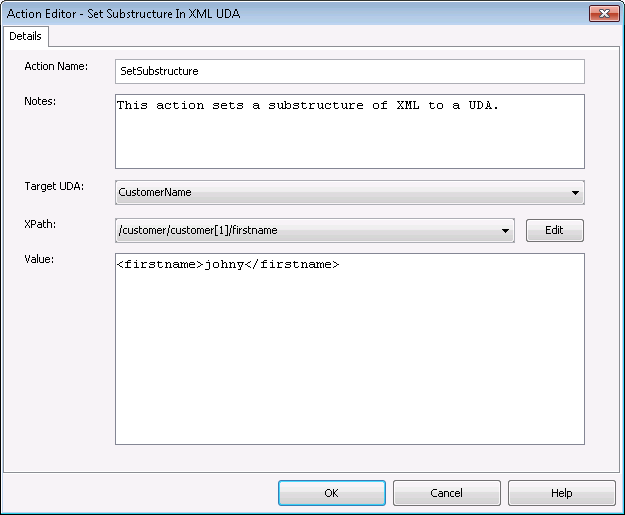
When entering a UDA value, use the same tags as for assigning an XML string to a UDA. For more information, refer to sections 11.3.3 Assigning an XML String to a User Defined Attribute The following example shows the Action Editor dialog used for replacing the customer substructure you have added before (refer to section 11.3.1 Adding a Substructure in XML for more details):
Figure 11.28 Setting a Substructure in XML
Click OK to close the Action Editor dialog.
When closing the dialog, Systemwalker Runbook Automation Studio automatically checks whether the entered value is well-formed XML. If it is not, a warning message will be displayed.
Note
It is not necessary to compensate this action using a compensation action, because changes made by this action are in Systemwalker Runbook Automation only and they will be rolled back after the process instance goes into error state. For information on compensation actions, refer to section 11.1.7 Dealing With Errors in Java Actions.