This section explains the procedure for creating a Decision Table file.
Prerequisite
You have created a Rules Set folder in the Rules folder of the application.
To Create a Decision Table:
Right click on the Rules Set folder. Select New >> Rules >> Decision Table. You can also go to File and select New >> Rules >> Decision Table , from the Windows menu.
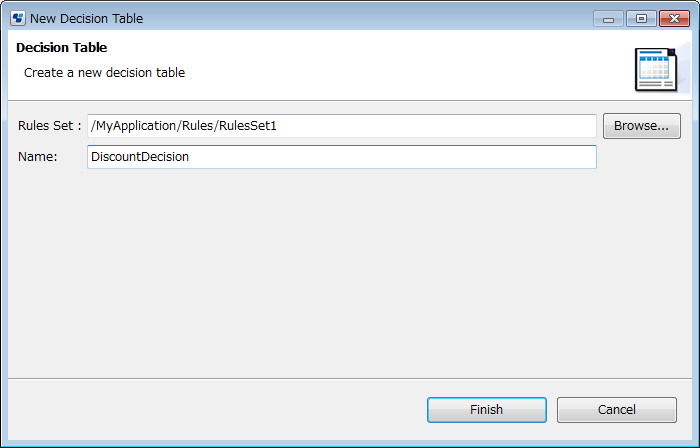
The New Decision Table Wizard is displayed.
Figure 10.3 New Decision Wizard

Enter the Decision Table name in the Name field and click Finish.
A new rules file is created in Rules Set folder and the Decision Table Editor is displayed.
Enter a name for your Decision Table, if you have not already entered in the previous step, in the Name field and a description in the Description field (a description is optional).
Note
The decision table should be created with .dt extension.
A Rules Set folder is associated to the application that it is part of, and a .dt file is associated to the Rules Set folder it belongs to. Thus, the Rules Set names should be unique in an Application and the .dt file names should be unique in a Rules Set folder.
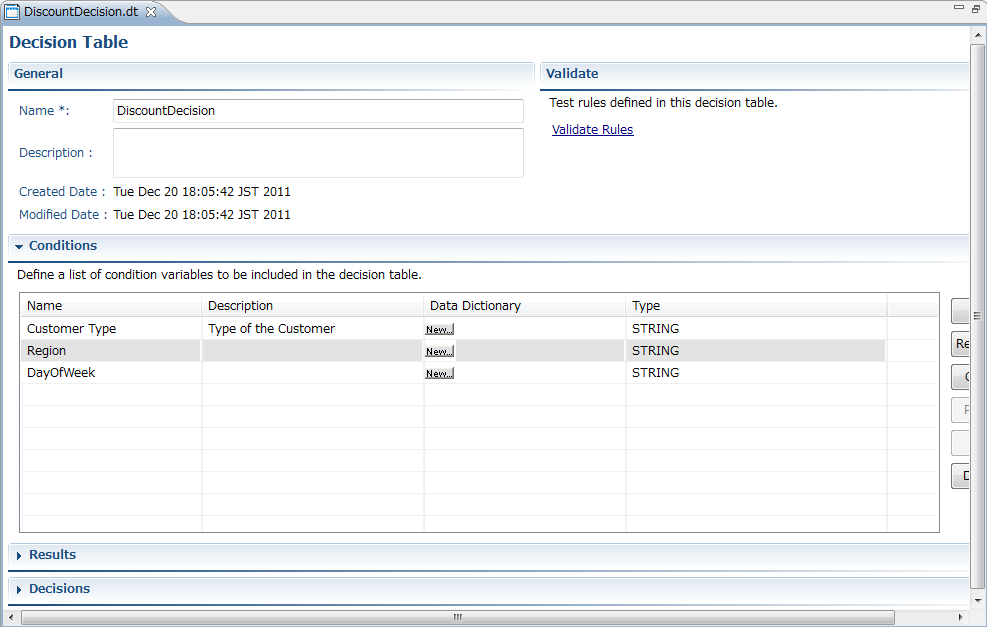
The example in the following figure creates a Decision Table called DiscountDecision.dt.
Figure 10.4 Creating a Decision Table

Click Save in the toolbar.
Your new Decision Table is saved. To know more about adding and editing Decision Tables, refer to 10.3 Editing a Decision Table.
To remove a Decision Table file, right click on the file in the Navigator view of Studio, and select Delete.
You can also import and export Decision Table files and BAR files. See Exporting Decision Table Files and Importing Decision Table Files and Creating Workflow Application Projects0 sections for more information.
Exporting Decision Table Files
You can export saved Decision Tables to a file system from Systemwalker Runbook Automation Studio by performing the following procedure:
Right click on the Decision Table file in the Navigator view. , Select Export. You can also go to File and select Export.
Move the exported Decision Table file to the storage location.
Save the file to the local file system.
Importing Decision Table Files
You can import a Decision Table file to Systemwalker Runbook Automation Studio from a file system by performing the following procedure:
Right click the Decision Table file or the Rule Set folder, in the Navigator view, and select Import. You can also go to File and select Import.
The Import Decision Tables dialog is displayed.
Navigate to the Decision Table file (*.dt) that you want to import.
Select the file and click Open.
If a Decision Table file with the same name already exists in RuleSet1, a dialog box that prompts you to enter a file name appears. Enter a file name and click OK.