Log on to the Client installation target system.
Please log on as the OS administrator (Administrator) of the terminal.
Insert the CD-ROM "ETERNUS SF Storage Cruiser 14.0 Client (Windows)", open the CD-ROM drive:\client\Wndows\I32 directory using "Explorer" or another tool, and execute setup.exe.
Information
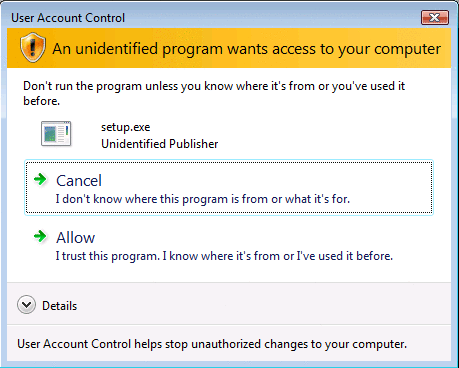
For using Windows Vista or Windows Server 2008:
The following warning dialog may be displayed when the setup.exe is executed. In this case, click "Allow".
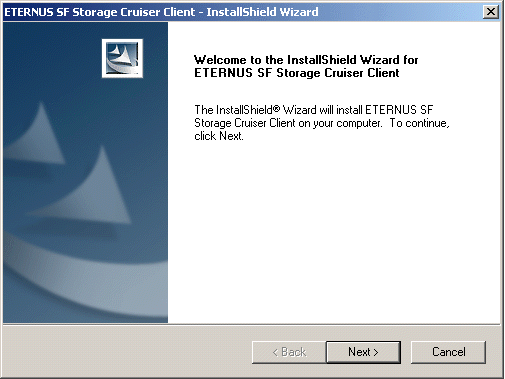
When the InstallShield window appears, check the displayed information and then click <Next> button.
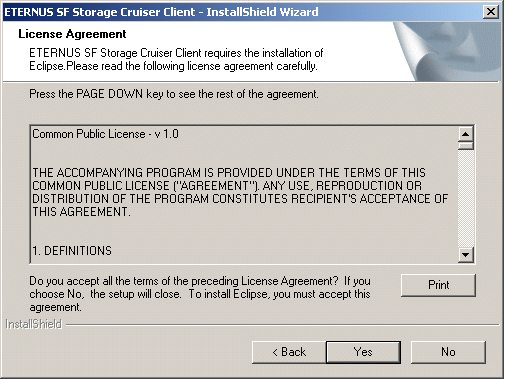
Accept the Eclipse's "Common Public License - v1.0".
In client installation, Eclipse is installed simultaneously.
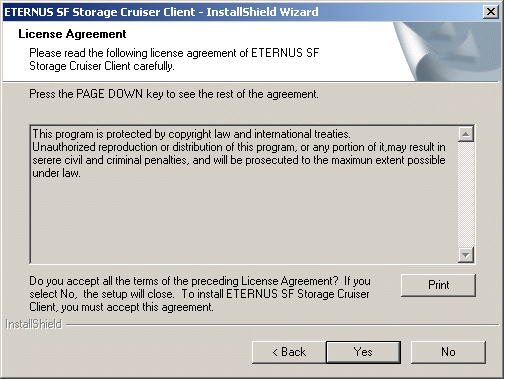
On the "License Agreement" window, accept the license.
Specify the installation directory.
In the event that installation is to be performed to a directory other than the default, please click <Browse> button, and select the directory to install to. When specification of the directory is complete, please click <Next> button.
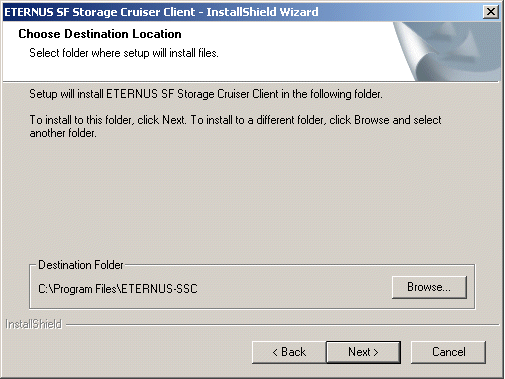
Specify the installation directory.
To install in a directory other than the default given in step 6, change the default directory by clicking <Browse> button, and select another directory.
When all directory specifications have been made, if there are no errors in the configuration details, click <Next> button. To change the configuration details, click <Back> button.
Note
You can specify installation directory names using any printable ASCII characters other than the following symbols.
" | : * ? / . < > , % & ^ = ! ;
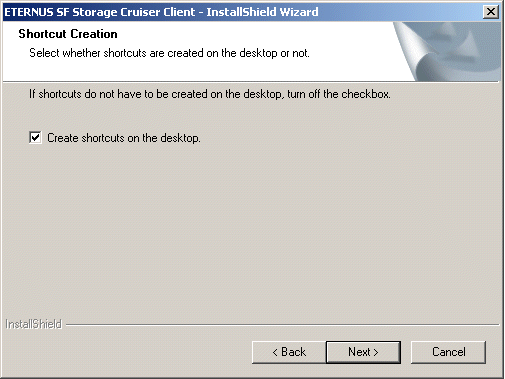
Specify whether or not to create a shortcut on the desktop.
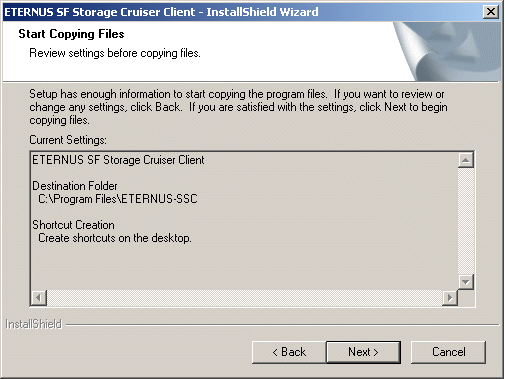
Confirm the settings in the "Start Copying Files" window.
If there are no errors in the configuration details, click <Next> button. To change the configuration details, click <Back> button.
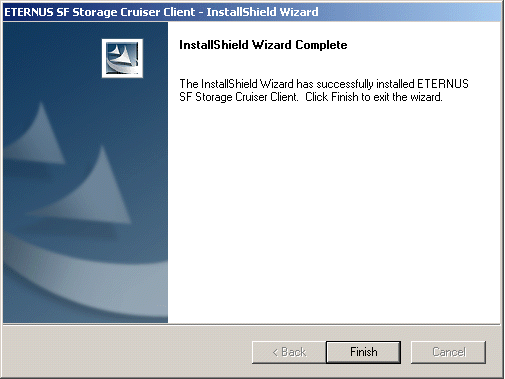
The copy process will begin. After the copy process is complete, installation of Storage Cruiser will finish.
After installation is complete, click <Finish> button to exit the InstallShield.
The installation is completed. Continuously, execute the post-installation setup by referring "5.3 Post-installation setup".