

| Interstage Shunsaku Data Manager Installation Guide - Solaris(TM) Operating System - |
Contents
Index
 
|
| Chapter 3 Shunsaku System Installation and Setup | > 3.3 Installation and Setup with Additional Director Servers |
This section explains how to install Shunsaku when director servers are added.
The following two installation methods are available:

A superuser must perform the installation.
 Installation from the GUI
The procedure for installing Shunsaku APIs from the GUI is explained below.

fbconfig -res horizontal-width x vertical-height x frequency nocheck -depth 24 |
# mount -F hsfs -o ro /dev/dsk/c0t4d0s2 /cdrom/cdrom0 # cd /cdrom/cdrom0/solaris # ./install.sh |
In the dialog displayed after the installation script is executed, click the Install button.
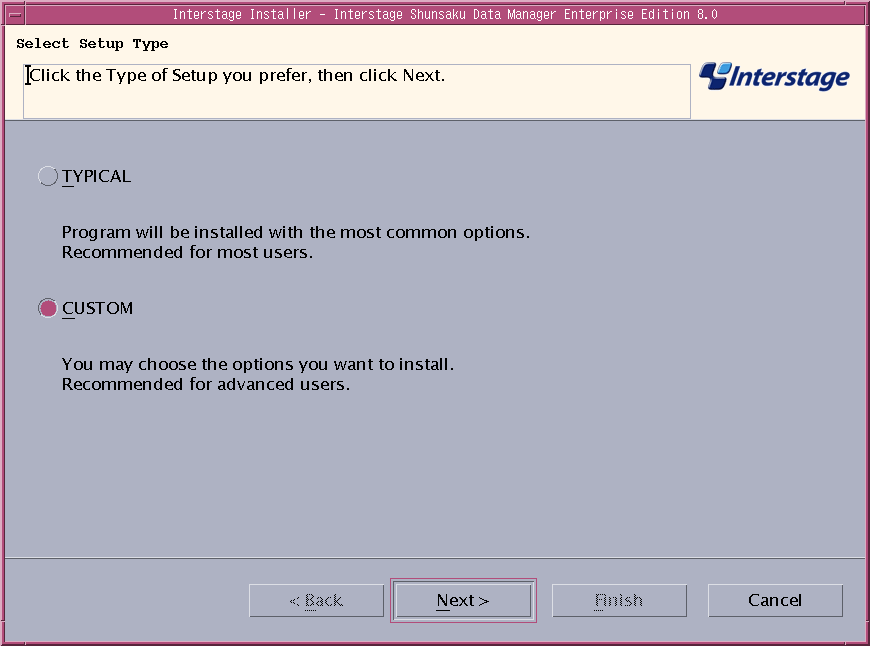
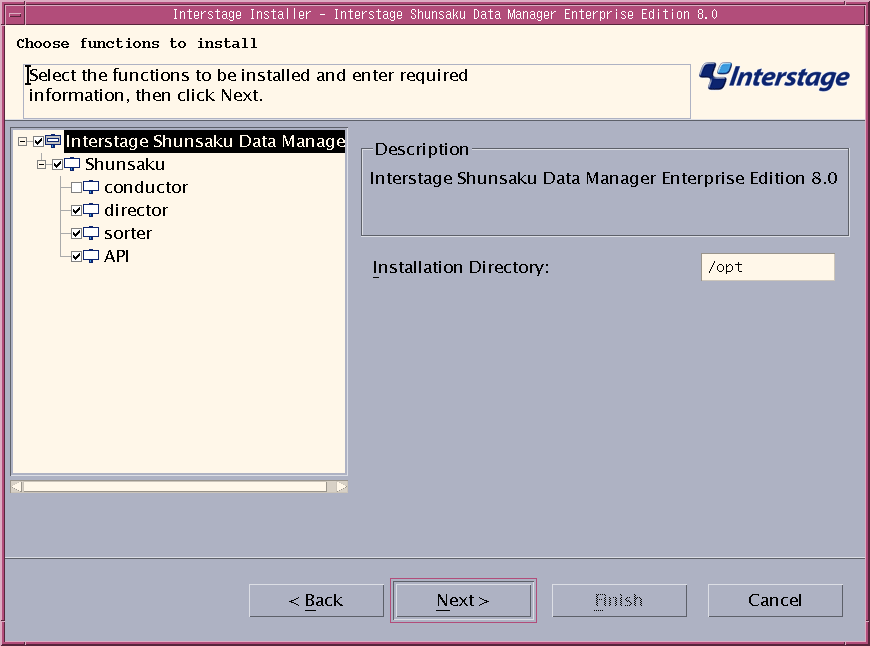
The following table explains the items to be specified:
|
Item name |
Explanation |
|---|---|
|
Installation directory |
Specify the absolute path of the directory where the package will be stored. |
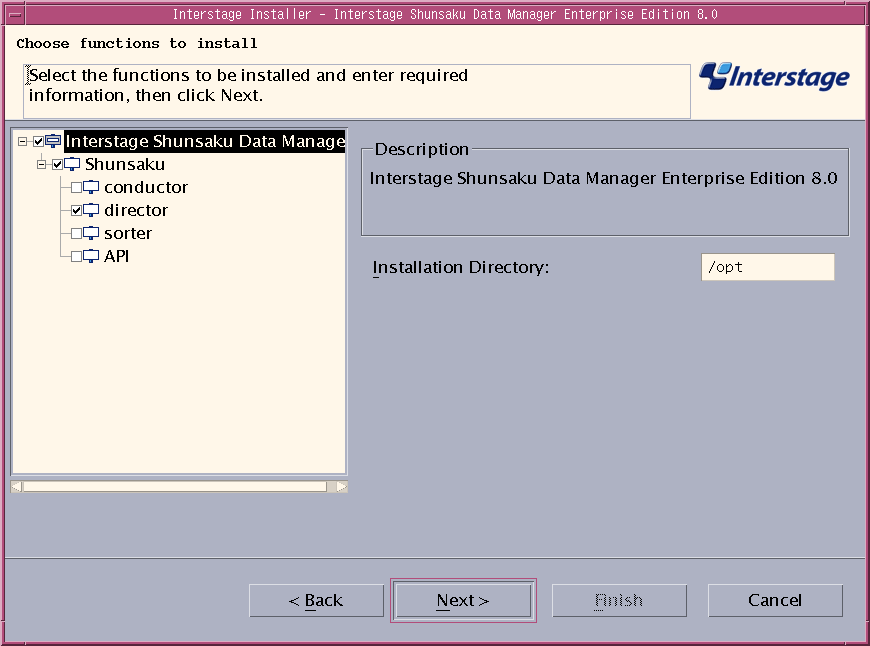

Select the conductor function when reinstalling Shunsaku and reconstructing the system with the use of "Shunsaku environment file" and "director data file" from the backup due to the system fault such as the fault of disk including the Shunsaku installation folder. This is not necessary for normal installing additional director servers.
However, to construct a new system, select Standard at the Select Setup Type dialog.

Refer to Overview of Backup and Recovery of the Operator's Guide
for details concerning backup.
Refer to the Troubleshooting for details concerning procedure of system reconstruction.
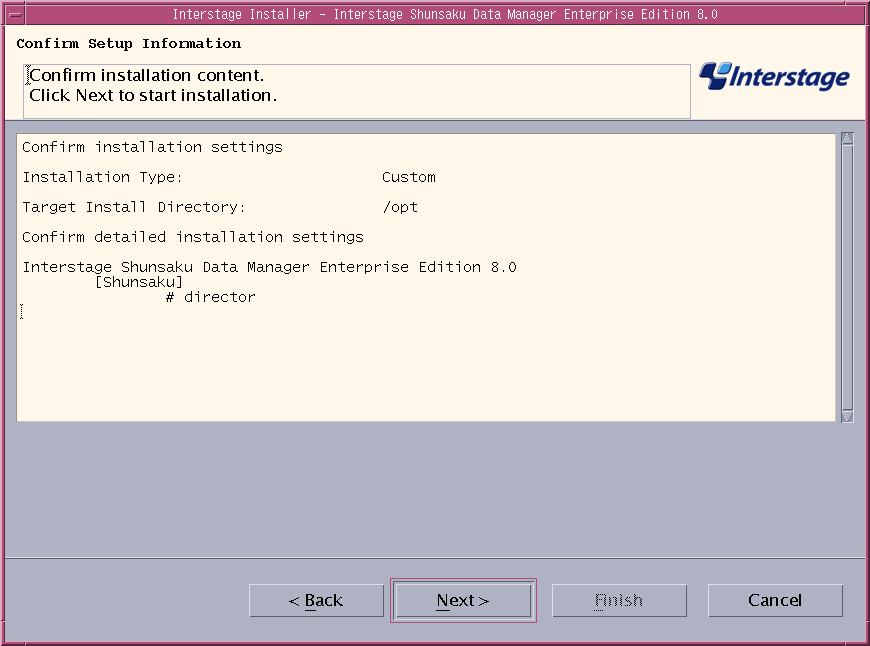
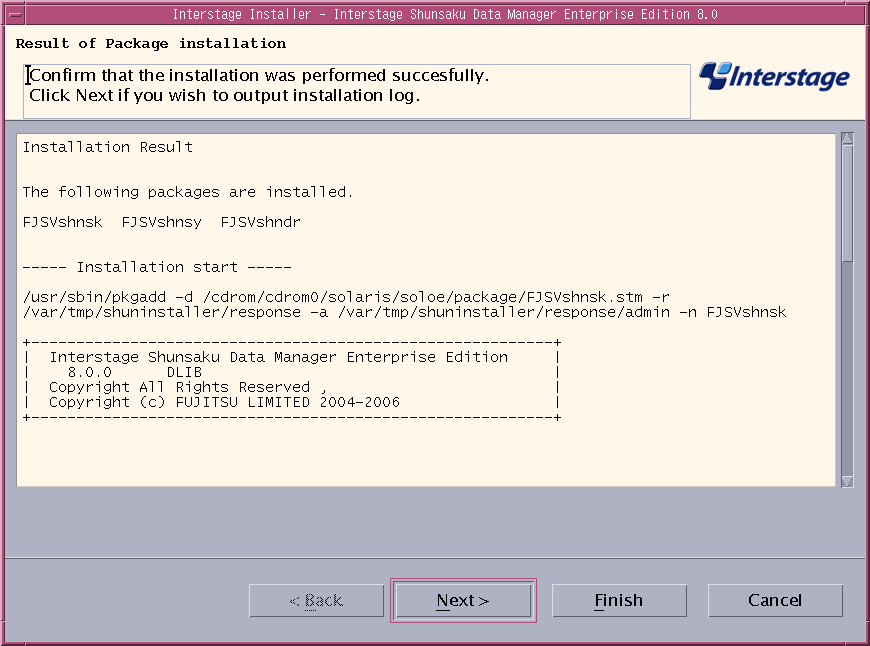
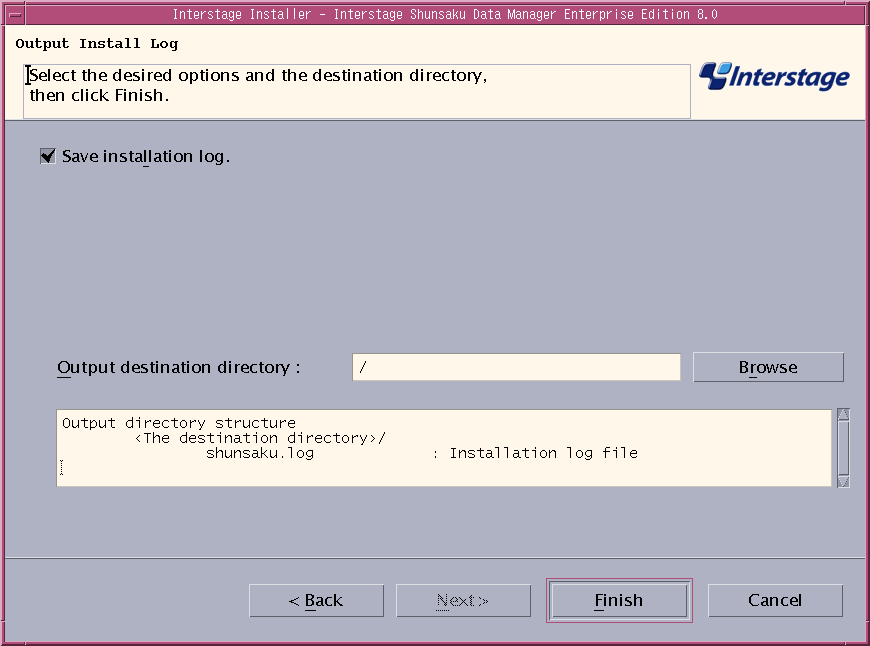
 Installation without the GUI
The installation procedure when the GUI is not used is explained below.
# mount -F hsfs -o ro /dev/dsk/c0t4d0s2 /cdrom/cdrom0 # cd /cdrom/cdrom0/solaris # ./cmdinstall.sh |
----------------------------------------------------------
  Interstage Shunsaku Data Manager Enterprise Edition
      8.0
  All Rights Reserved, Copyright(c)
      FUJITSU LIMITED 2003-2006
----------------------------------------------------------

Please select the installation type. (1: typical, 2: custom) [1,2,q]: |
Please specify installation directory. (default: /opt) [?,q]: |

Functions: 1. conductor 2. director 3. sorter 4. API Please select functions. [?,all,q]: |
Enter all the numbers of functions to be installed separating with a comma (,) when selecting multiple functions.

Select the conductor function when reinstalling Shunsaku with the use of "Shunsaku environment file" and "director data file" from the backup due to the system fault such as the fault of disk including the Shunsaku installation folder. This is not necessary for normal installing additional director servers.
However, to construct a new system, select Standard at the Select Setup Type dialog.

Refer to Overview of Backup and Recovery of the Operator's Guide for details concerning backup.
Refer to the Troubleshooting for details concerning procedure of system reconstruction.
Install information:
    Installation functions:
        director
    Installation packages:
        FJSVshnsk FJSVshnsy FJSVshndr
    Installation directory:                    /opt

Do you want to proceed with the installation ? [y,q]: |
The installation process will start.
Installation of packages has started.

    Installation of <FJSVshnsk> was successful.
            :
Installation of packages has ended. |
If there is a processing error, the following message will be displayed, and the installation process will be terminated.
Installation of "Interstage Shunsaku Data Manager Enterprise Edition" was terminated. |
If the installation is successful, a message will be displayed indicating that the installation process has completed. An installation log will be created in "/opt/FJSVshnsk/setup.log".
Installation of "Interstage Shunsaku Data Manager Enterprise Edition" was successful. |
Contents
Index
 
|