

| PRIMECLUSTER Installation and Administration Guide 4.2 (Linux for Itanium) |
Contents
Index
 
|
| Part 4 System Configuration Modification | > Chapter 8 Changing the Operation Configuration |
This section explains how to modify a cluster configuration by following operations:
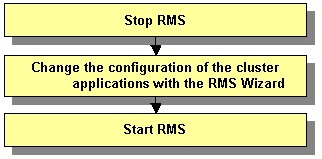
 Operation flow
 Operation Procedure:
Stop RMS.
If RMS is running, see "Stopping RMS" and stop RMS.
Change the configuration of the cluster applications with the RMS Wizard.
Log in to any one of the cluster nodes using system administrator access privileges.
Start up the RMS Wizard.
Execute the "hvw -n configuration file" command. Specify the name of the configuration file in which the configuration is defined.
The following example shows how to start up RMS Wizard with the configuration file name "testconf."
# /opt/SMAW/SMAWRrms/bin/hvw -n testconf
Select "Application-Edit" from the "Main RMS management menu."
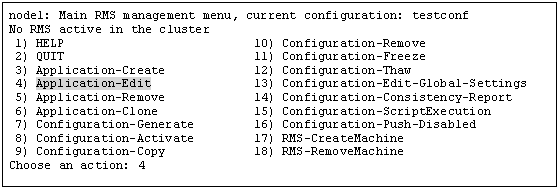
When a cluster application that is performing standby operation is to be changed
Select the userApplication that needs modification of configuration from "Application selection menu." The following example shows how to select "APP1."

When "turnkey wizard" appears, select what you want to change from the following table.
|
Contents to be changed |
Selection item |
|---|---|
|
Name of the userApplication |
"ApplicationName" |
|
Attribute of the userApplication |
"Machines+Basics" |
|
Cmdline resource configuration |
"CommandLines" |
|
Fsystem resource configuration |
"LocalFileSystems" |
|
Gds resource configuration |
"Gds:Global-Disk-Services" |
|
Gls resource configuration |
"Gls:Global-Link-Services" |
|
Procedure resource configuration |
"Procedure:XXXXXX" |
For details on the operation when you select above items, see "Setting Up Cluster Applications." Select "SAVE+EXIT" to return to the "Main RMS management menu."
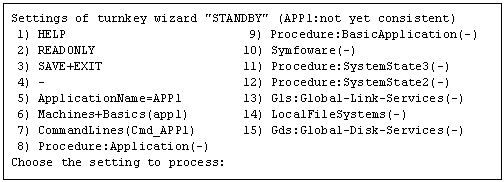
The following example shows how to change the attribute of "AutoStartUp" of the userApplication setting from "no" to "yes":
Select "Machines+Basics" from "turnkey wizard."
Select "AutoStartUp."
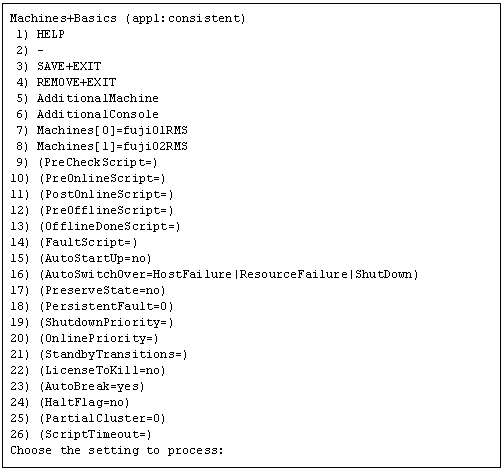
Select "yes."

Confirm that "AutoStartUp" is changed to "yes," and then select "SAVE+EXIT."
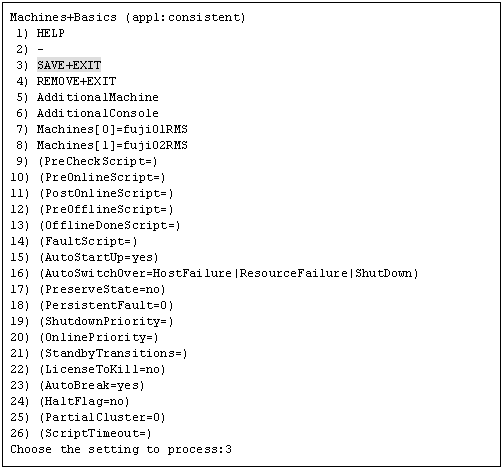
Select "SAVE+EXIT" from "turnkey wizard."
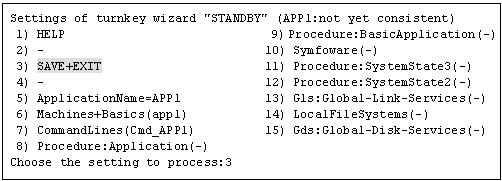
Select "RETURN" from the "Application selection menu."

When a cluster application in a scalable operation is to be changed

For information on how to change a cluster application performing standby operation and which forms part of a cluster application in a scalable operation, see "When a cluster application that is performing standby operation is to be changed."
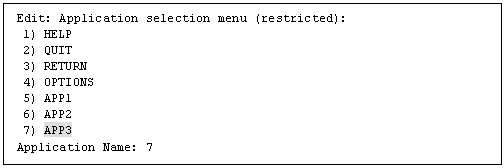
Select the userApplication to be reconfigured from the "Application selection menu." In the following example, "APP3" is selected.
Select "Controllers" from the "turnkey wizard SCALABLE" menu.

"Settings of application type "Controller"" is displayed. Select one of the following according to the contents to be changed:
|
Contents to be changed |
Resource to be selected |
|---|---|
|
Start sequence of the cluster application (standby operation) |
"ApplicationSequence" |
|
Deletion of the application (standby operation) |
"Controllers[*]" |
[Supplement]
A number is specified in the "*" mark included in "Controllers[*]". Select the cluster application in a standby operation that you want to delete. You can delete a cluster application in a standby operation by specifying "NONE" on the screen after the selection.
For details on the operation to be performed after making the above selection, see "Setting Up Cluster Applications." After you change the configuration, select "SAVE+EXIT" and then return to the "Main RMS management menu."
The following is an example in which the "AutoStartUp" attribute of the userApplication is changed to "yes" from "no."
Select "Machines+Basics" from the "turnkey wizard "SCALABLE"" menu.

Select "(AutoStartUp=no)" from the "Machines+Basics" menu.
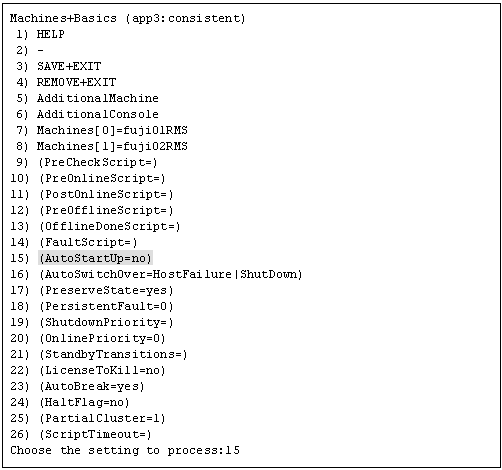
Select "yes."

Check that "AutoStartUp" has been changed to "yes," and then select "SAVE+EXIT."
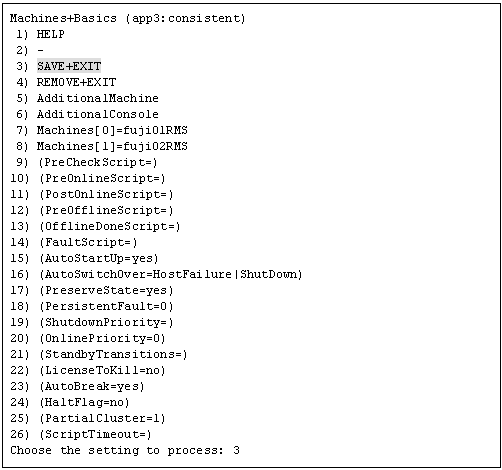
Select "SAVE+EXIT" from the "turnkey wizard "SCALABLE"" menu.

Select "RETURN" from the "Application selection menu."

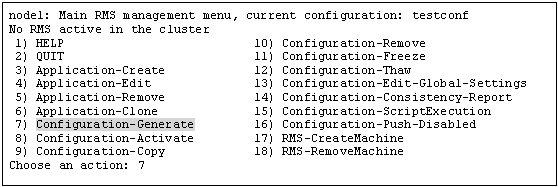
Select "Configuration-Generate" from the "Main RMS management menu."
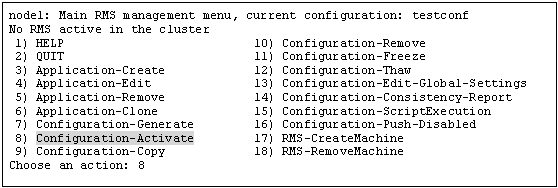
Select "Configuration-Activate" from the "Main RMS management menu."
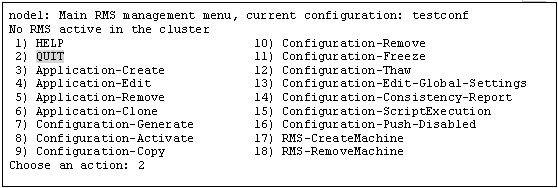
Select "QUIT" from the "Main RMS management menu."
Check the cluster service for the PRIMECLUSTER-compatible product.
Execute the following command in any node that is part of the cluster system:
# /etc/opt/FJSVcluster/bin/clrwzconfig -c
If the results of the cluster service check for the PRIMECLUSTER-compatible product shows that the "clrwzconfig" command output message 8050, re-register the cluster service for the PRIMECLUSTER-compatible product.
Execute the following command in any node that is part of the cluster system:
# /etc/opt/FJSVcluster/bin/clrwzconfig
Change the resources of the PRIMECLUSTER-compatible product. For details, see "Registering PRIMECLUSTER-compatible Resources."
Start RMS.
Start RMS as described in "Starting RMS."
Contents
Index
 
|