

| PRIMECLUSTER Global Disk Services Configuration and Administration Guide 4.1 (Linux) |
Contents
 
|
| Chapter 5 Operation | > 5.3 Operation in Use |
When a disk unit abnormality occurs, contact your local customer support to swap the disk units.
When using GDS, the following procedures are necessary before and after the disk swap:
 Identifying a Failed Disk Unit
You should pinpoint a hardware error on a disk unit based on, for example, log messages for the disk driver output in the /var/log/messages file. For details, see "Disk Unit Errors."
 Physical Disk Size
Physical disks cannot be swapped with disks that are smaller in size.
 Physical disks that can not be swapped
Physical disk swap is impossible with a disk that includes the only valid slice, which has "active" or "stop" status, within the volume.
For example, disk swap is impossible when:
To perform physical disk swap here:
When swapped disk data is valid, for example in the case of preventive maintenance, the methods a) and b) are recommended. In this case, if disk units support the hot swap function, disks can be swapped while applications are operating.
 Swapping a Disk Unit Registered with a Shadow Class for Another Disk Unit
To swap a disk unit registered with a GDS Snapshot shadow class (shadow disk) for another disk unit, the shadow disk must first be removed with the GDS Snapshot command. For details about GDS Snapshot commands, see "Command Reference."
The subsequent operations are different depending on whether or not the swapped disk is registered with a disk class.
After removing the shadow disk, swap disk units following this procedure in the domain managing the disk class.
When an error occurs on a disk unit, both of the related SDX and shadow objects do not necessarily become invalid. Even if one of those objects becomes invalid, removing the shadow disk and swapping disk units following this procedure are both necessary.
The swapped disk unit is the destination for the disk unit's copy function here. Physical disk swapping and restoring as described in this procedure is not required. After removing the shadow disk, swap disks referring to a manual for the disk unit's copy function.
In order to swap the disk units, you must take the physical disk offline.
The procedures are explained below.
In the main screen, display the physical disk to be swapped. Click the icon and select the physical disk.
In the main screen [Operation] menu, select [Swap Physical Disk].
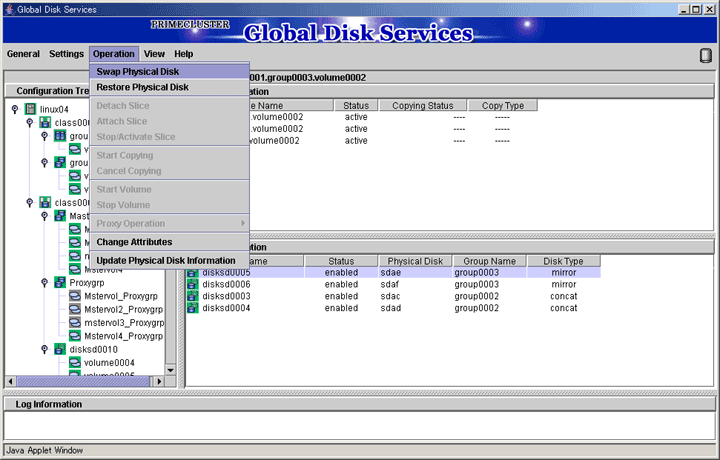
The confirmation screen shown below appears.
To proceed, click <Yes>. Clicking <No> cancels the [Swap Physical Disk] process.
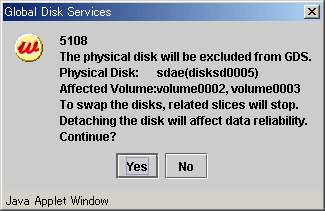
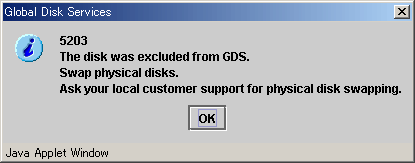
Click <Yes>, and a message notifying the offline status appears.
Click <OK>, and request your local customer support to swap the disk unit.
After swapping the disk units, you must put the swapped physical disk back online.
The procedures are explained below.
Select the physical disk you want to restore.
In the main screen [Operation] menu, select [Restore Physical Disk].
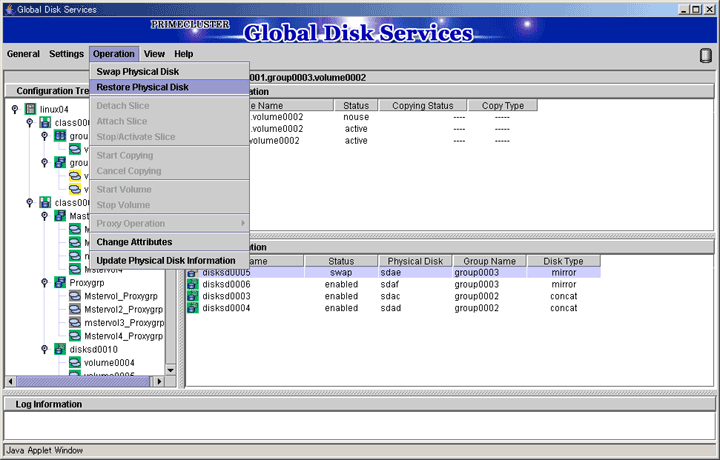
The confirmation screen shown below appears.
To proceed, click <Yes>. Clicking <No> cancels the [Restore Physical Disk] process.
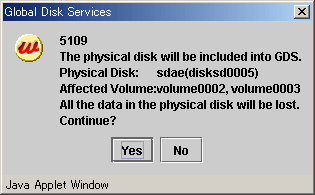
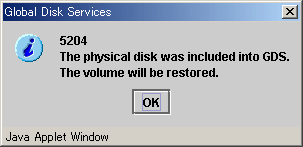
Click <OK>, and a message notifying the online status appears.
Contents
 
|